
Different Ways to Make Pom Poms (Part Two)
By Amy Yarbrough – 4 CommentsIn part one (see part one here), I mentioned three different ways to make pom poms: with your fingers, with a tool, and with a fork. Now I’m going to show you how to make pom poms using a template.
First, we’ll make the template.
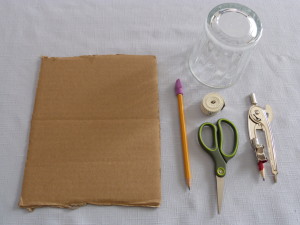
What You Need:
cardboard
cup or compass (for technical drawing)
scissors
pencil
measuring tape (optional)
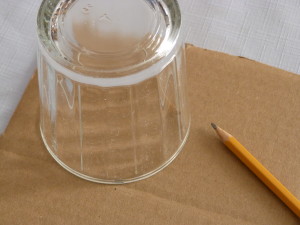
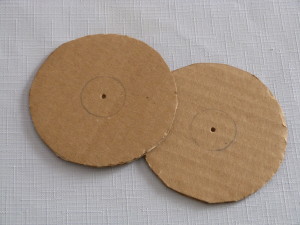
The first thing you’ll do is trace a circle. You can use a cup, or if you want a more precise measurement, use a compass. I used a compass that had the inches labelled.
Place the compass, or cup, on the cardboard and trace a circle. Draw another circle in a different place on the cardboard.
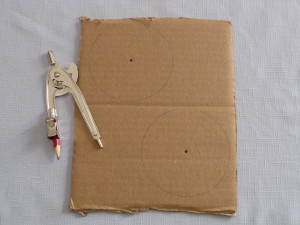
Inside each circle, draw another circle about an inch and a half in diameter, or less if you plan to make a smaller template.
Cut out the large circles.
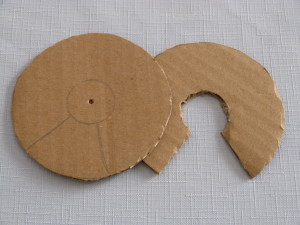
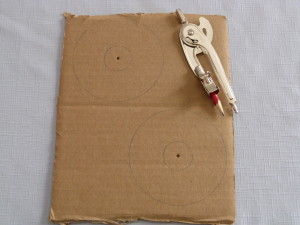
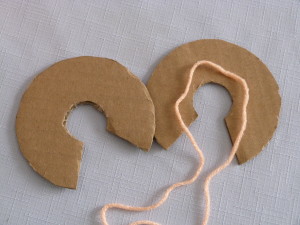
Draw two lines from the center circle out. Then cut the center and extra space out. See picture for help.
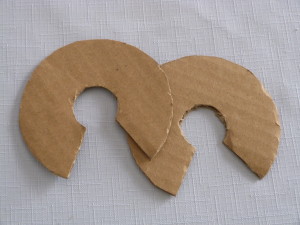
Here is the finished templates. Simple but incredibly helpful.
Let’s Make Some Pom Poms!
Now that you have your templates, let me show you how to use them.
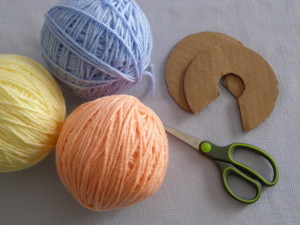
What You Need:
yarn
scissors
your new templates
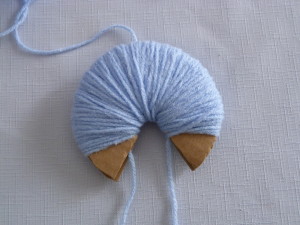
Cut about a 20†strand of your chosen yarn and lay the strand in the center of one section of the template.
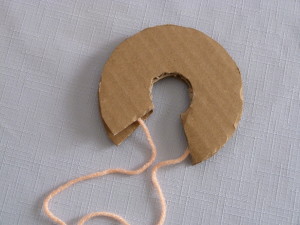
Sandwich the yarn between the two sections.
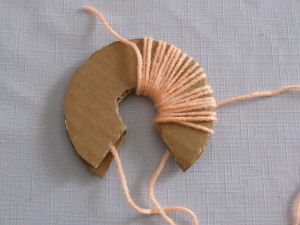
Starting in the middle, begin wrapping yarn around and down the right side of the template.
Wrap back up the right side and down the left side.

Wrap back up the left side to where you began. You will have then completed the first wrap.
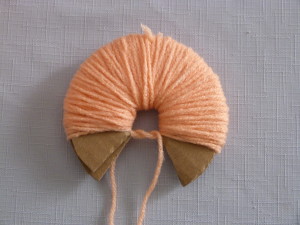
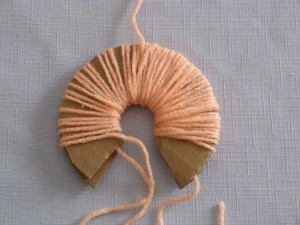
Wrap as many times as you wish. I chose to wrap only twice. Cut the yarn and then pull the two long strands taut and tie.
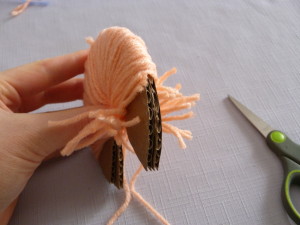
Begin cutting the strands in half at the end where the two template sectiones meet. Hold the template steady so the strands don’t fall away.
Once you’ve cut all the strands, pull the pom pom off the template. Tie the long strands as tight as you can.
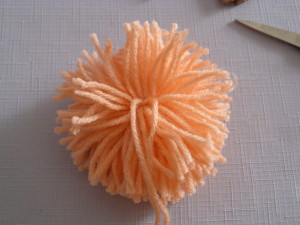
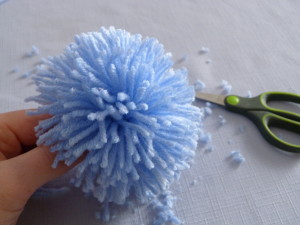
Now this is where you trim your pom pom. Only this little guy looks so cute and scraggly that I hated to ruin his hair-do. So I left him as is.
To show you another example, I made a second pom pom on the same template and wrapped it twice as much as the last one.
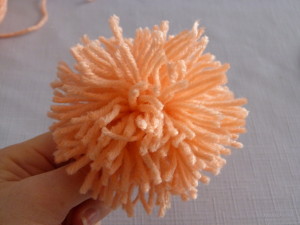
Repeating the steps for the last pom pom, here is the thicker pom pom, trimmed up and looking dapper.
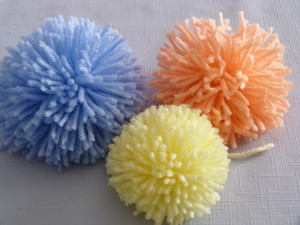
Depending upon the template, you can make pom poms of all sizes. It’s great fun and so simple! Experiment with yarn and color.
Here’s an idea for your next pom pom: Wrap once with one color and again with another color! Or try a variegated yarn. There are so many options!
And that’s it. I hope this tutorial has helped give you an idea of another way to make pom poms. If you have any questions or comments, just leave them below. Know that I’d love to hear from you! Which reminds me, I want to thank all of you for the positive feedback on part one! I hope part two has met your expectations. Thanks for reading!

That’s a compass you used, not a protractor.
Hi Mollie,
Thanks for the heads-up! I didn’t realize my mistake. 🙂
Amy
sometimes my poms fall apart, do you have any tips to keep this from happening?
Hi Stephanni,
I’ve had that happen. The answer is to tie the strand that holds it together very tight. It’s hard to do sometimes – an extra hand helps – but it will definitely keep the short strands of the pom pom from falling out or being easily pulled out. I hope this helps!
Amy