
Free Crochet Pattern: How to Make Your Own Chair and Table Socks
By Amy Yarbrough – 7 Comments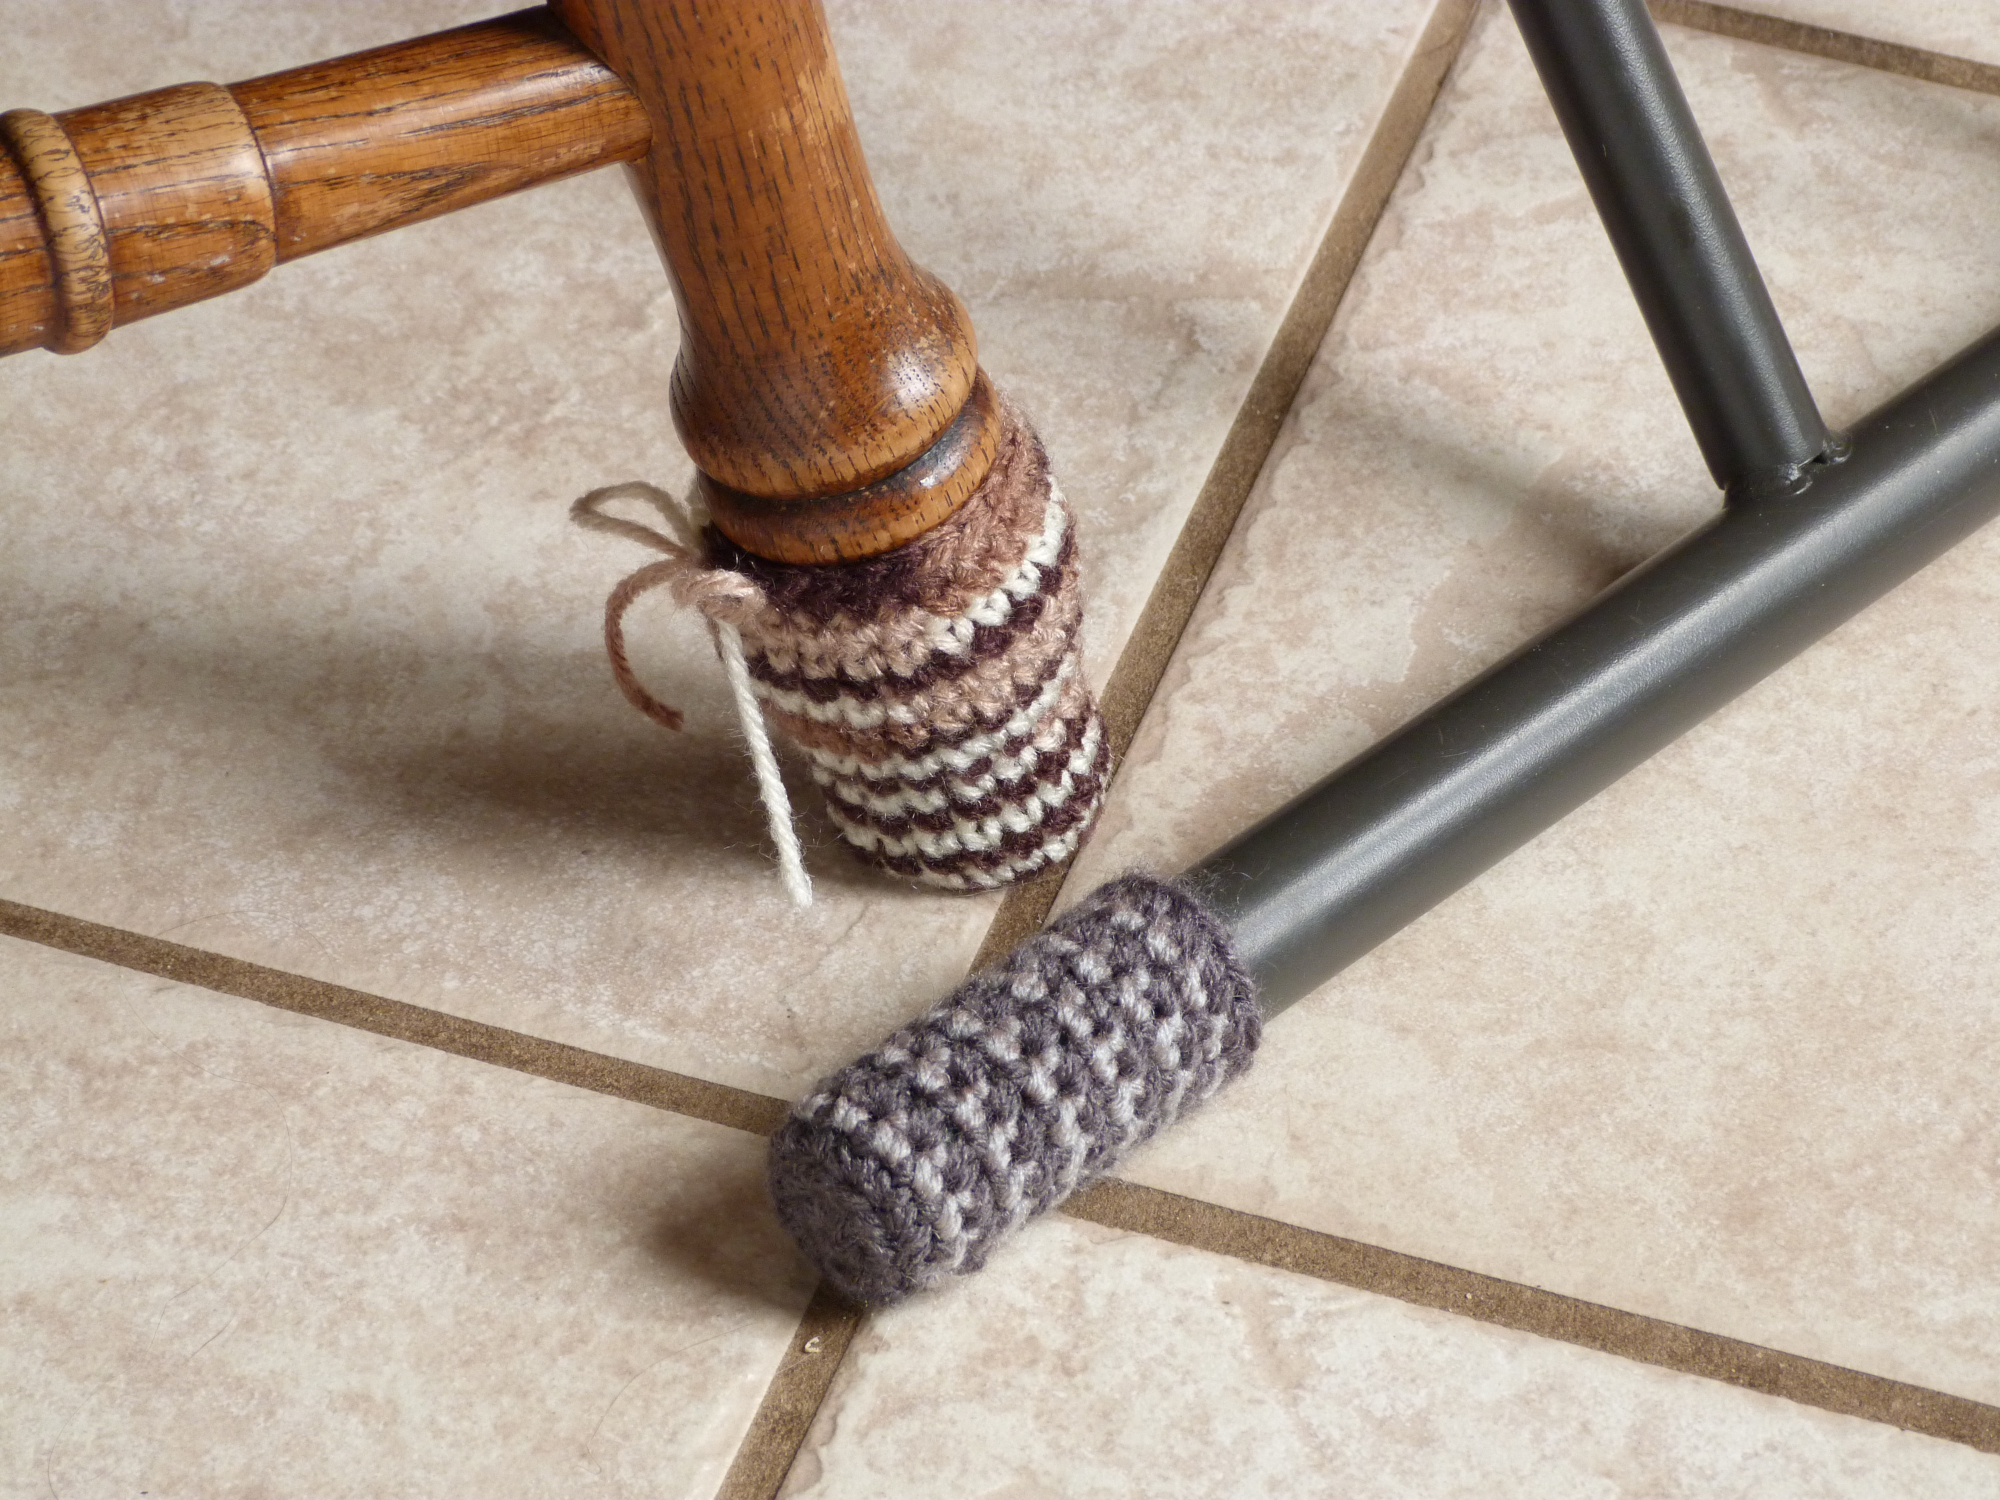
I love to crochet whimsical things but nothing gratifies me more than being able to make something useful. So after enduring the terrible screech of our chairs and foldout table on our hard floors I decided it was time to meet this need.
Though I have included patterns for two kinds of chair/table legs, this method can be altered to make socks for nearly any style of round legs.
| Skill Level: |  |
Finished Size: This tutorial explains how to make your own socks so the finished product will depend on your chair or table legs.
| Materials: Medium weight yarn is preferred but you can use whatever you like Crochet hook F (3.50mm), or whichever will give you nice, tight stitches Yarn needle |
Gauge: is not necessary for this project
Tip for working in Back Loops Only: When working in the back loops only insert the hook through the loop behind the back loop as well to reinforce the stitch.
Need help understanding the abbreviations and symbols? Check out the crochet abbreviation chart.
Crochet Pattern: How to Make Your Own Chair and Table Socks
Socks for Straight Legs
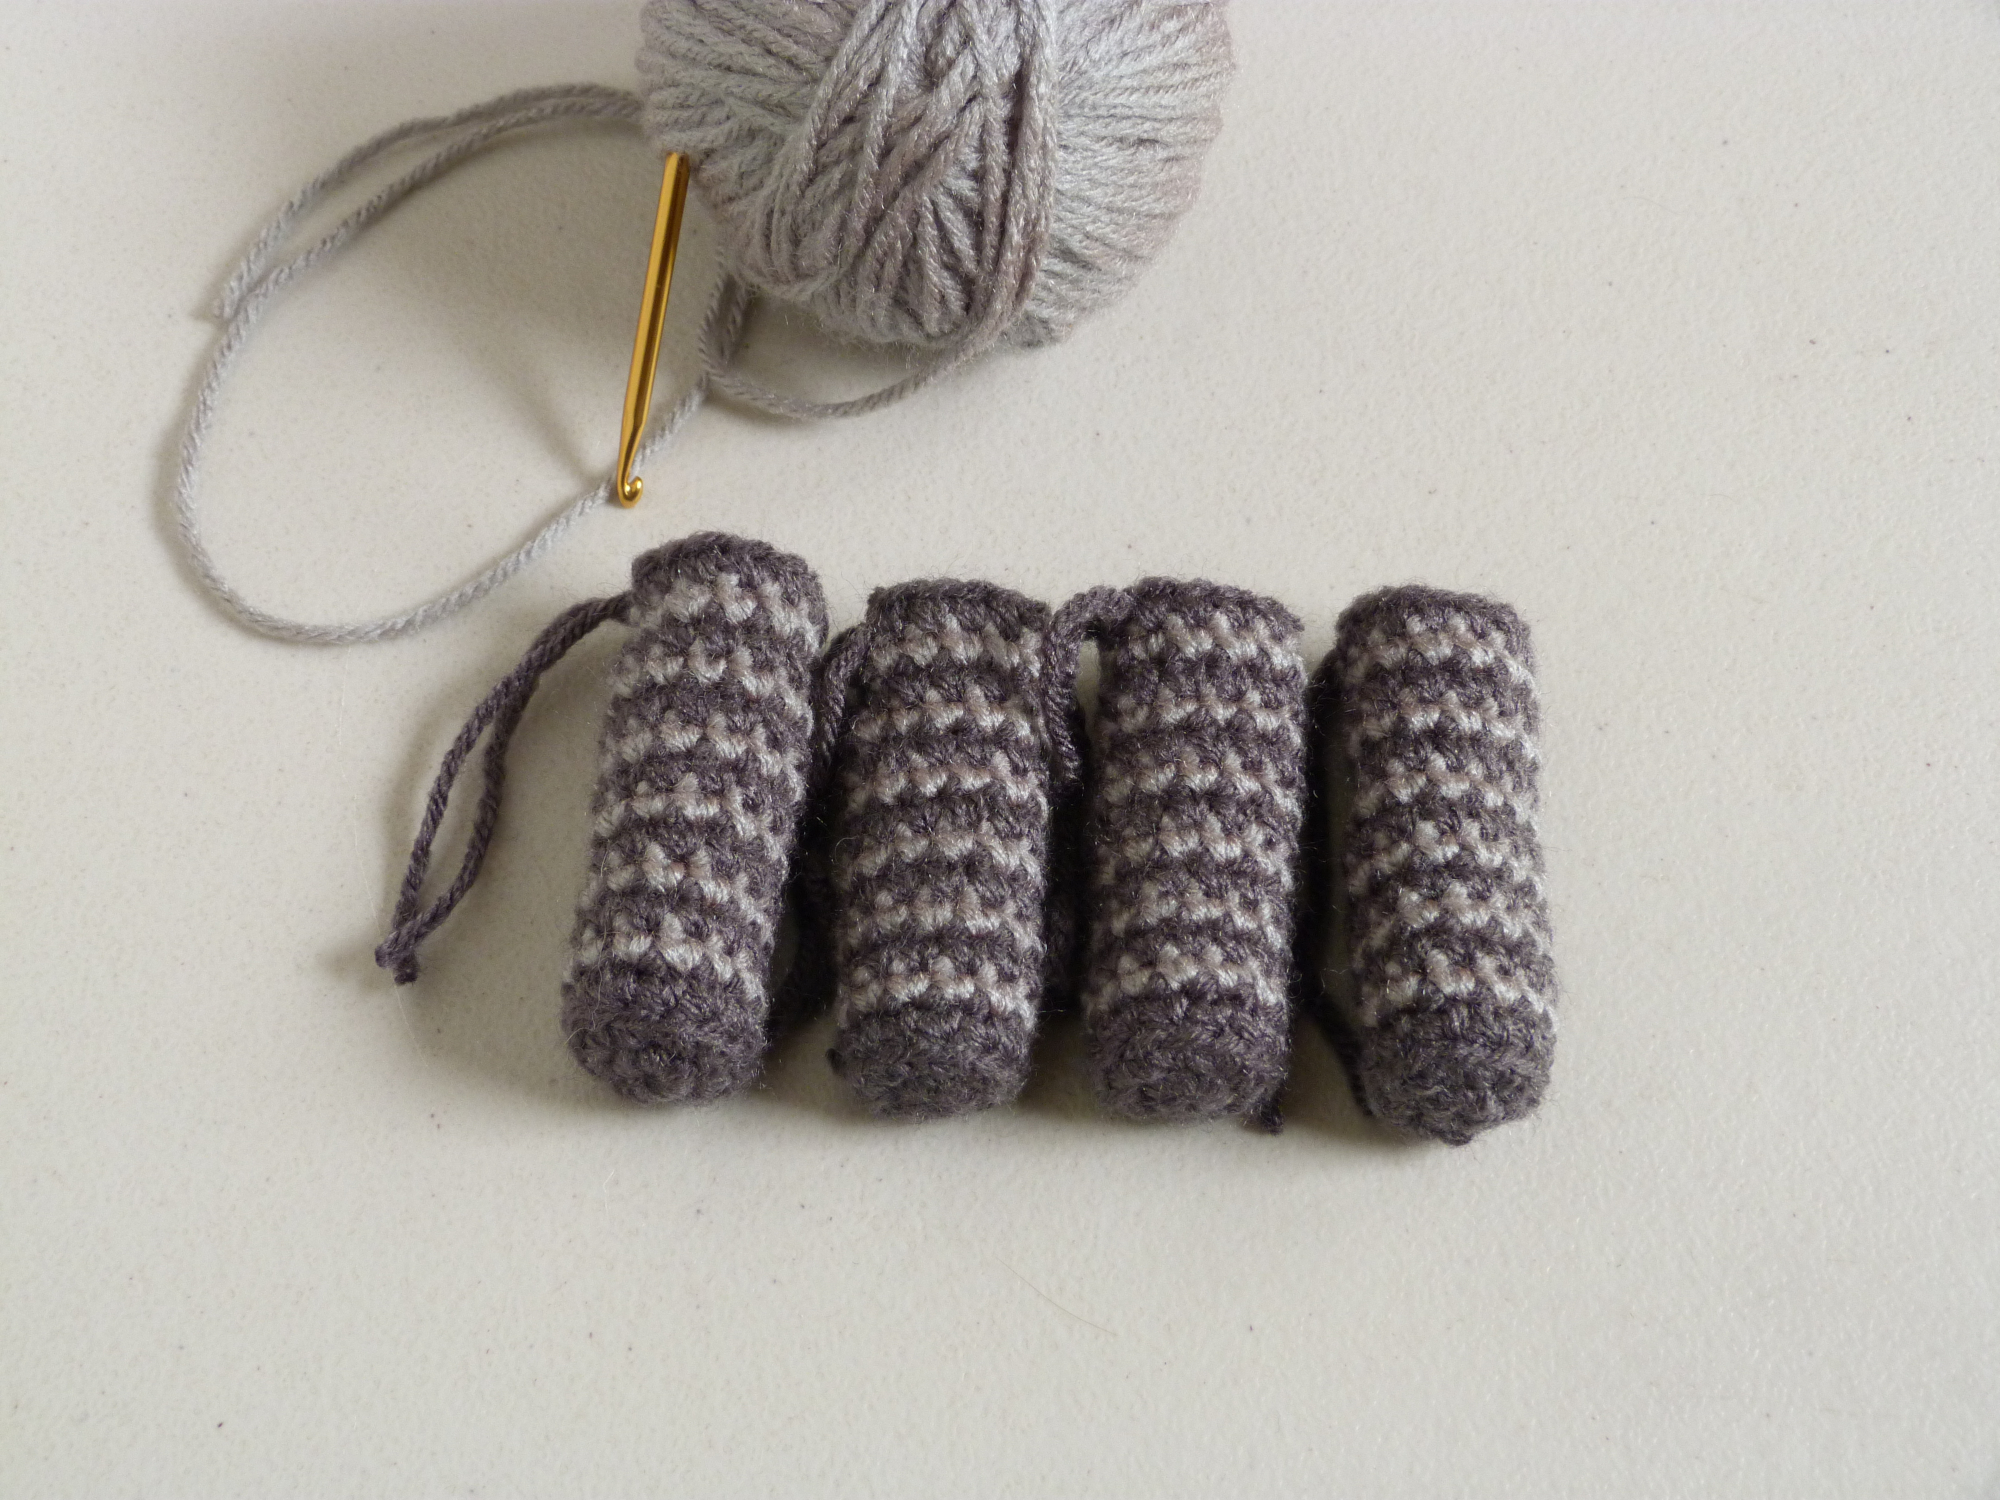
Straight legs are the easiest because there is no shaping required. Find the circumference of the chair or table foot and crochet a circle to measure the same.
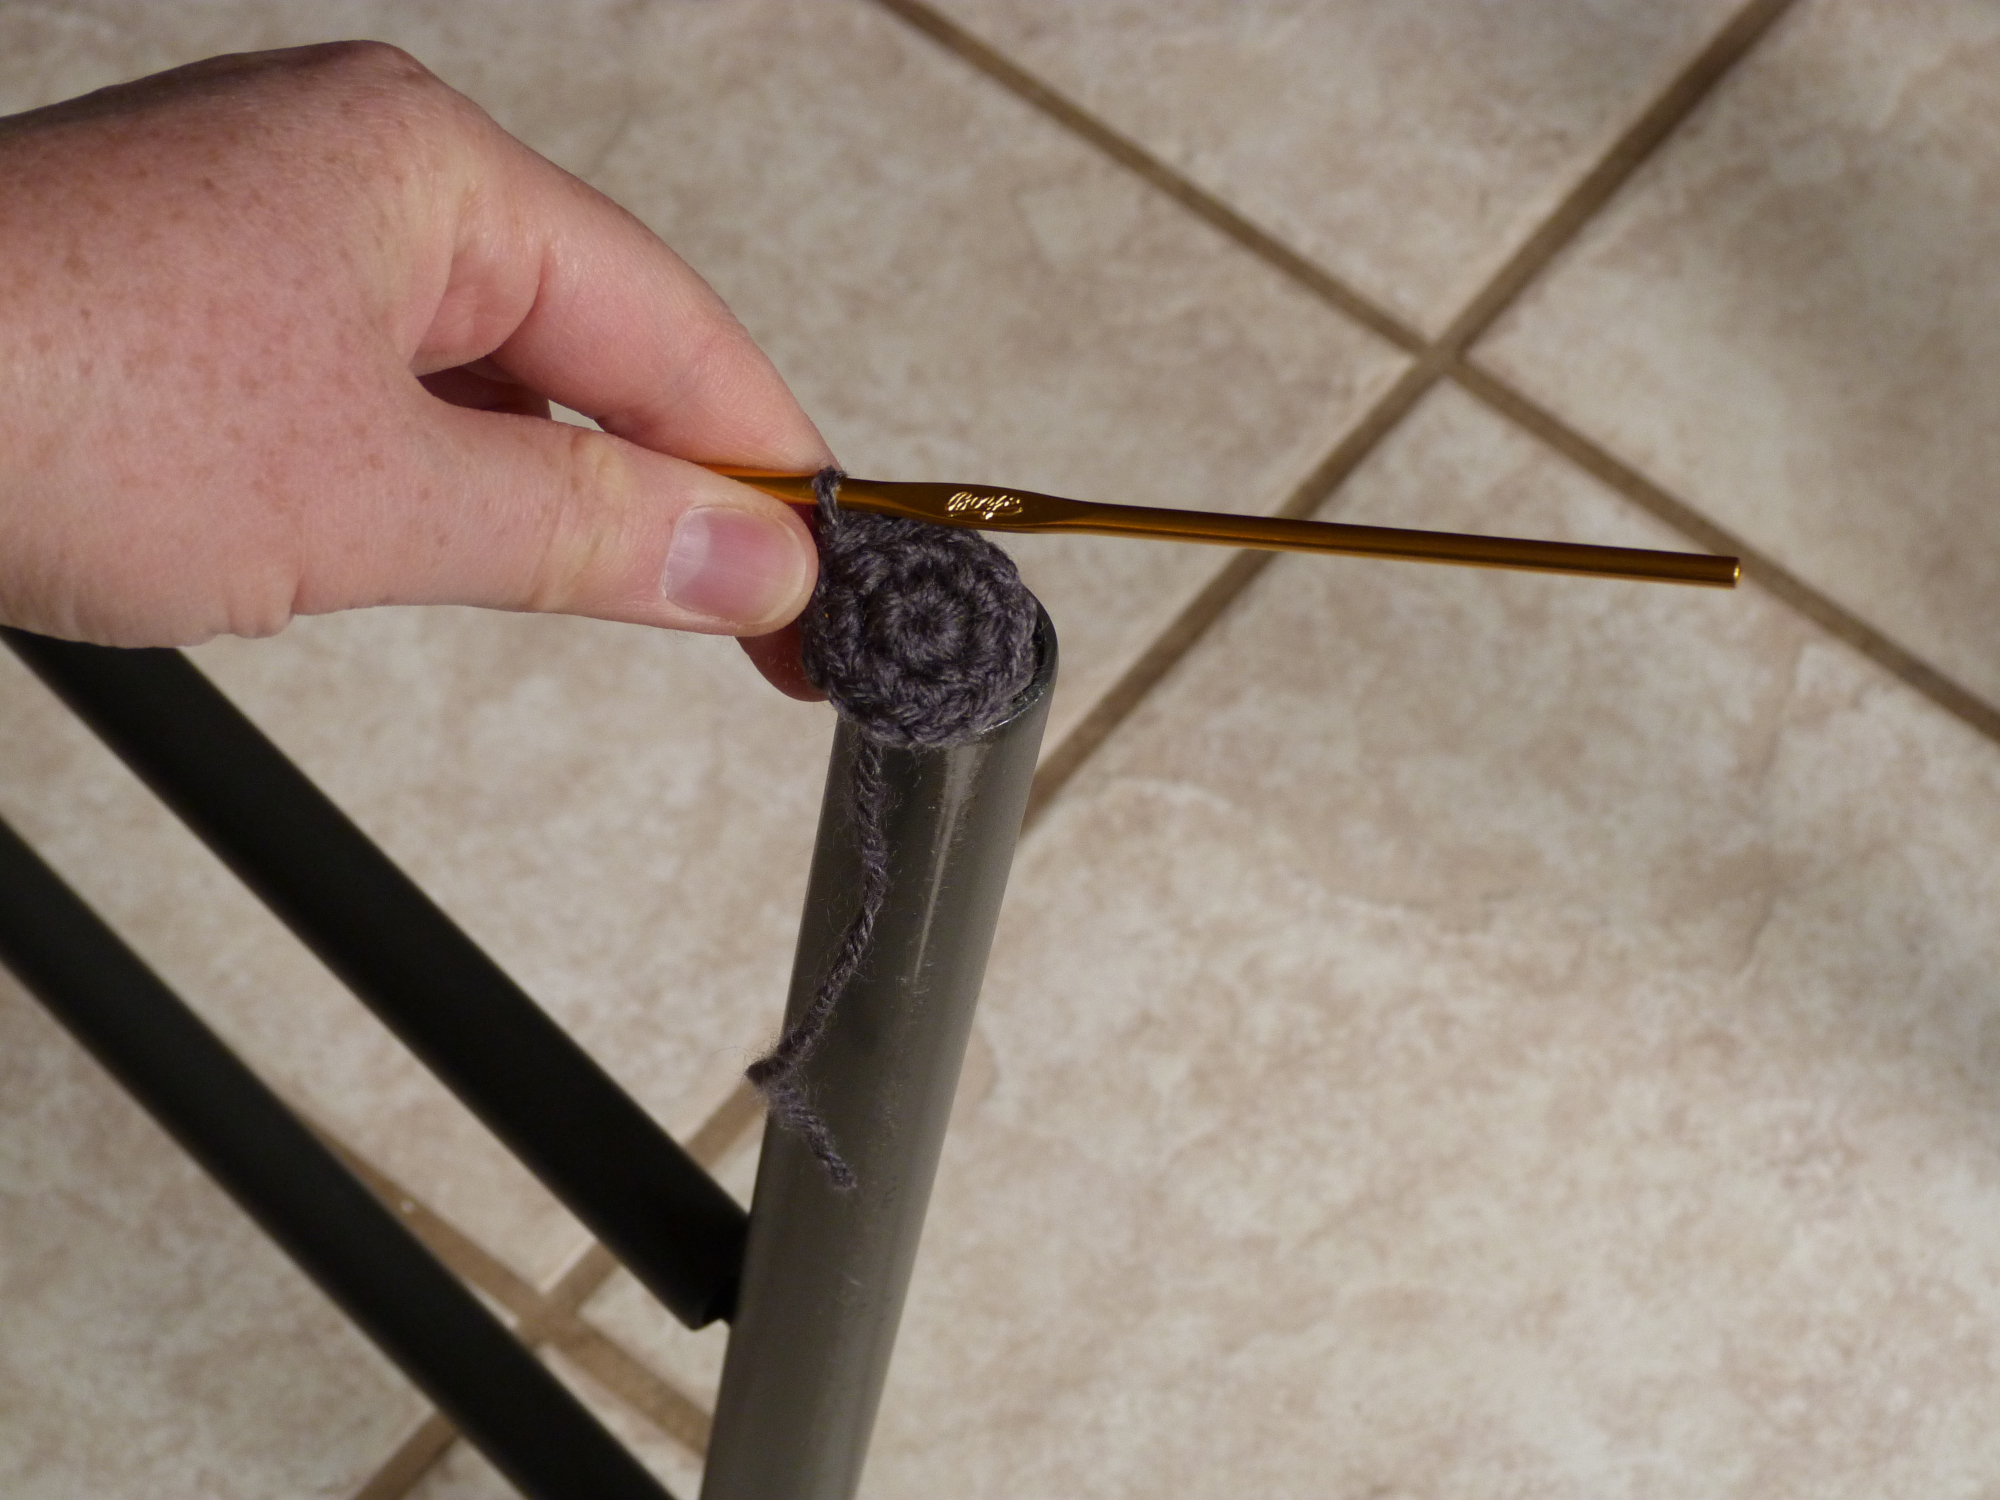
Here my table was around an inch in circumference so I crocheted a circle that measured about the same. I merely guessed at how far up the leg I wanted the sock to go.
Here is my pattern:
Round 1: with dark gray, make an adjustable ring, ch 1, 6 sc in ring, sl st in first sc: 6 sc
Round 2: ch 1, 2 sc in each sc around, sl st in first sc: 12 sc
Round 3: ch 1, sc in back loops only in each sc around, sl st in first sc: 12 sc
Round 4: with light gray, ch 1, sc in each sc around, sl st in first sc: 12 sc
Rounds 5 – 15: repeat Round 4, alternating between dark gray and light gray for stripes, or as long as you desire. Finish off.
Make a drawstring to ensure the sock stays on by threading the yarn needle with a 6 inch tail of dark gray, or whatever color you finished with, and sewing through the stitches of the last round. When placed on chair or table legs, tie strands tight, though not so tight you can’t remove the socks.
If you’re legs are larger in circumference then work as many rounds necessary to reach the size. Keep in mind that you want your socks to fit tight so that they do not come off.
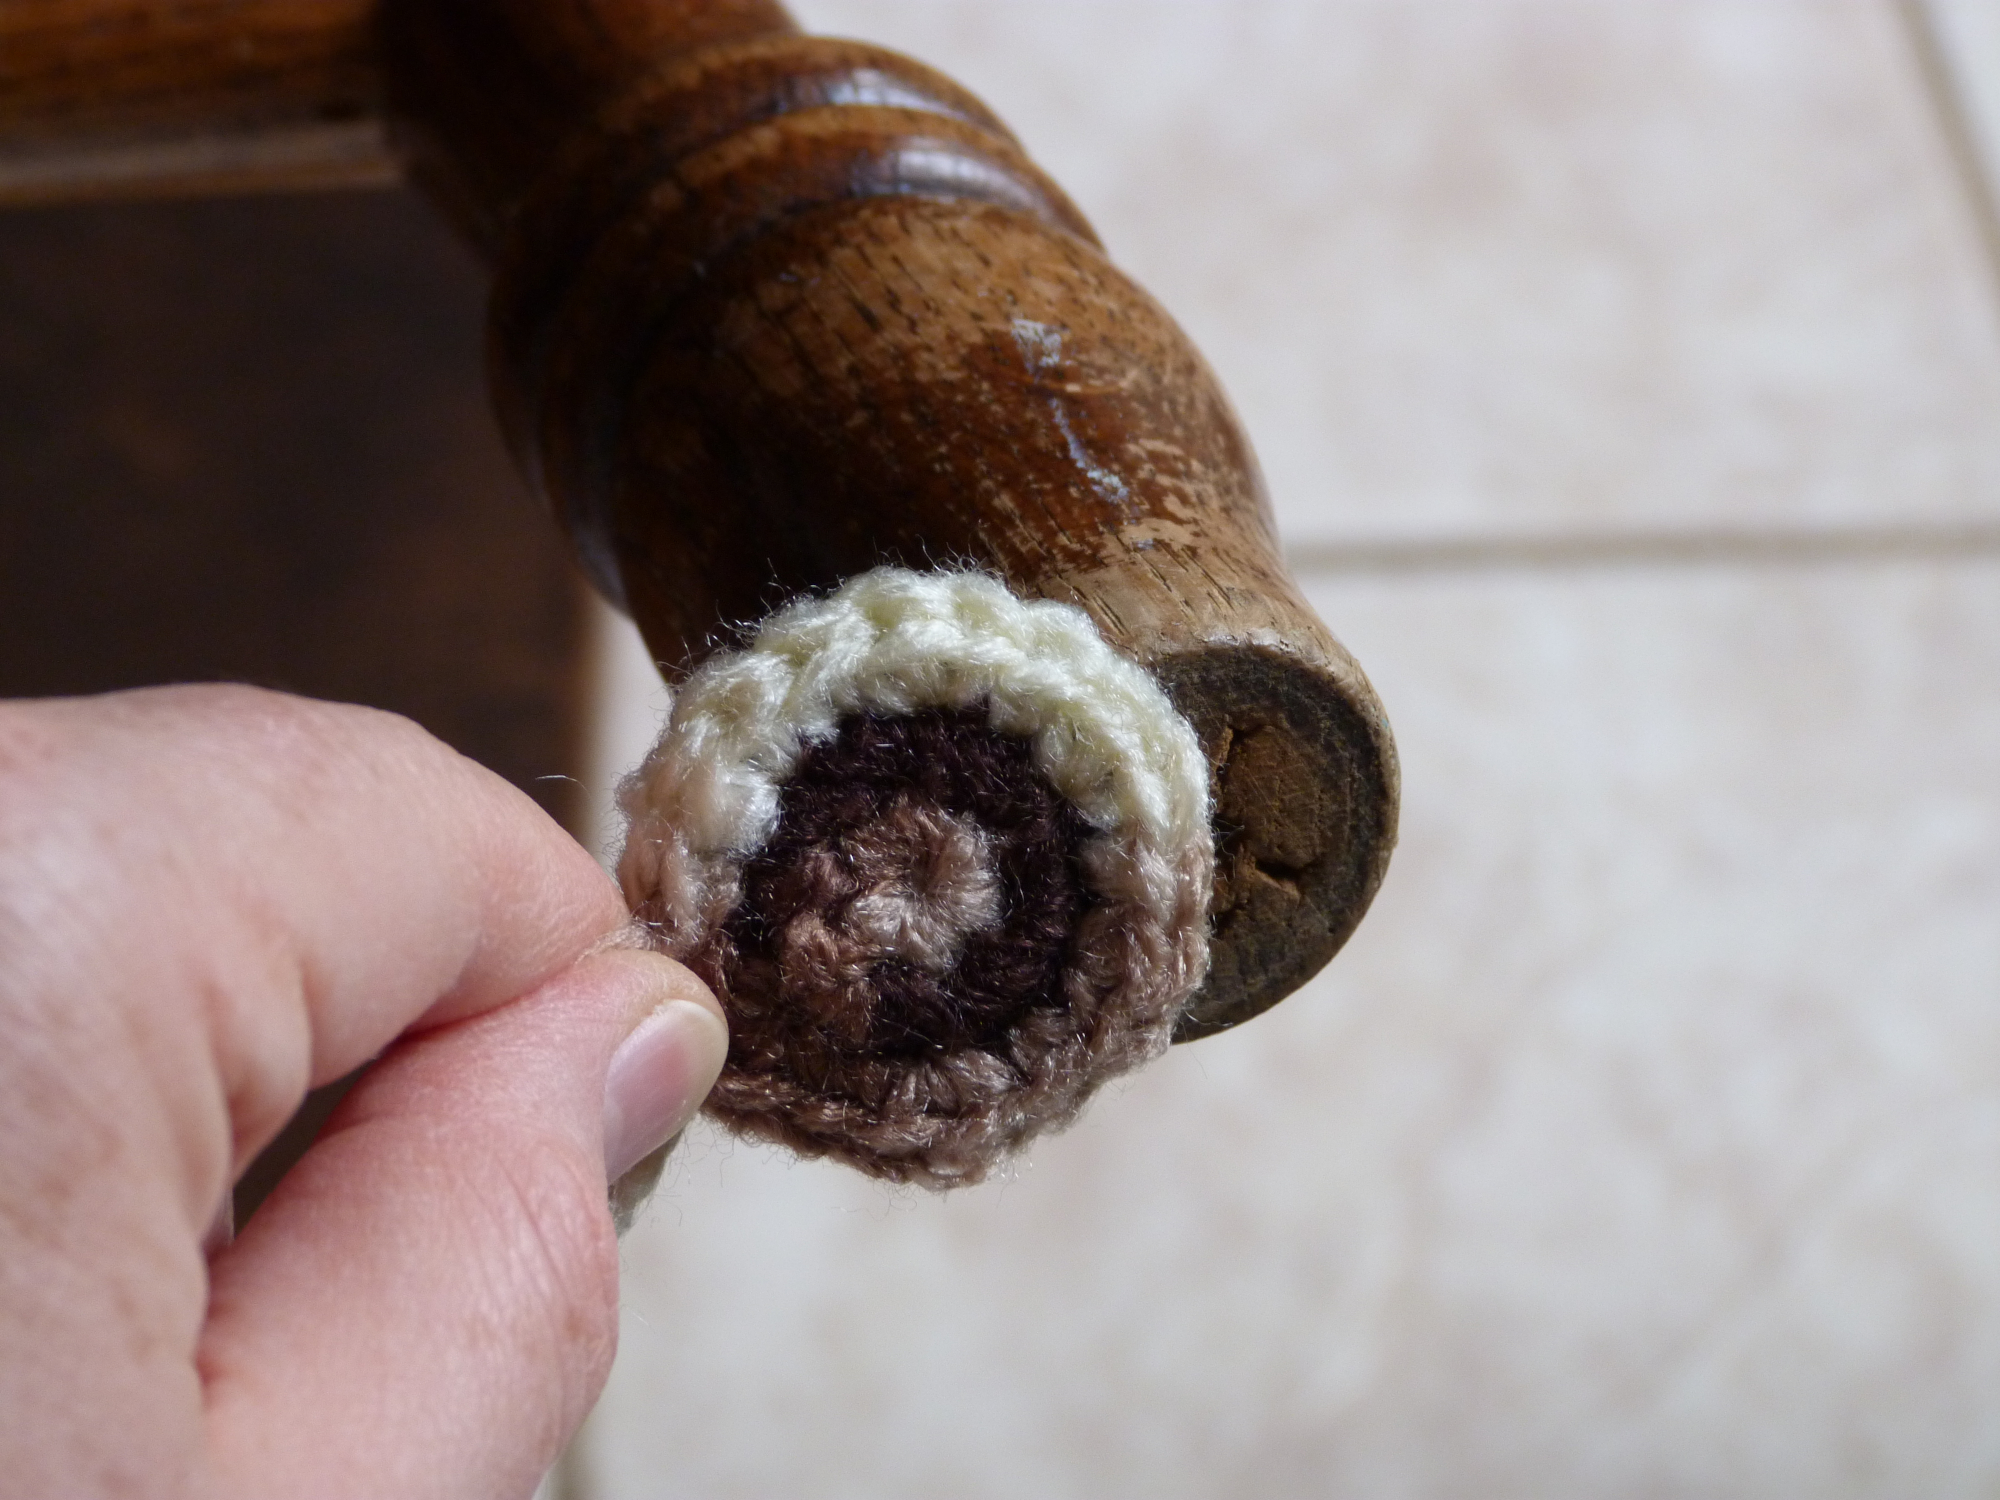
Socks for Multi-Sized Legs
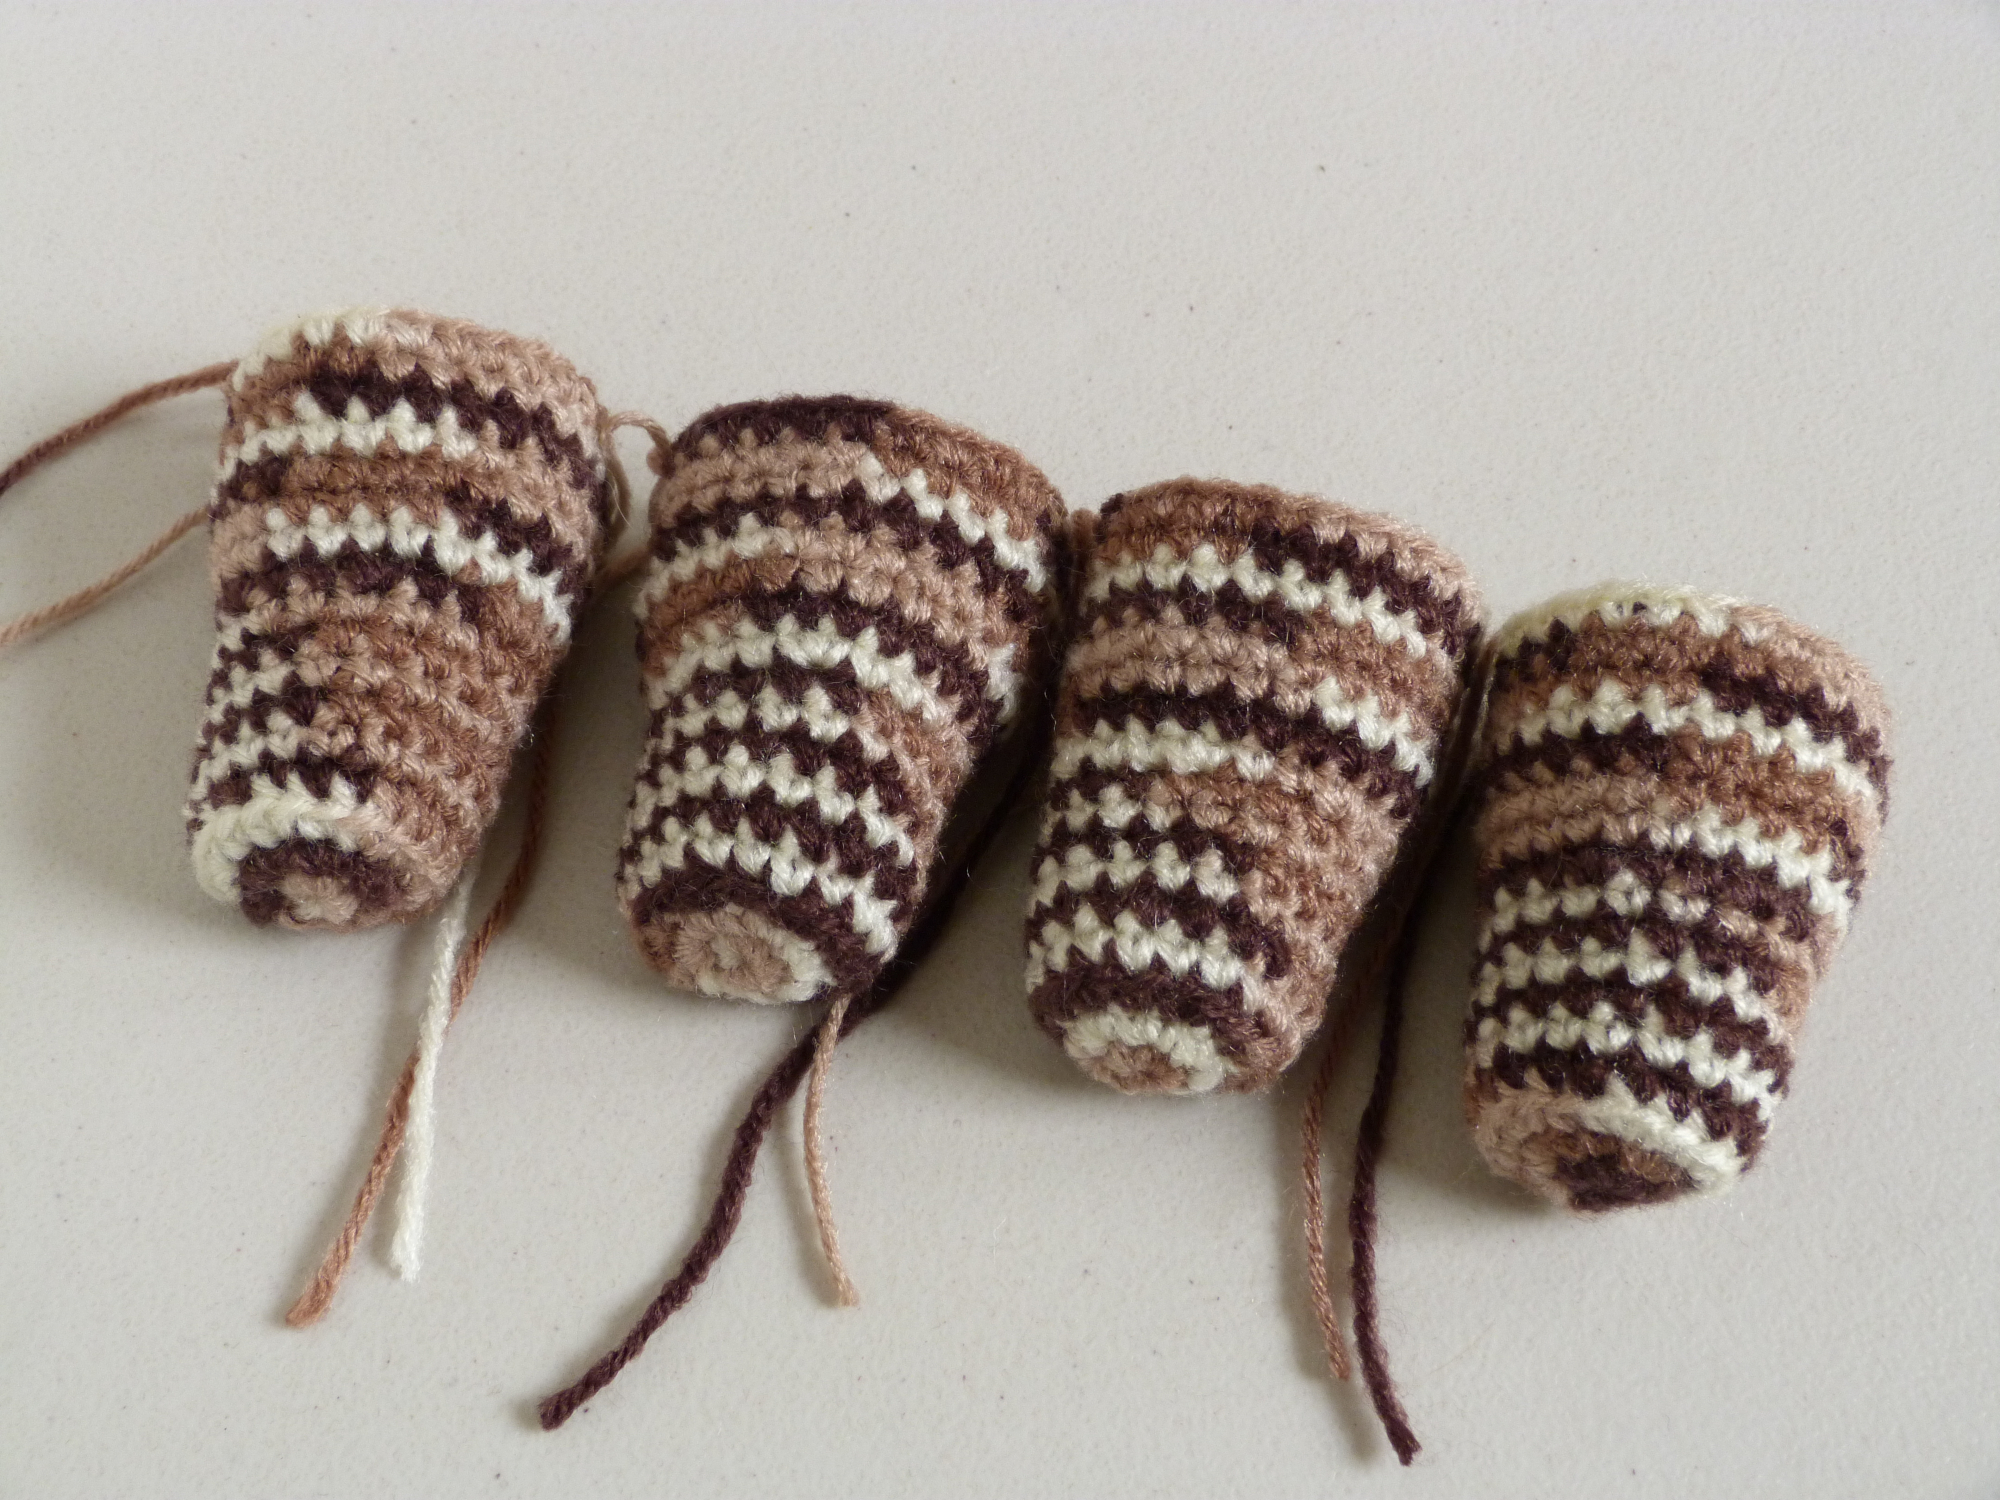
For legs that alternate in size, start with the base circumference as before. The width of my chair leg increased after about an inch so I increased for one round. I didn’t make it any longer after the leg width began to decrease.
But perhaps your table or chair legs are shaped differently. Simply follow the method, increasing only when your leg begins to widen.
I used a variegated yarn but feel free to use as many colors as you care to work with.
Here’s my pattern:
Round 1: make an adjustable ring, ch 1, 6 sc in ring, sl st in first sc: 6 sc
Round 2: ch 1, 2 sc in each sc around, sl st in first sc: 12 sc
Round 3: ch 1, * 2 sc in next sc, sc in next sc, repeat from * around, sl st in first sc: 18 sc
Round 4: ch 1, sc in back loops only in each sc around, sl st in first sc: 18 sc
Round 5 – 8: ch 1, sc in each sc around, sl st in first sc: 18 sc
Round 9 (increase round): ch 1, * 2 sc in next sc, sc in next 2 sc, repeat from * around, sl st in first sc: 24 sc
Rounds 10 – 16: ch 1, sc in each sc around, sl st in first sc: 24 sc
Finish off.
Make a drawstring to ensure the sock stays on by threading the yarn needle with a 6 inch tail and sewing through the stitches of the last round. When placed on the chair or table legs, cinch and tie strands.
Because of the width changes in this sock it is not a tight fit but held on instead by the drawstring.
What do you think? Are you ready to make your own chair and table socks?
Do you have any questions? Leave me a comment below!

I plan give it a try this weekend. Thank you for posting.
Glad to hear it! My pleasure, Cheri!
Amy
I am excited to try this.
Thank you for sharing this pattern
Kathy Moore
Good, I hope you enjoy my pattern! My pleasure, Kathy!
Amy
I love this idea! Your blog always has such great patterns.
Thanks, Erica! We’re glad to hear it.
What a great pattern!