
How to Crochet: Spike Stitches
By Claire Ortega-Reyes – 9 Comments| Sometimes we don’t really need to learn a new technique to add fire power to the crochet arsenal. Would you believe that the visually stunning spike stitch is done just by inserting your hook in different places in your work? Yes, we use the same old stitches we’re so familiar with — single crochet, half double crochet, double crochet, and so forth. The only difference is that we insert the hook in a lower place in the work before making the stitches. |  |
This tutorial shows how spike stitches are made. For this particular tutorial, we will be using single crochet spike stitches, but of course they can also be done using any other basic crochet stitch. Mousing over the images shows the photos for the left-handed tutorial.
The first thing needed to make the spike stitch is a bed of foundation stitches. For the sample, I made four rows of single crochet stitches. Using sc’s would be best for crocheters making the spike stitch for the first time — they make the perfect canvas for the stitch.
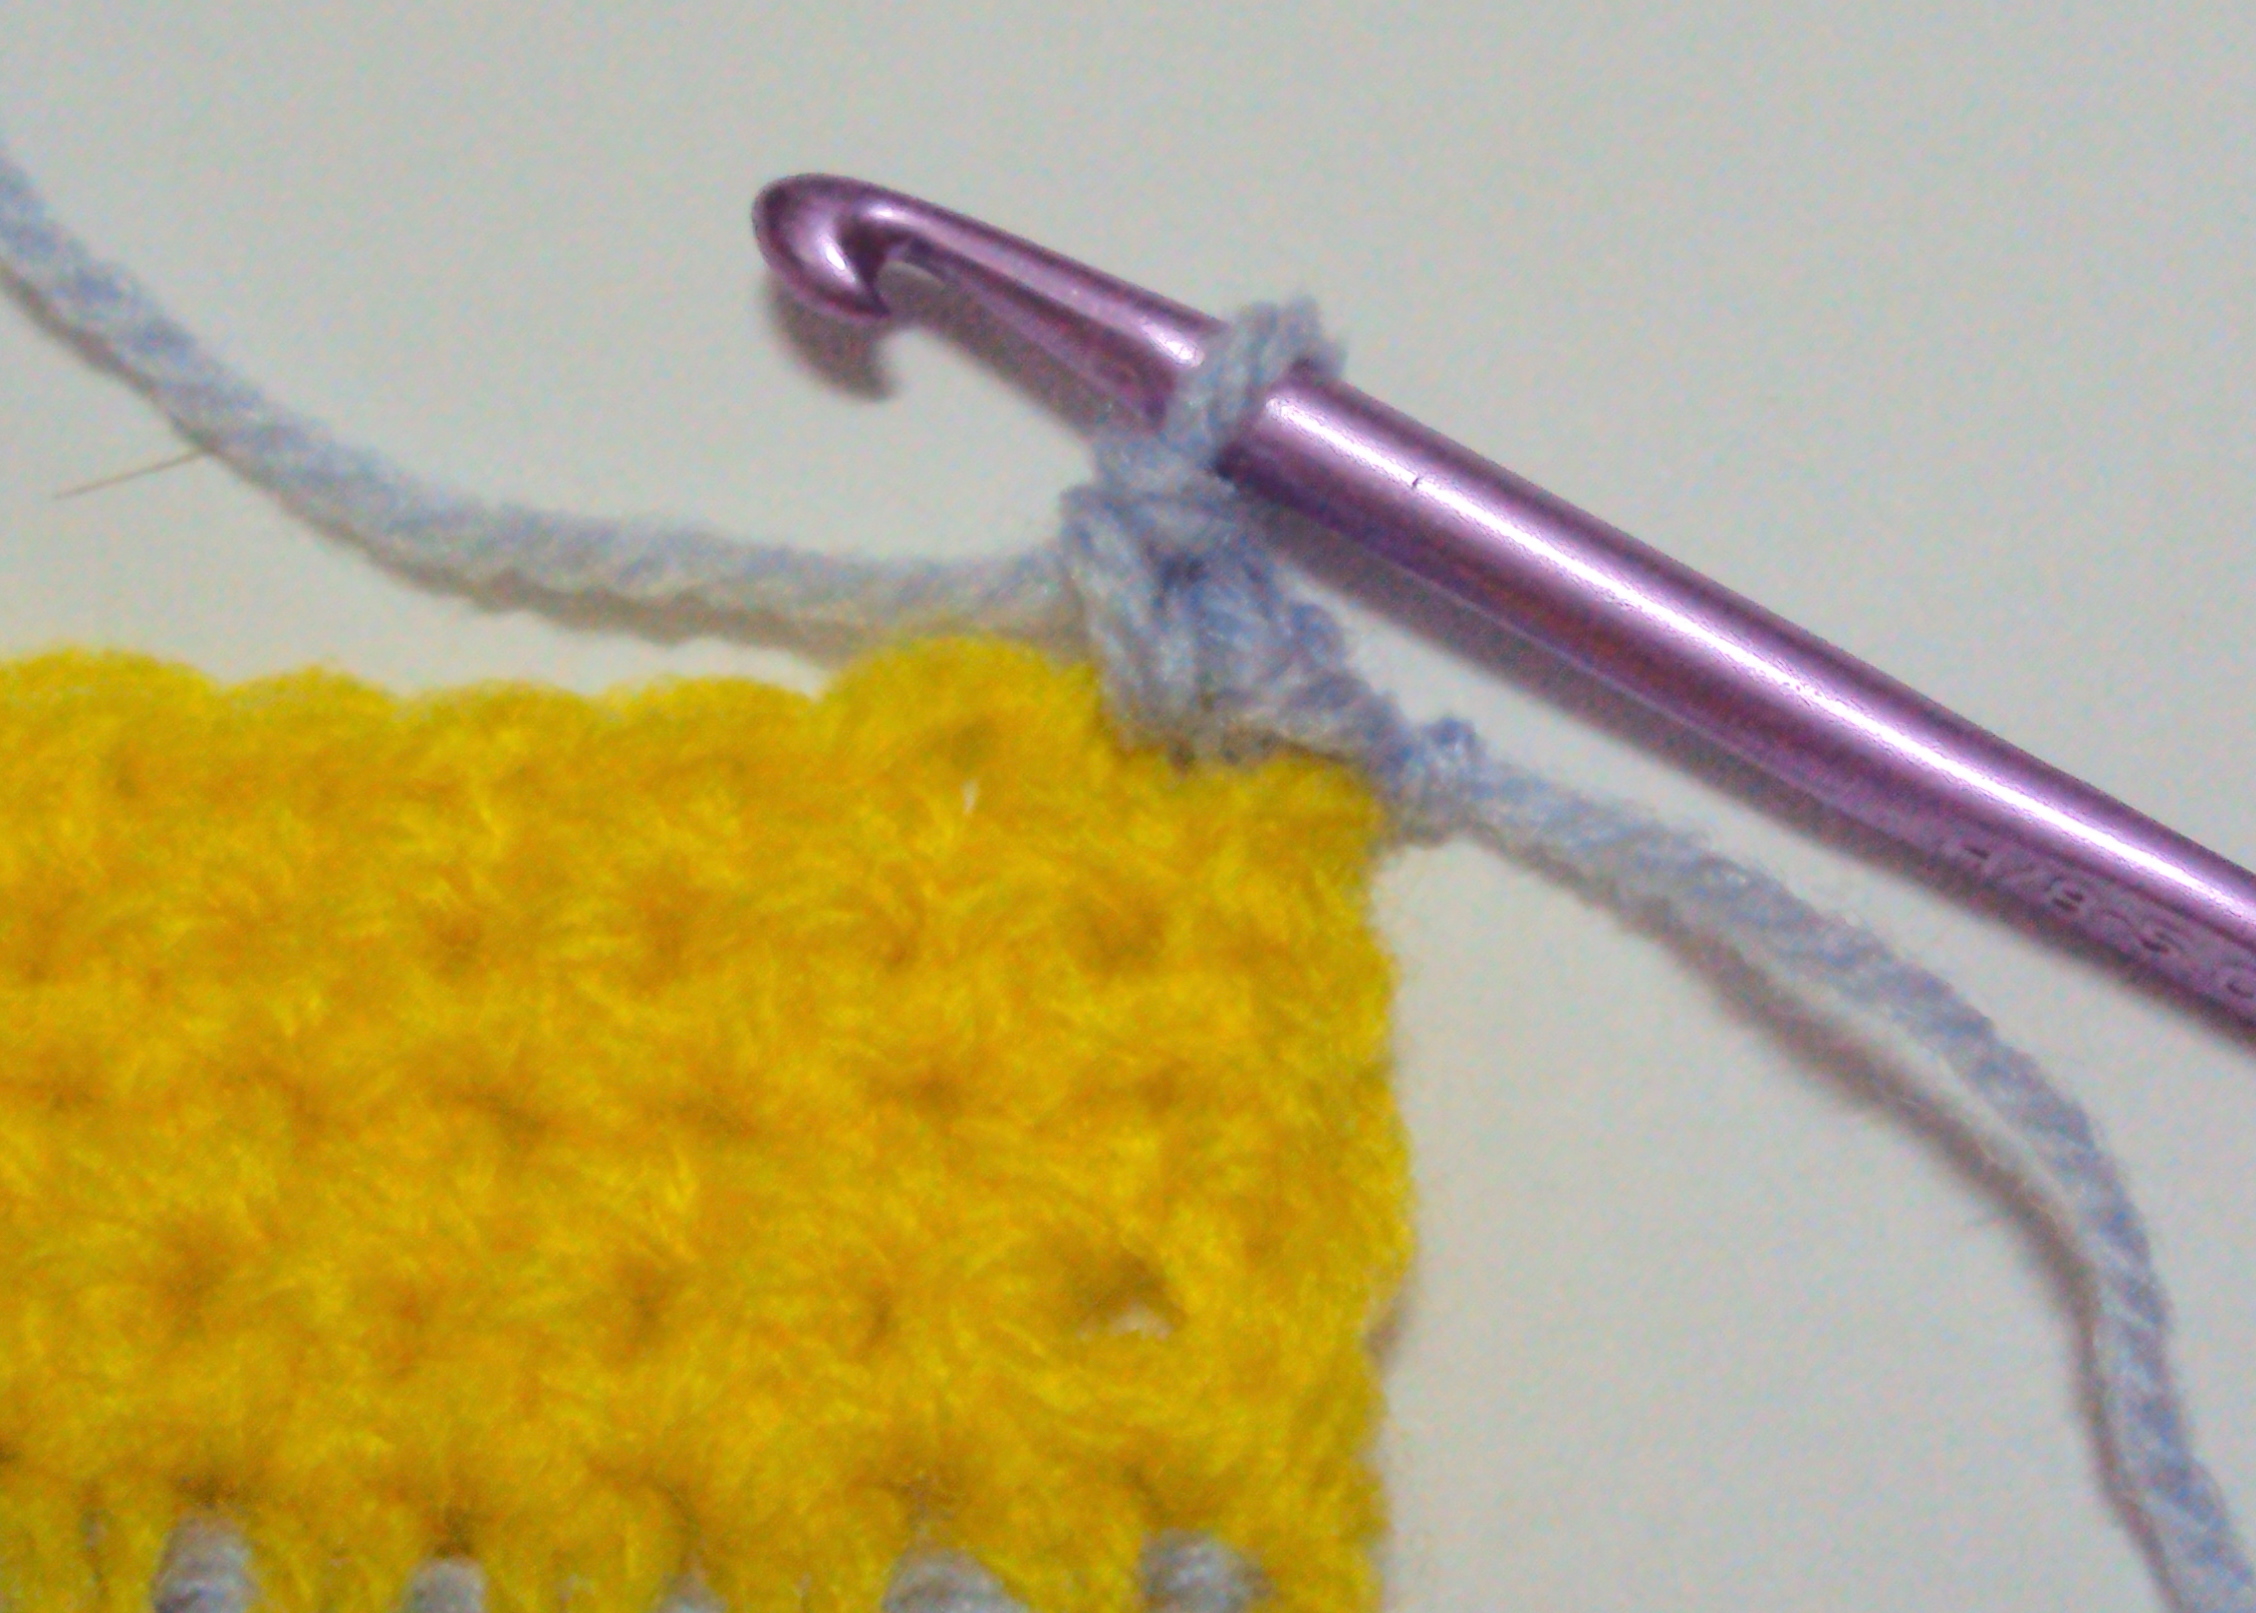
Step One: Make the first stitch. In our example, it’s one regular sc. Doing this anchors the rest of the row, specially if we’re making consecutive spike stitches.
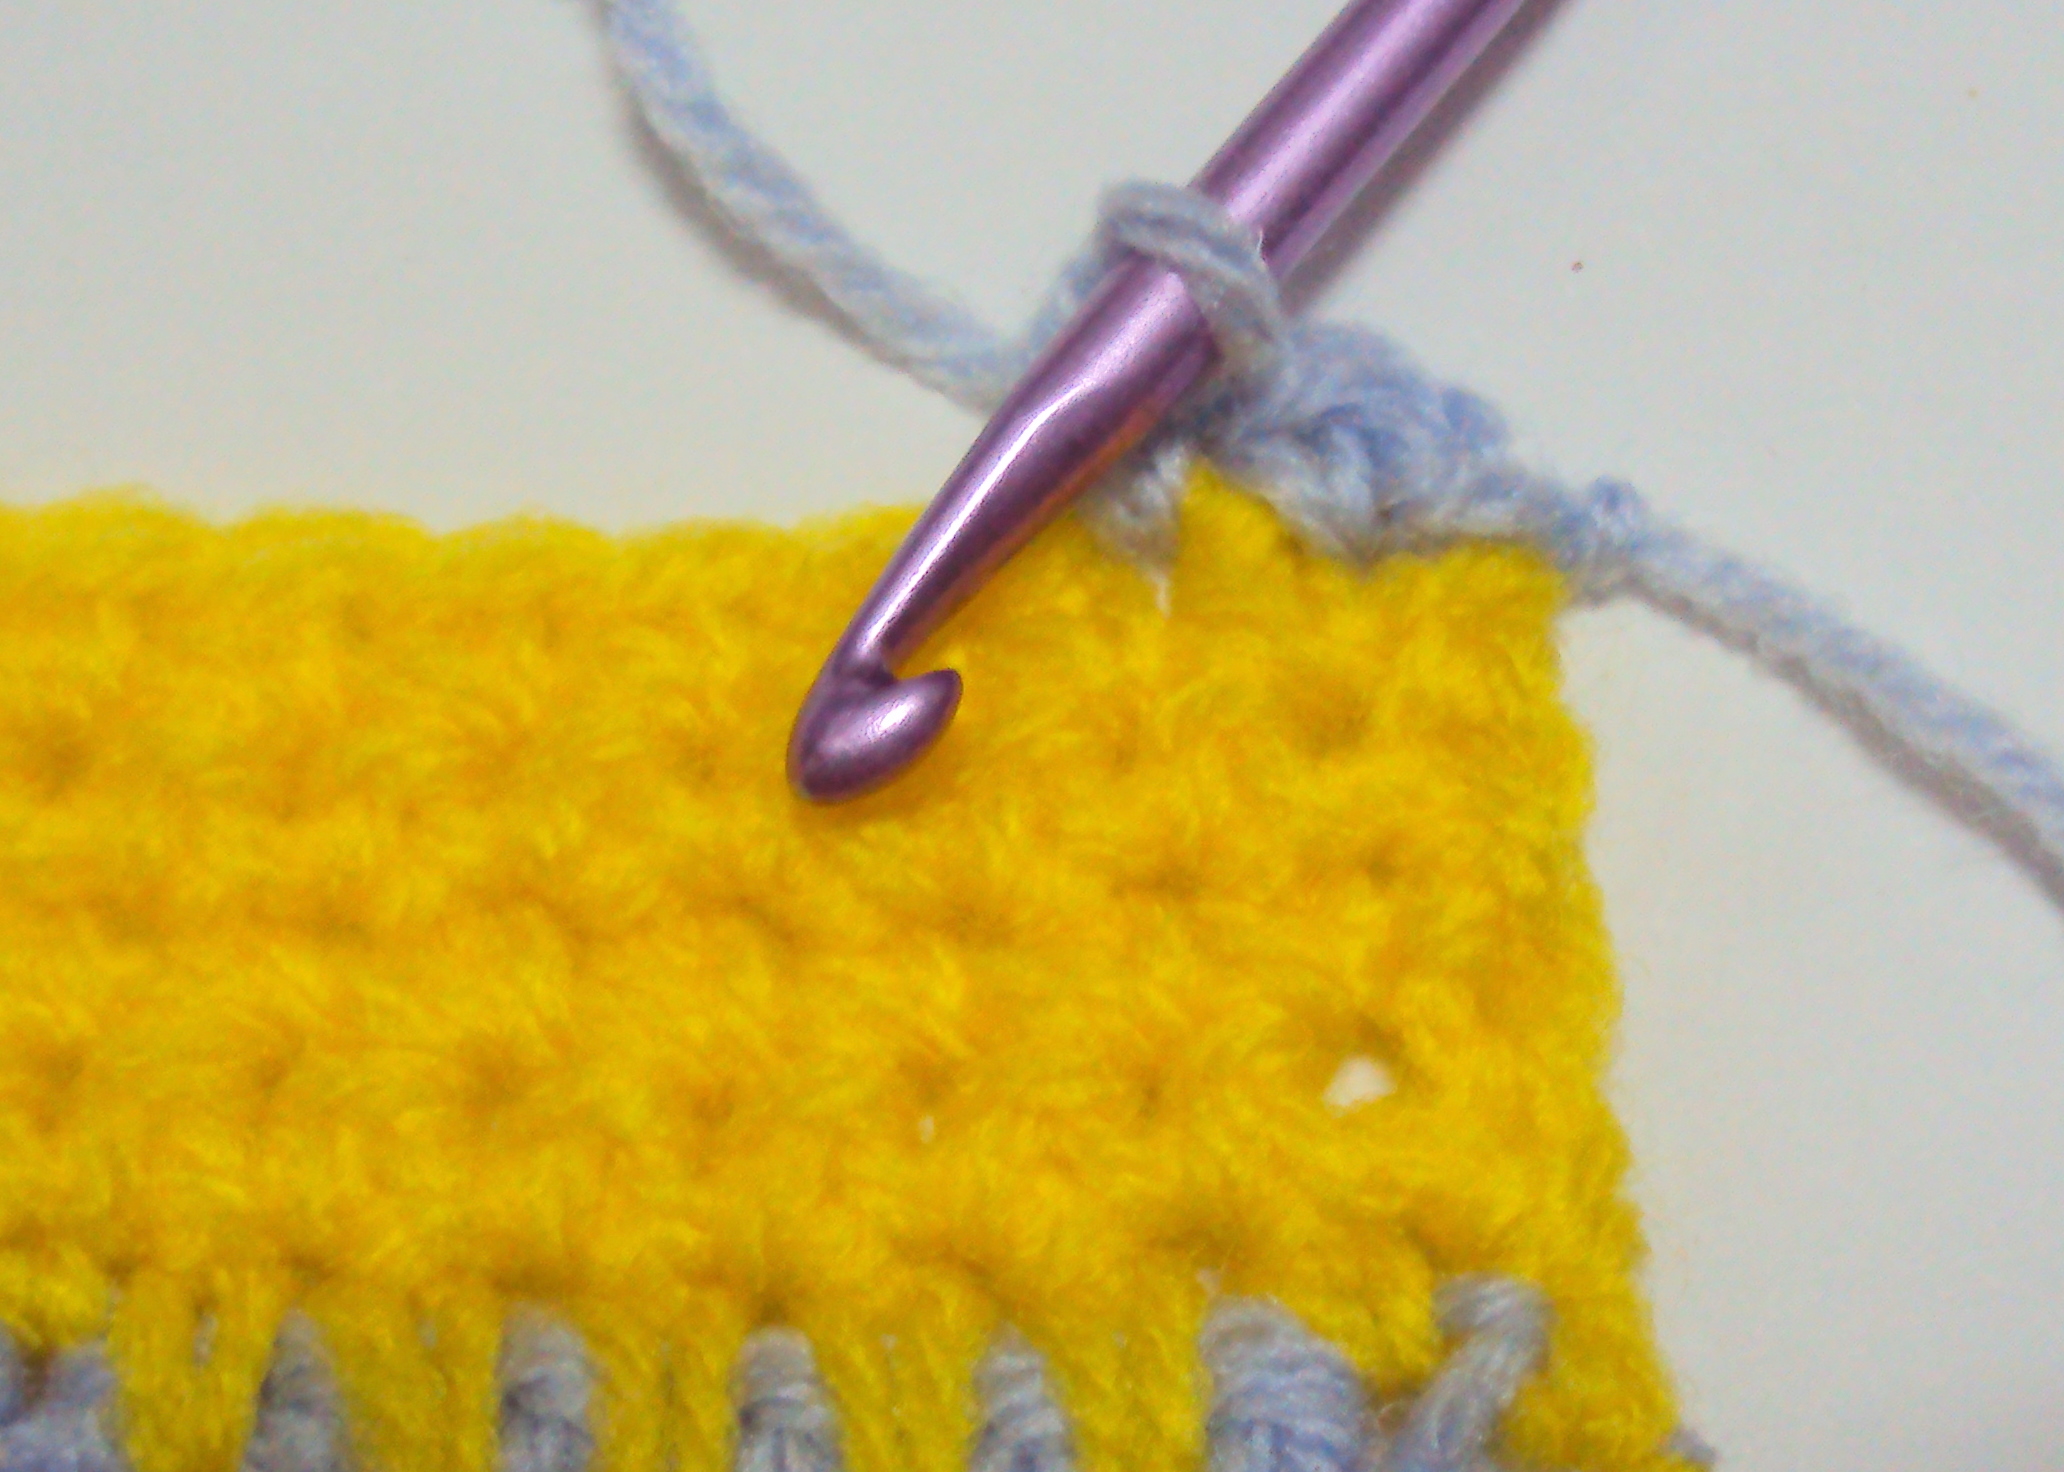
Step Two: Find that hole! If you’re following a pattern, it will say where to insert your hook, for example, “spike stitch two rows below.” If you’re just winging it, try to visualize where to best insert your hook to achieve the design you have in mind. For this particular swatch though, we’re making the stitch one row underneath the current row. Don’t be too nitpicky! Crochet stitches mostly slant to one side, so the holes where we can insert the hook may be to the left or to the right of the current stitch; don’t panic if there’s no hole directly underneath your place in the work. Just make the stitch in the nearest approximate hole.

Step Three: Make the stitch. Insert hook in intended space underneath the row you’re working on, and complete the stitch. For this tutorial, yarn over and pull through space or hole.
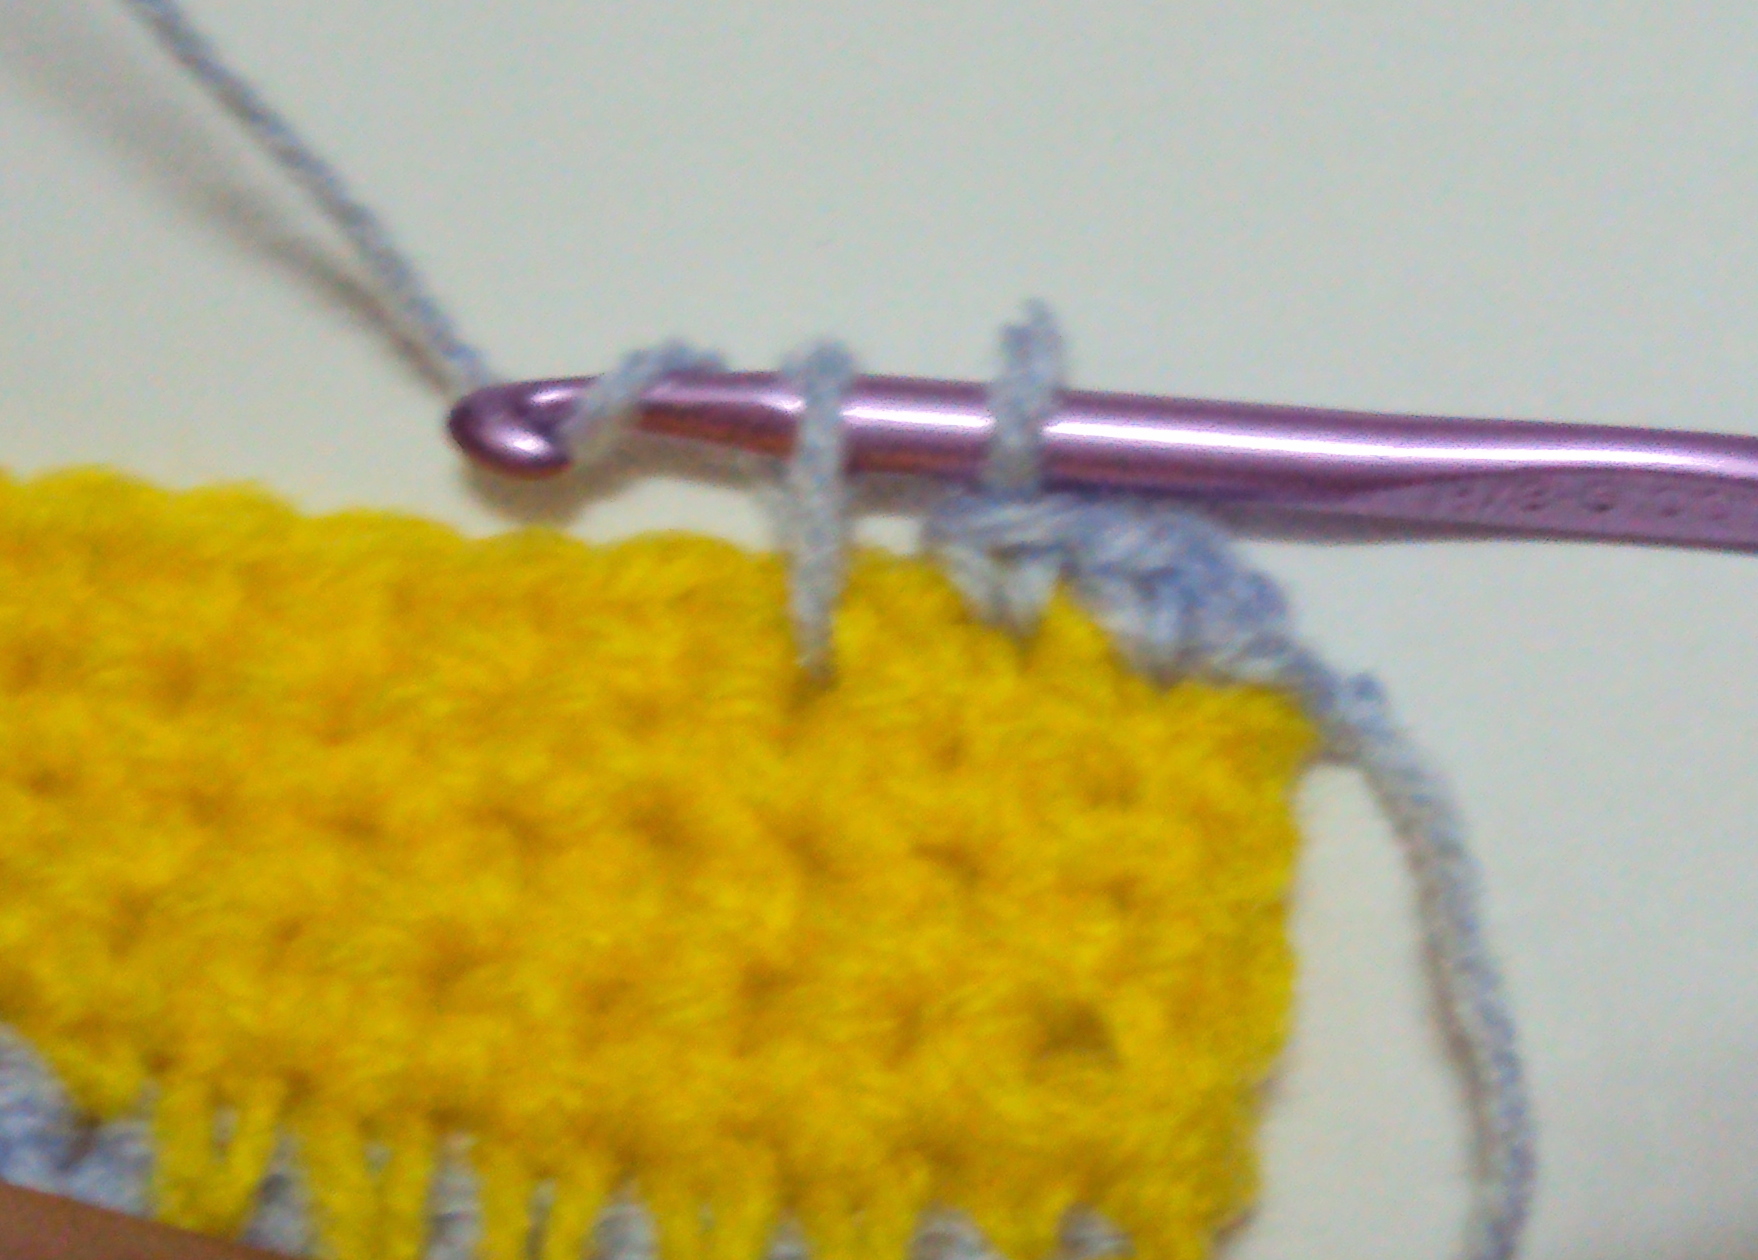
Step Four: Pull up the yarn to the same height as the anchor stitches in the row. This is a vital step in ensuring the neatness of your work–if you don’t do this, the row will turn out uneven.
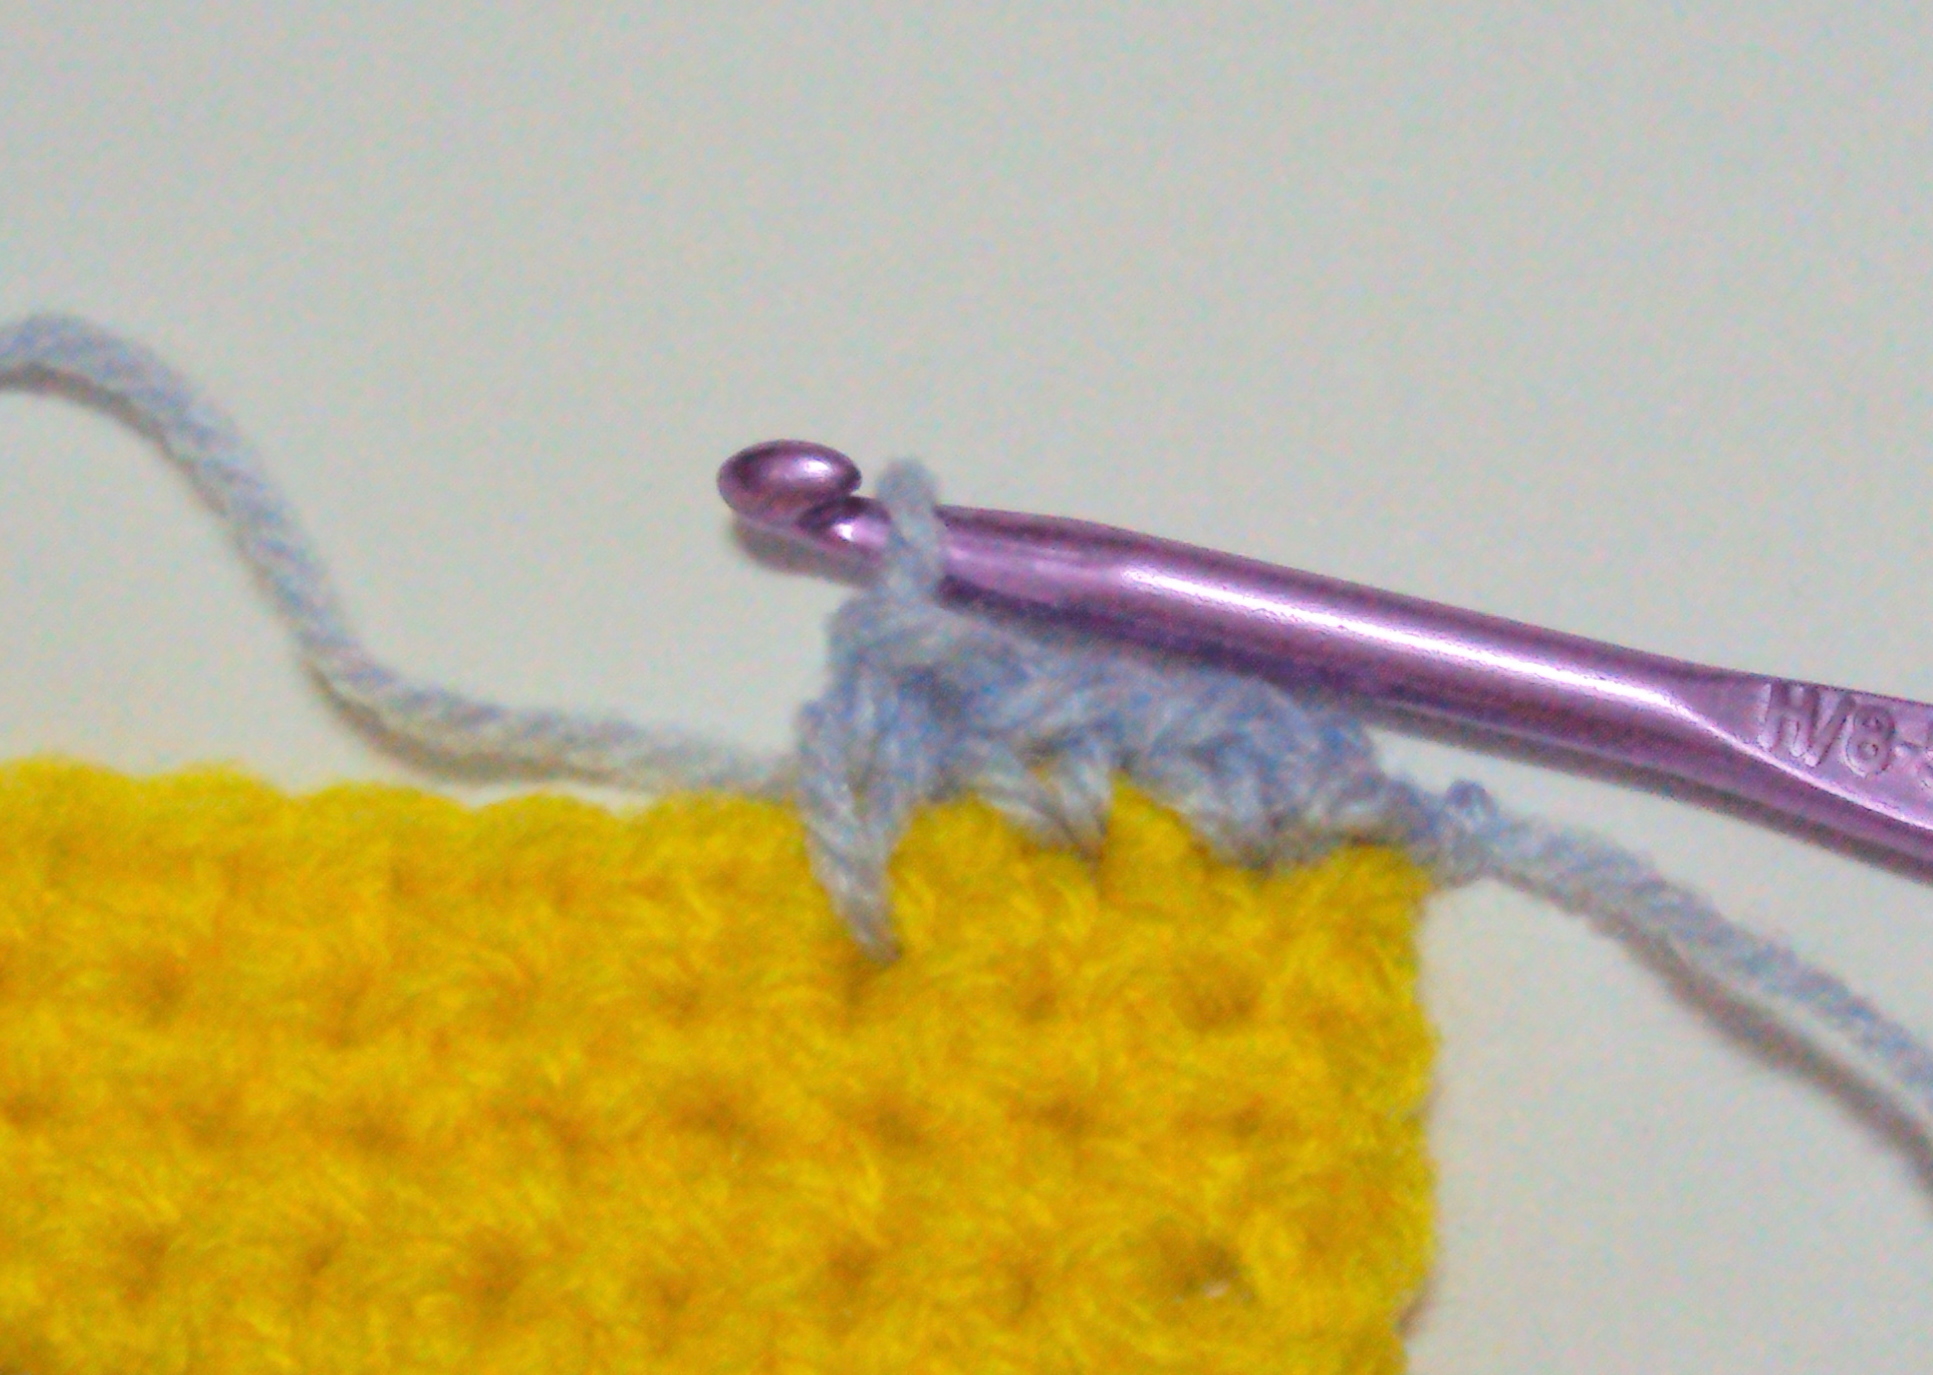
Step Five: Complete the spike stitch. Yarn over and draw through two loops (for sc). Hurrah, one spike stitch made!

Step Six: Continue with the rest of the work. Experiment with the spike stitches–make them in random spaces for a staggered look, or in an established pattern as seen in this tutorial. Have fun with it!
I hope that was helpful! If you have any questions, just leave a comment below. Happy crocheting!

awesome job!! looks really easy! can’t wait to try it! thanks soo muchh!!! =)
I never would’ve thought to do something like this, and it’s so simple once you explained it. Brilliant!
This is so cool, and looks so easy! Thanks Claire!
Thanks again, I am going to try this technique. I am new to this site, and really like your tips & techniques. I have been crocheting for along to, however, I still need to refer to sample stitch books to remember all the different stitches, then I can create. I’ve recently moved and all my crochet books are still in storage and I’m totally lost without them. I’m trying to sew lap blankets for the local VA Hospital, so this website has been a blessing to me.
Thank you very much. Lesia
This is so beautiful! I’m a busy mom of 3 young boys and I am trying to get my creative groove back but nothing too distracting. I need a non-thinking or counting pattern/project to keep my hands busy but that I can put down in a rush. I am excited to start a project using this stitch.
I just found this site too and I’ve already bookmarked it to my favorites. Thanks 🙂
Thank you! I will be using this in my next project.
thanks will try this out
Thank you for including the left-handed photos! Even though I know how to crochet, it can be confusing to look at the right-handed pictures when learning a new stitch. I’m trying this tonight!
I just wanted to compliment you on you great, easy to follow tutorial! Thanks for sharing your expertise.