
Free Crochet Pattern: Grape Cluster Favor Bag
By Amy Yarbrough – 7 Comments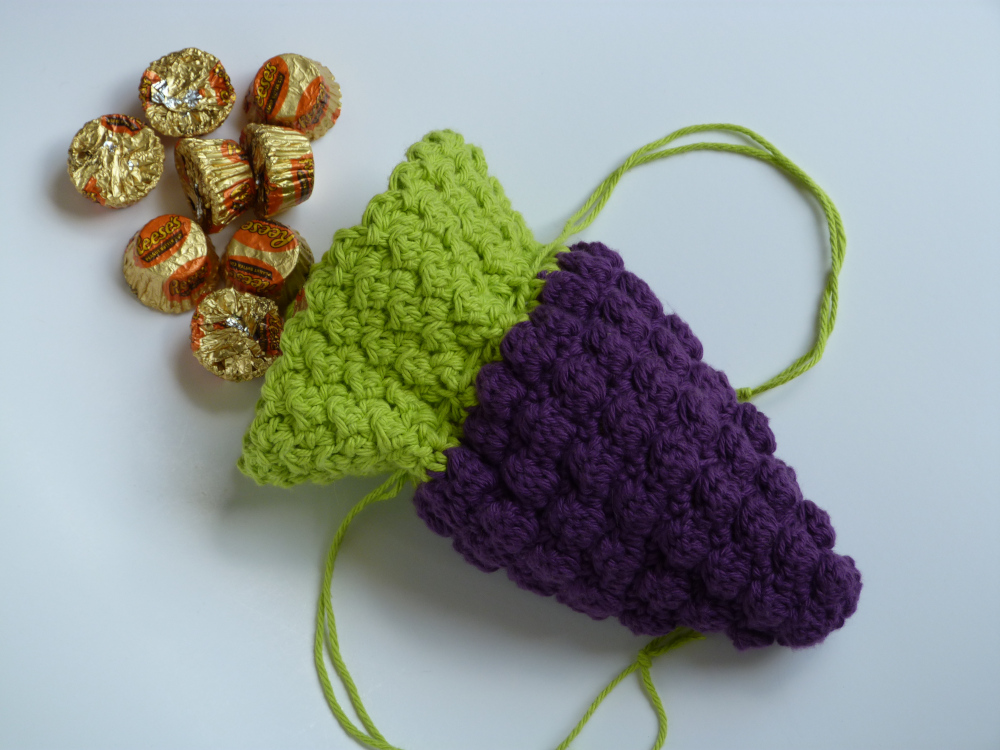
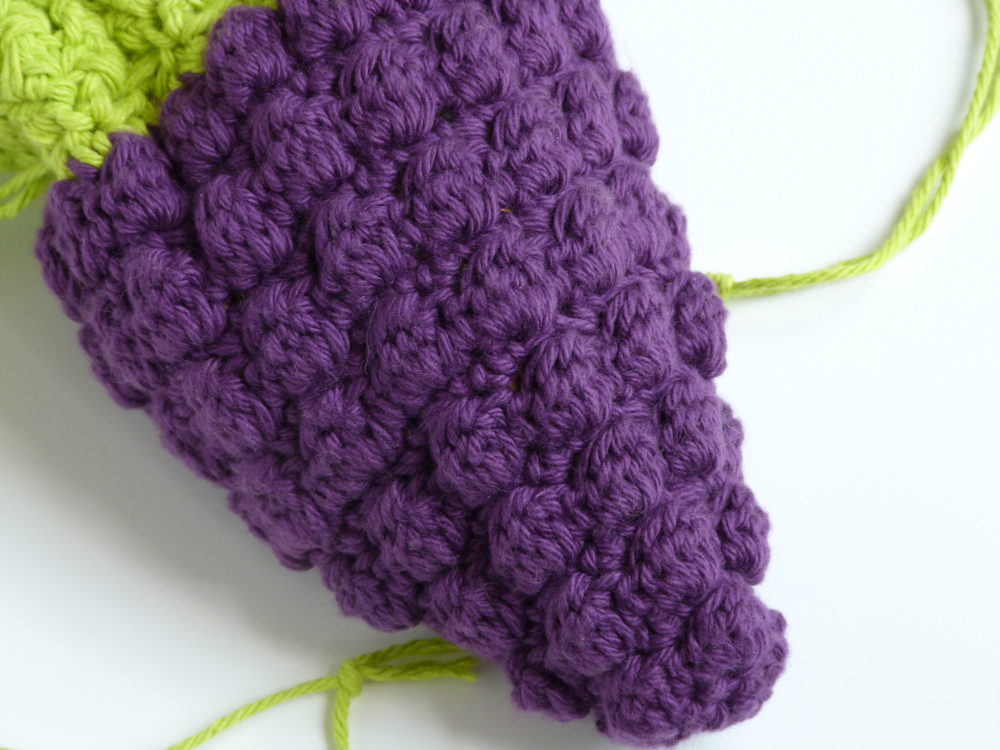
After designing the Carrot Favor Bag and the Strawberry Favor Bag, I couldn’t stop myself from thinking of more. Although a grape cluster bag would be unique I was certain the design would be challenging. How could I design it so that it looked like a cluster of grapes and not just another purple bag? Bobbles, of course!
Have you worked with bobbles before? It is really easy once you know how. Be sure to check out, How to Crochet: Bobble Stitch for a photo tutorial on how they are worked.
| Skill Level: |  |
Finished Size: (laid flat) 5 1/2†(14 cm) wide, 7 1/2†(19 cm) long
| Materials: Medium weight yarn (approximately 50 yards of purple, 30 yards of green) Crochet hook H (5.00 mm) Yarn needle Tape measure Stitch markers |
Gauge:
4 sc = 1’’
4 rows = 1’’
Gauge Swatch: 1’’w x 1’’h (2.5 cm x 2.5 cm) ch 5.
Row 1: sc in second ch from hook and in each ch across: 4 sc
Row 2 – 4: ch 1, turn, sc in each sc across: 4 sc
Finish off.
Special Stitches
Bobble Stitch: in this pattern you will be crocheting a 4 dc bobble. However, when pulling the last loop through all the loops on the hook, do not ch-1 to finish the bobble. For more on how to crochet the bobble stitch, see here.
Need help understanding the abbreviations and symbols? Check out the crochet abbreviation chart.
Crochet Pattern: Grape Cluster Favor Bag
Round 1: with purple, make an adjustable ring, ch 1, turn, 4 sc in ring, sl st in first sc: 4 sc
Round 2: ch 1, turn, 2 sc in each sc around, sl st in first sc: 8 sc
Round 3: ch 2, turn, * hdc in next sc, bobble in next sc, repeat from * around, sl st in first hdc: 8 sts
Round 4: ch 1, turn, * 2 sc in next st, sc in next st, repeat from * around, sl st in first sc: 12 sc
Round 5: ch 2, turn, * hdc in next sc, bobble in next sc, repeat from * around, sl st in first: 12 sc
Round 6: ch 1, turn, * 2 sc in next st, sc in next 2 sts, repeat from * around, sl st in first sc: 16 sc
Round 7: ch 2, turn, * hdc in next sc, bobble in next sc, repeat from * around, sl st in first: 16 sts
Round 8: ch 1, turn, * 2 sc in next st, sc in next 3 sts, repeat from * around, sl st in first sc: 20 sc
Round 9: ch 2, turn, * hdc in next sc, bobble in next sc, repeat from * around, sl st in first: 20 sts
Round 10: ch 1, turn, * 2 sc in next st, sc in next 4 sts, repeat from * around, sl st in first sc: 24 sc
Round 11: ch 2, turn, * hdc in next sc, bobble in next sc, repeat from * around, sl st in first: 24 sts
Round 12: ch 1, turn, * 2 sc in next st, sc in next 5 sts, repeat from * around, sl st in first sc: 28 sc
Round 13: ch 2, turn, * hdc in next sc, bobble in next sc, repeat from * around, sl st in first: 28 sc
Round 14: ch 1, turn, * 2 sc in next st, sc in next 6 sts, repeat from * around, sl st in first sc: 32 sc
Round 15: ch 2, turn, * hdc in next sc, bobble in next sc, repeat from * around, sl st in first: 32 sts
Round 16: ch 1, turn, * 2 sc in next st, sc in next 7 sts, repeat from * around, sl st in first sc: 36 sc
Round 17: ch 2, turn, * hdc in next sc, bobble in next sc, repeat from * around, sl st in first: 36 sts
Round 18: change to green, ch 1, turn, * 2 sc in next st, sc in next 8 sts, repeat from * around, sl st in first sc: 40 sc
Round 19: ch 1, turn, * sc in next sc, ch 1, skip next sc, repeat from * around, sl st in first sc: 40 sts
Round 20: ch 2, turn, * dc in next ch-1 space, sl st in next sc, repeat from * around, sl st in first dc: 40 sts
Round 21: ch 2, turn, * dc in next sl st, sl st in next dc, repeat from * around, sl st in first dc: 40 sts
Round 22 – 25: repeat Round 21
Round 26: ch 2, turn, * dc in next sl st, sl st in next dc, ch 2, repeat from * around, sl st in first dc: 40 sts
Finish off.

The bobbles look the plumpest from the wrong side so be sure to add the straps when the bag is turned with the bobbles on the wrong side.
Straps
Cut 2 strands of green yarn 28″ long. Lay bag flat with seam directly in back and place two stitch markers one either side of Round 19. This will be where your straps lay. Thread yarn needle with one of the green strands and weave in and out of the stitches, starting at one stitch marker and ending at the same stitch marker. Do the same with the other strand.
Note: when weaving the strands through the stitches be careful not to stitch into the other strand or the stitches themselves, or this will keep the bag from cinching properly and ruin your strands.
If you have any questions please feel free to leave me a comment below!

Your favor bags are so cute and colorful. Thanks for sharing your patterns.
Thank you, Maratree, and you’re very welcome.
I love this cute little bag! You should definitely design more of these favor bags!
Thank you, Erica! That is so inspiring of you to say. I have ideas… 🙂
These bags are so nice and just what I’ve been looking for. You are very talented! Thanks so much.
Hello Ann, I am so sorry for the late response. I have not been receiving comment notifications for some reason and am finding numerous comments I didn’t know about.
I am so glad you like my bag designs! It’s a pleasure to be able to share them with everyone.
Best wishes,
Amy
They’re very cute and pretty, I will make that’s and fill with candy for my grand children’s .Thank you very much ! You are very kindly.