
Free Crochet Pattern: Chunky Crochet Pumpkins
By Amy Yarbrough – 8 Comments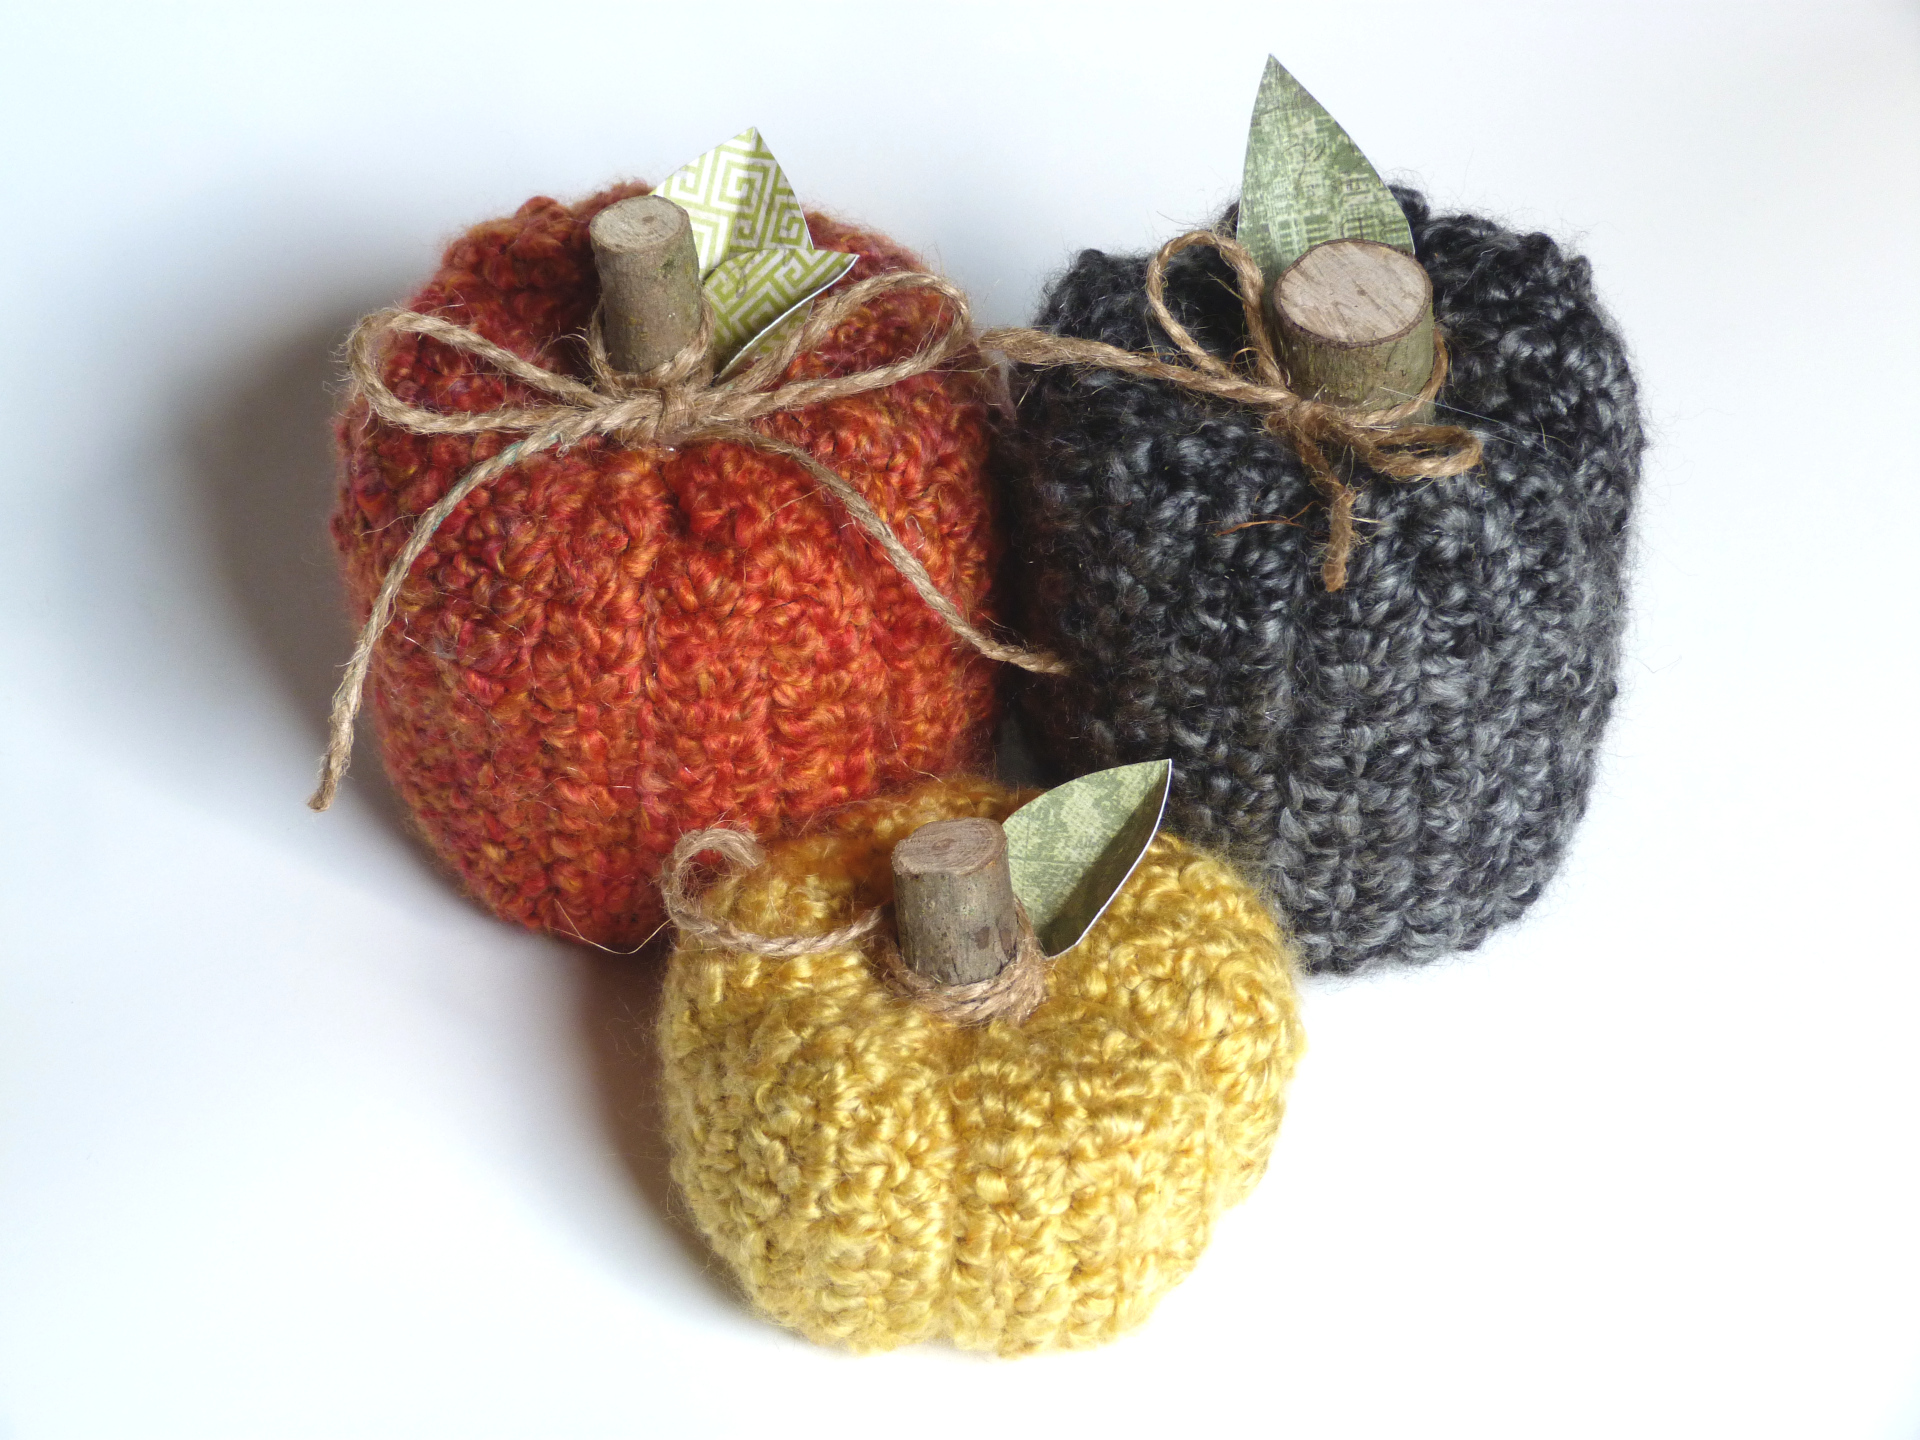
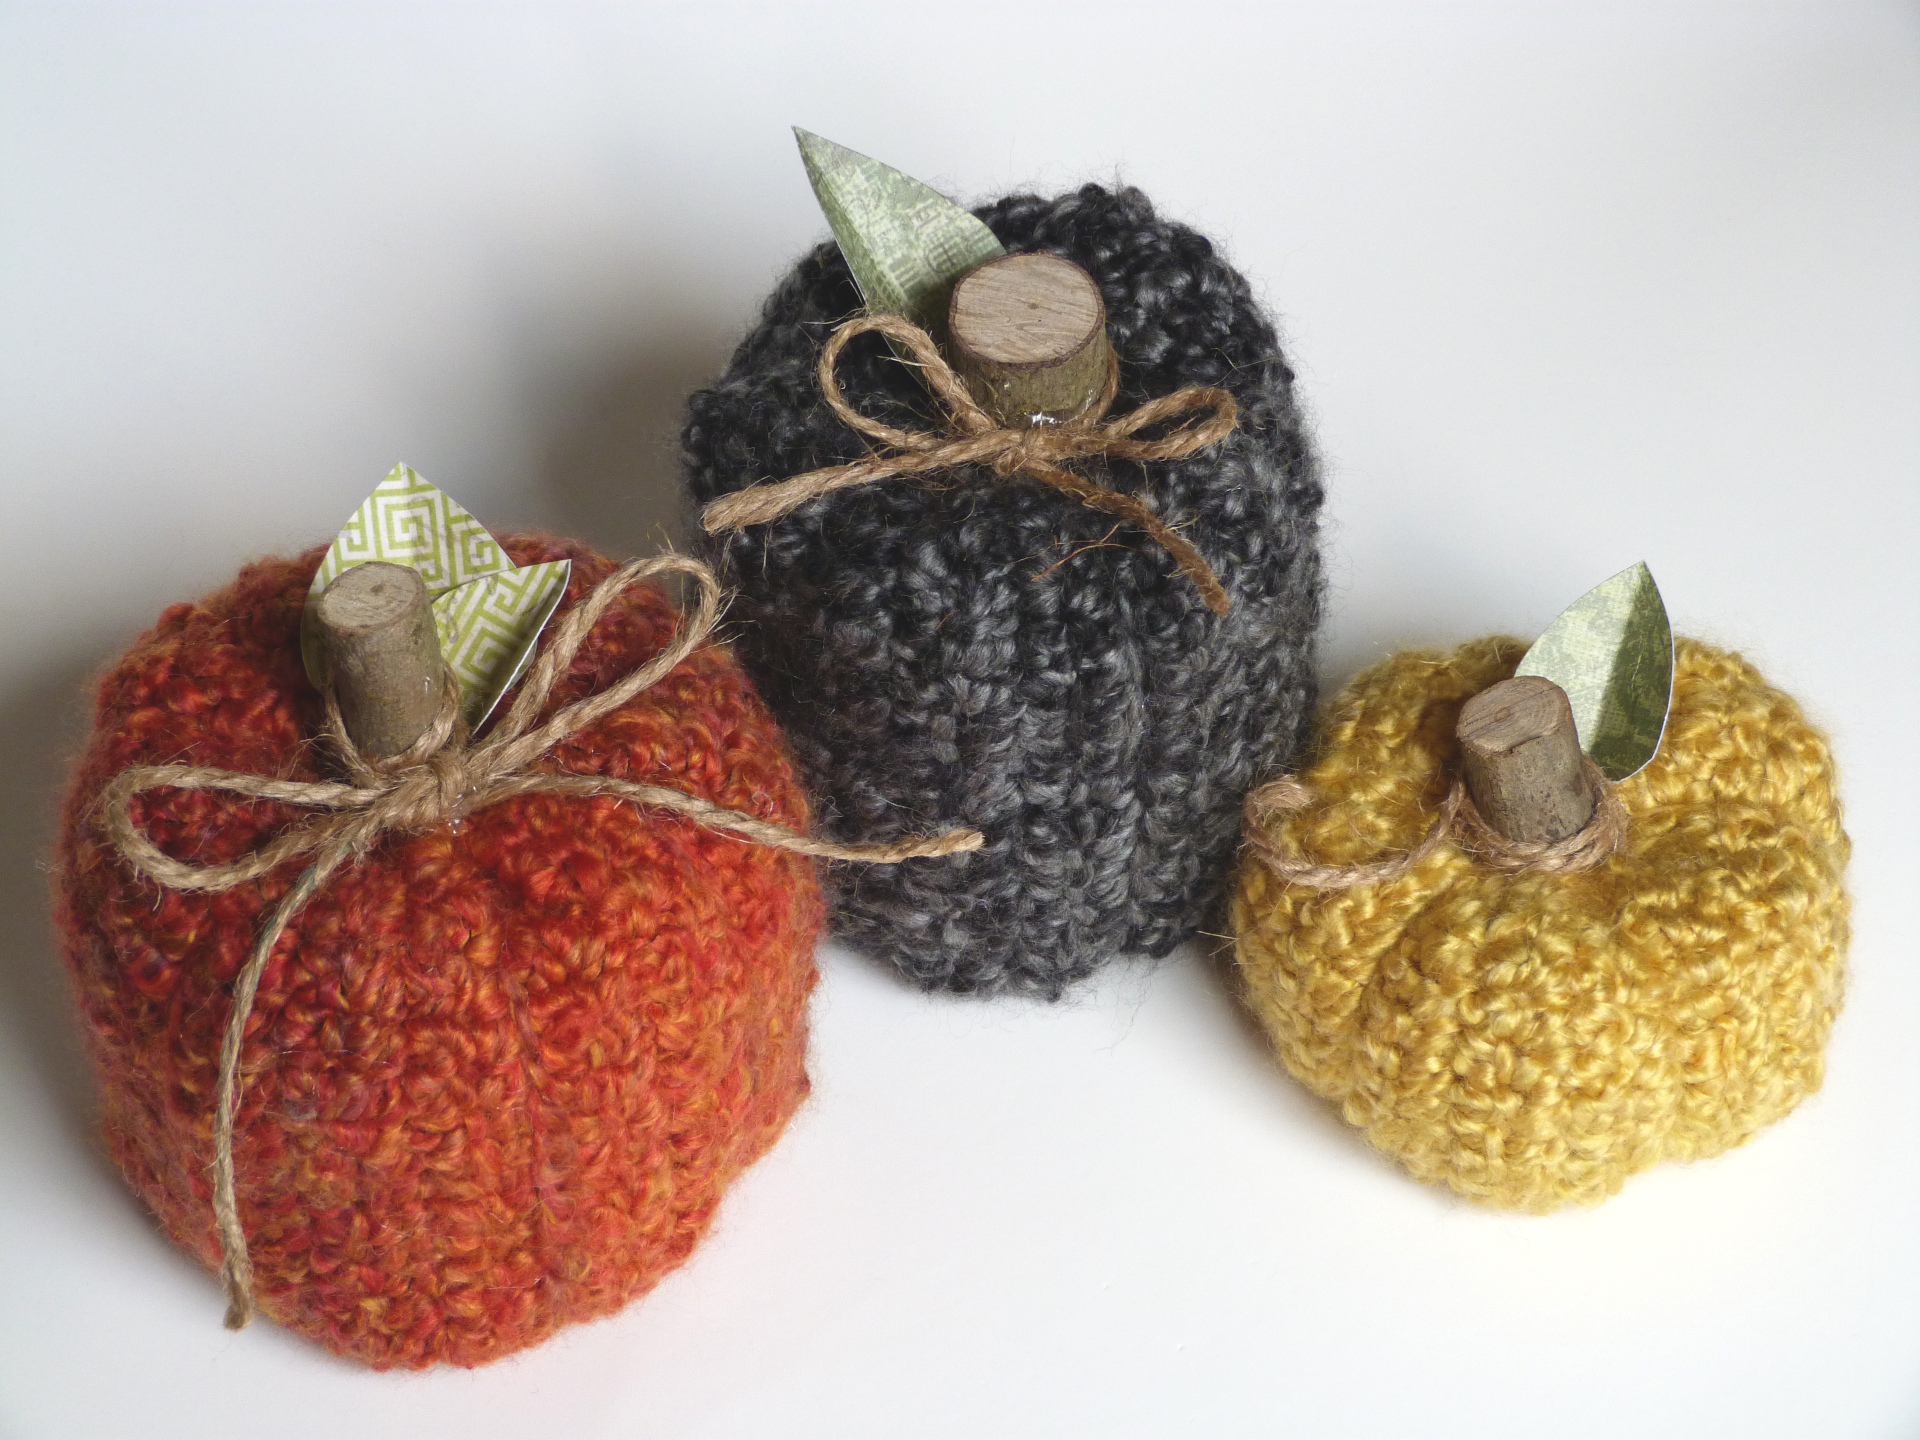
Have you decorated for fall yet? Sadly, I’ve only just begun. But here is my start, three rustic-styled pumpkins made with Homespun yarn.
These pumpkins are easy to crochet. Because of the uniqueness of Lion Brands Homespun yarn I decided to keep the actual crocheting simple and stick with single crochet.
Have you ever made crocheted pumpkins before? It sounded daunting to me when I first tried it some time ago but it surprisingly isn’t as hard as you might imagine.
However, I’m not sure that I don’t prefer decorating them! I love the rustic elements you can add to these pumpkins: wood, jute, and even scrapbook paper.
Be sure to check out my tips near the bottom on how to more easily shape larger pumpkins! And as usual, have fun, and let me know what you think!
| Skill Level: |  |
Finished Size:
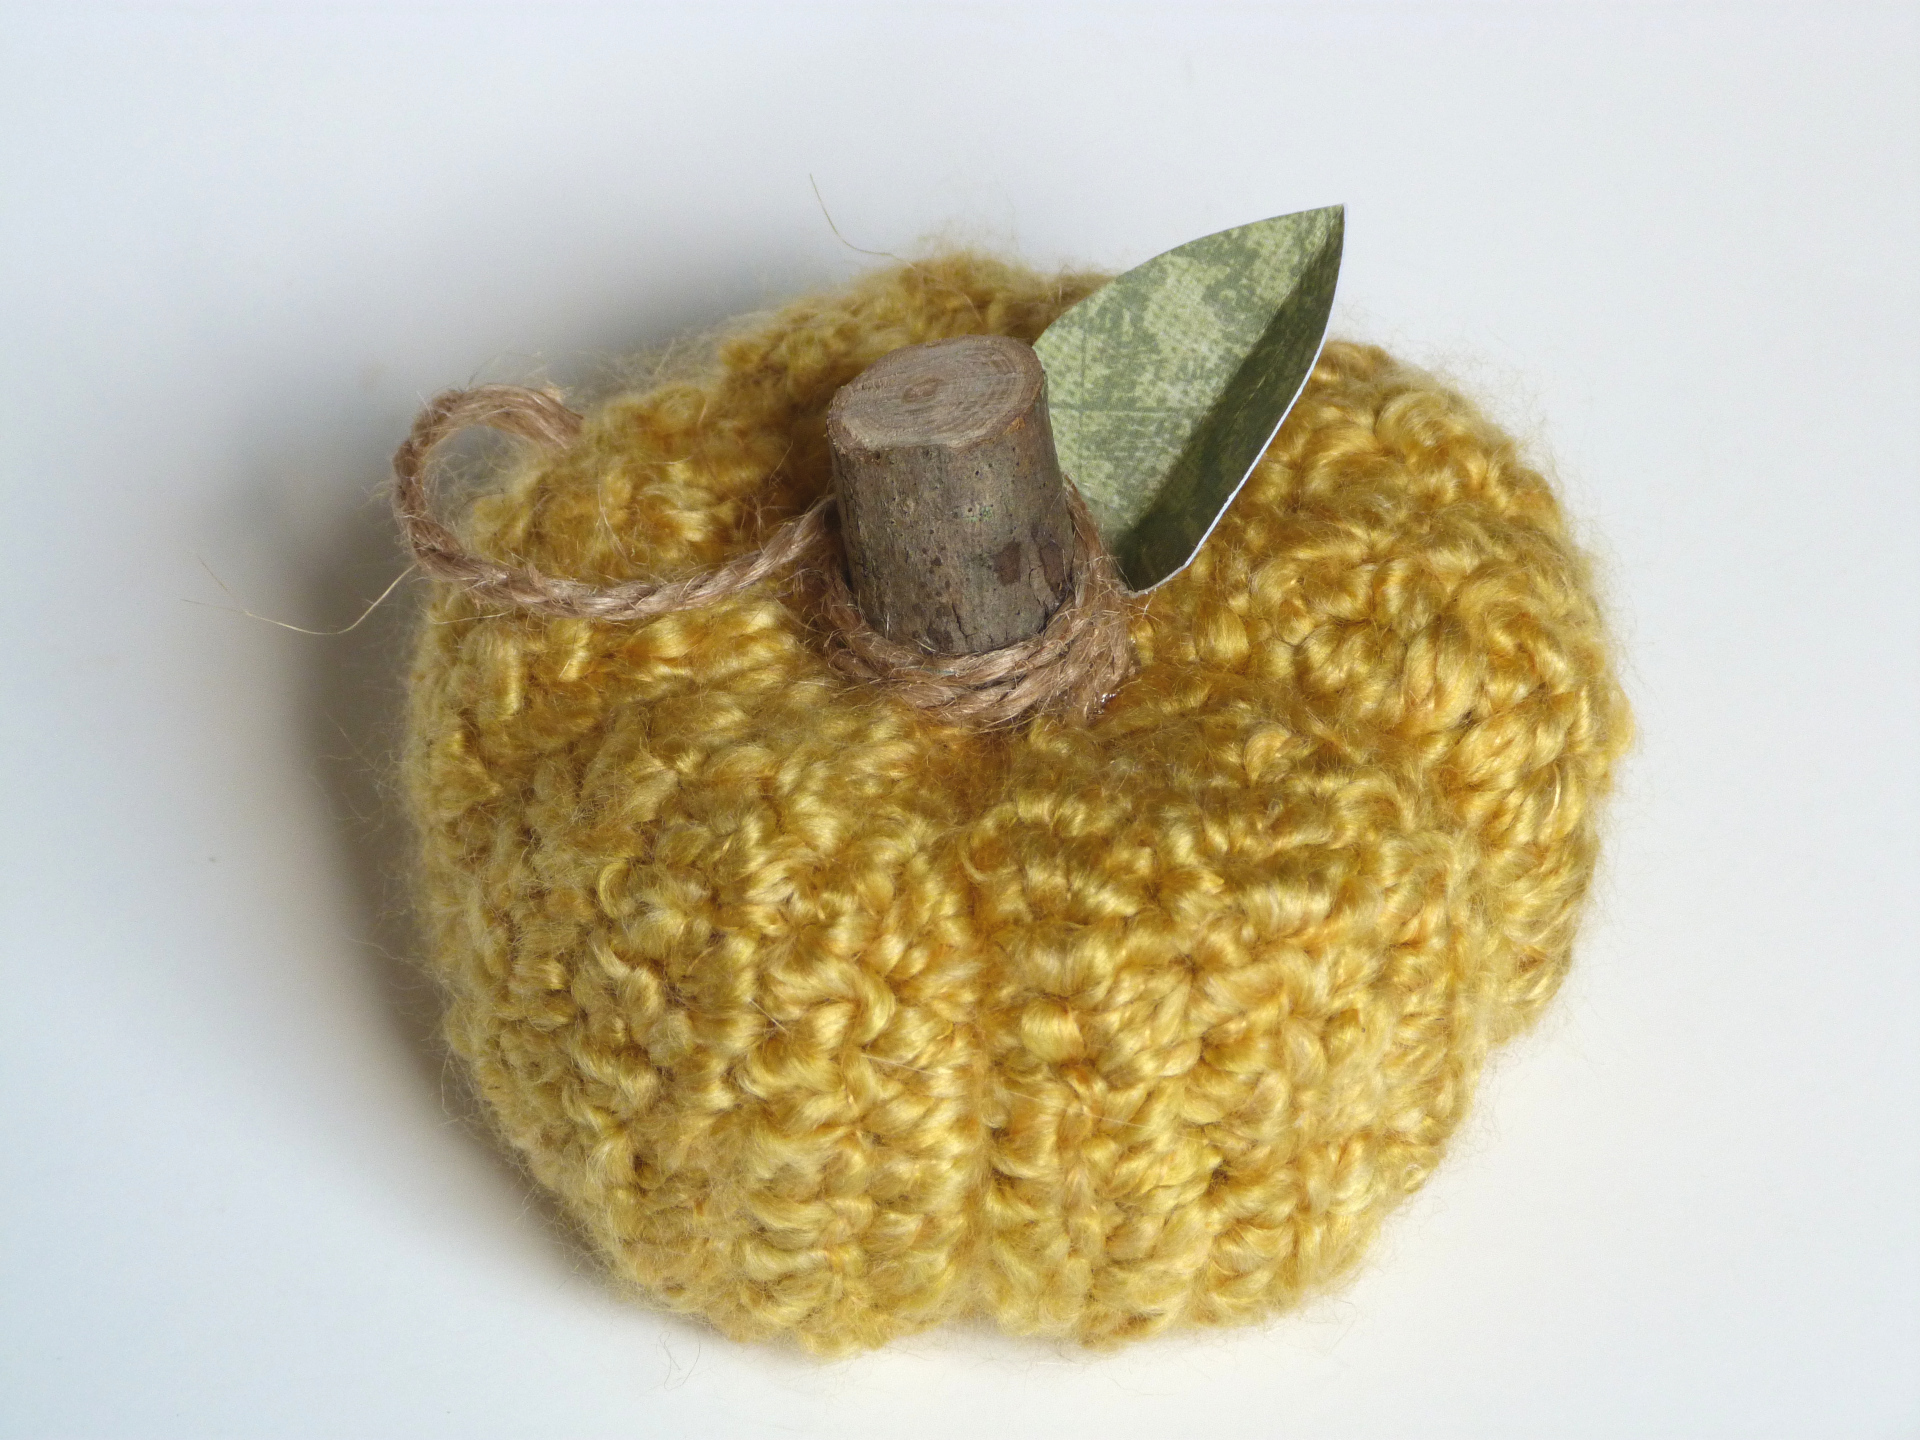
Yellow pumpkin: 2 1/2†(6.5 cm) tall, 12†(30.5 cm) in circumference
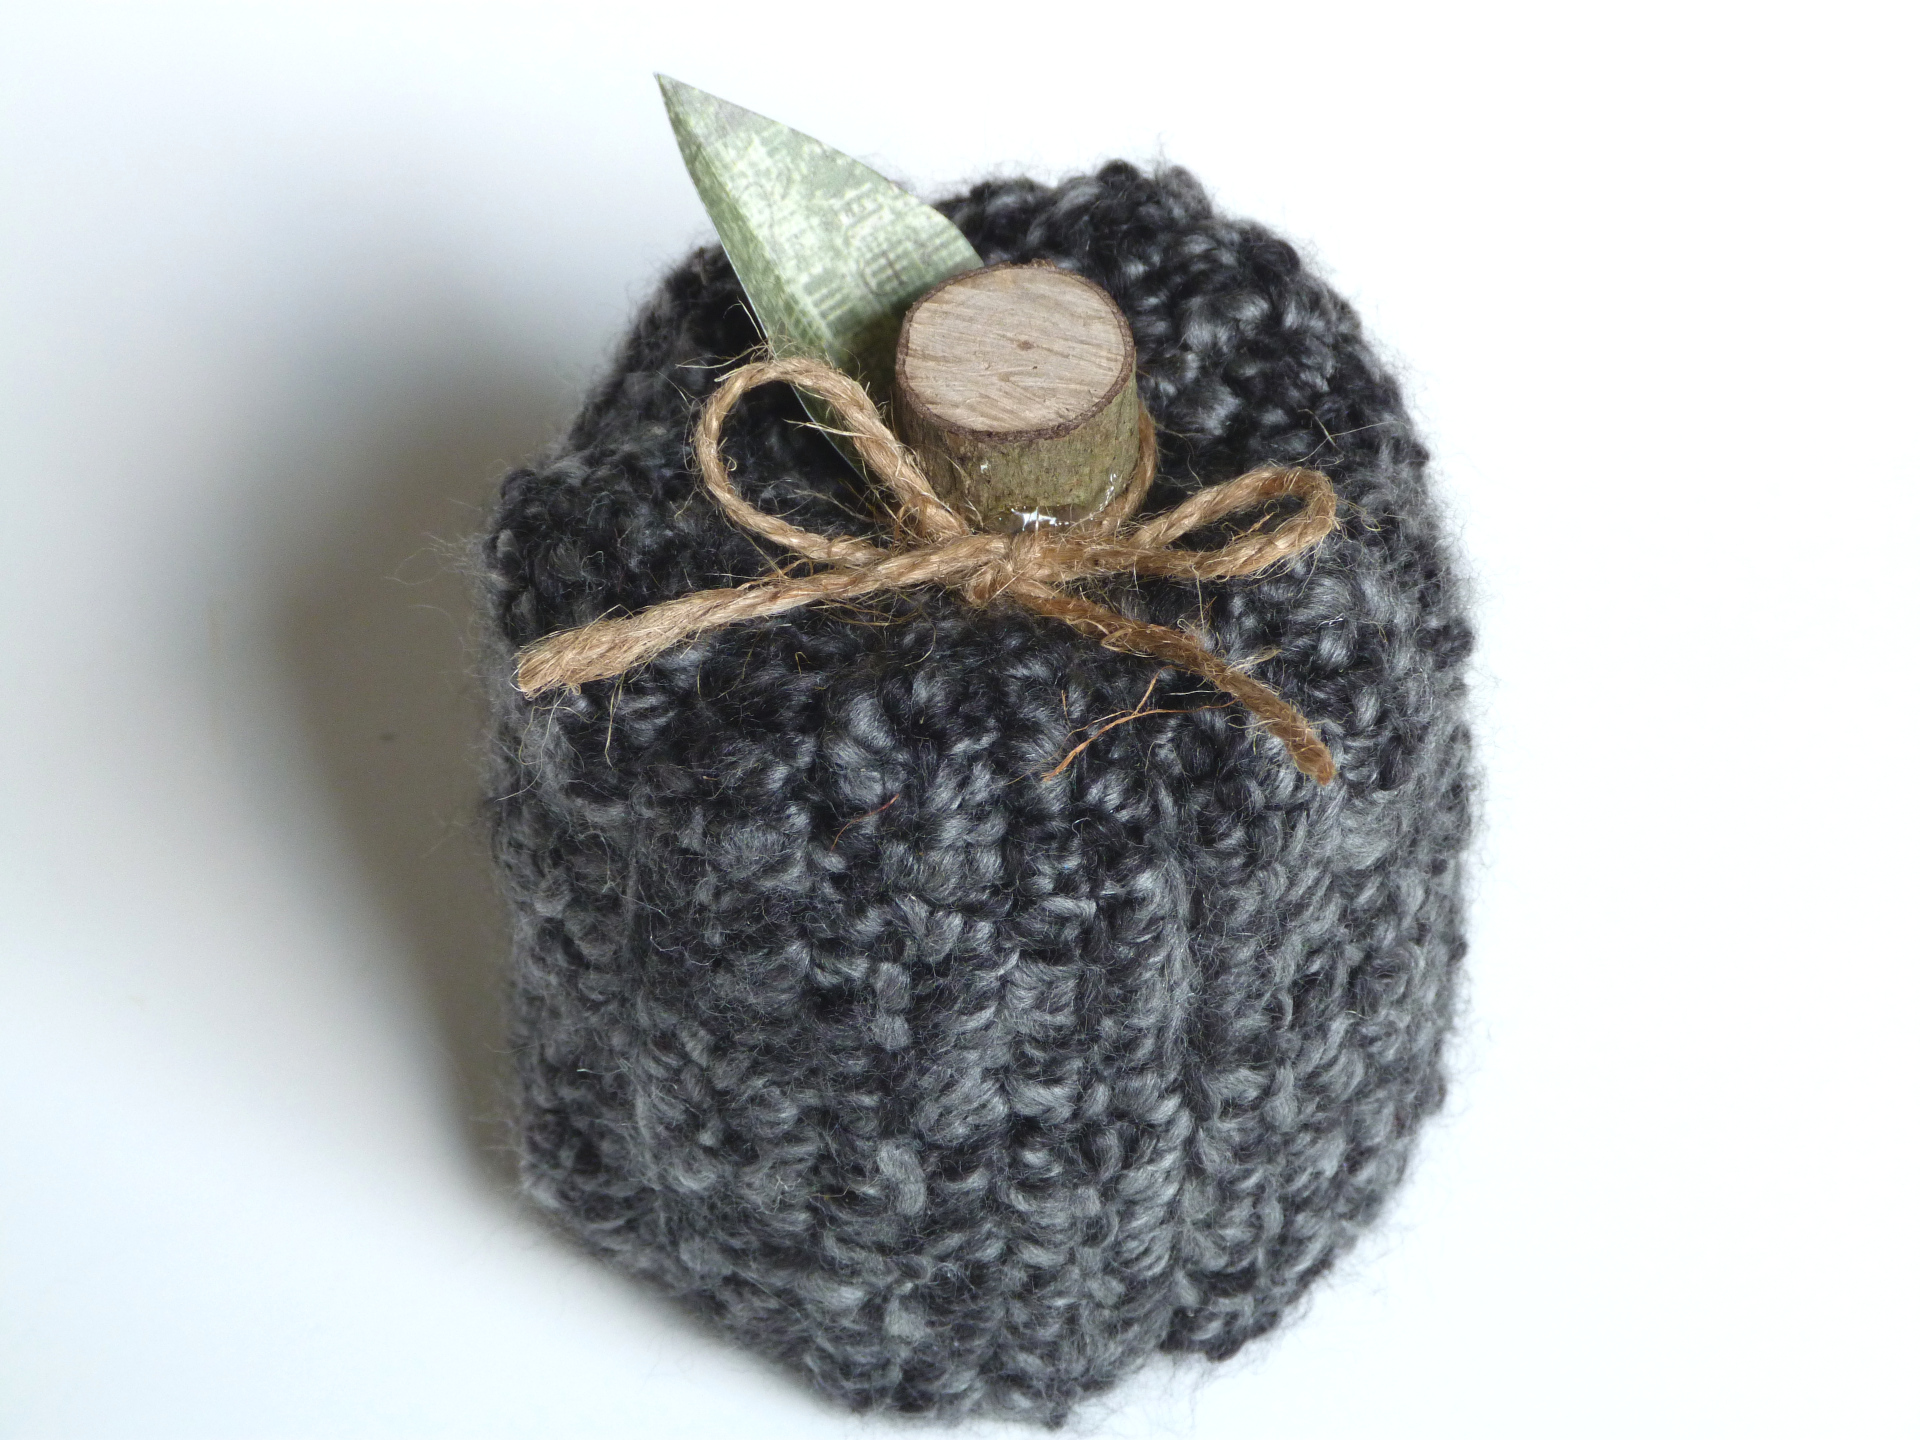
Black pumpkin: 5†(13 cm) tall, 12†(30.5 cm) in circumference
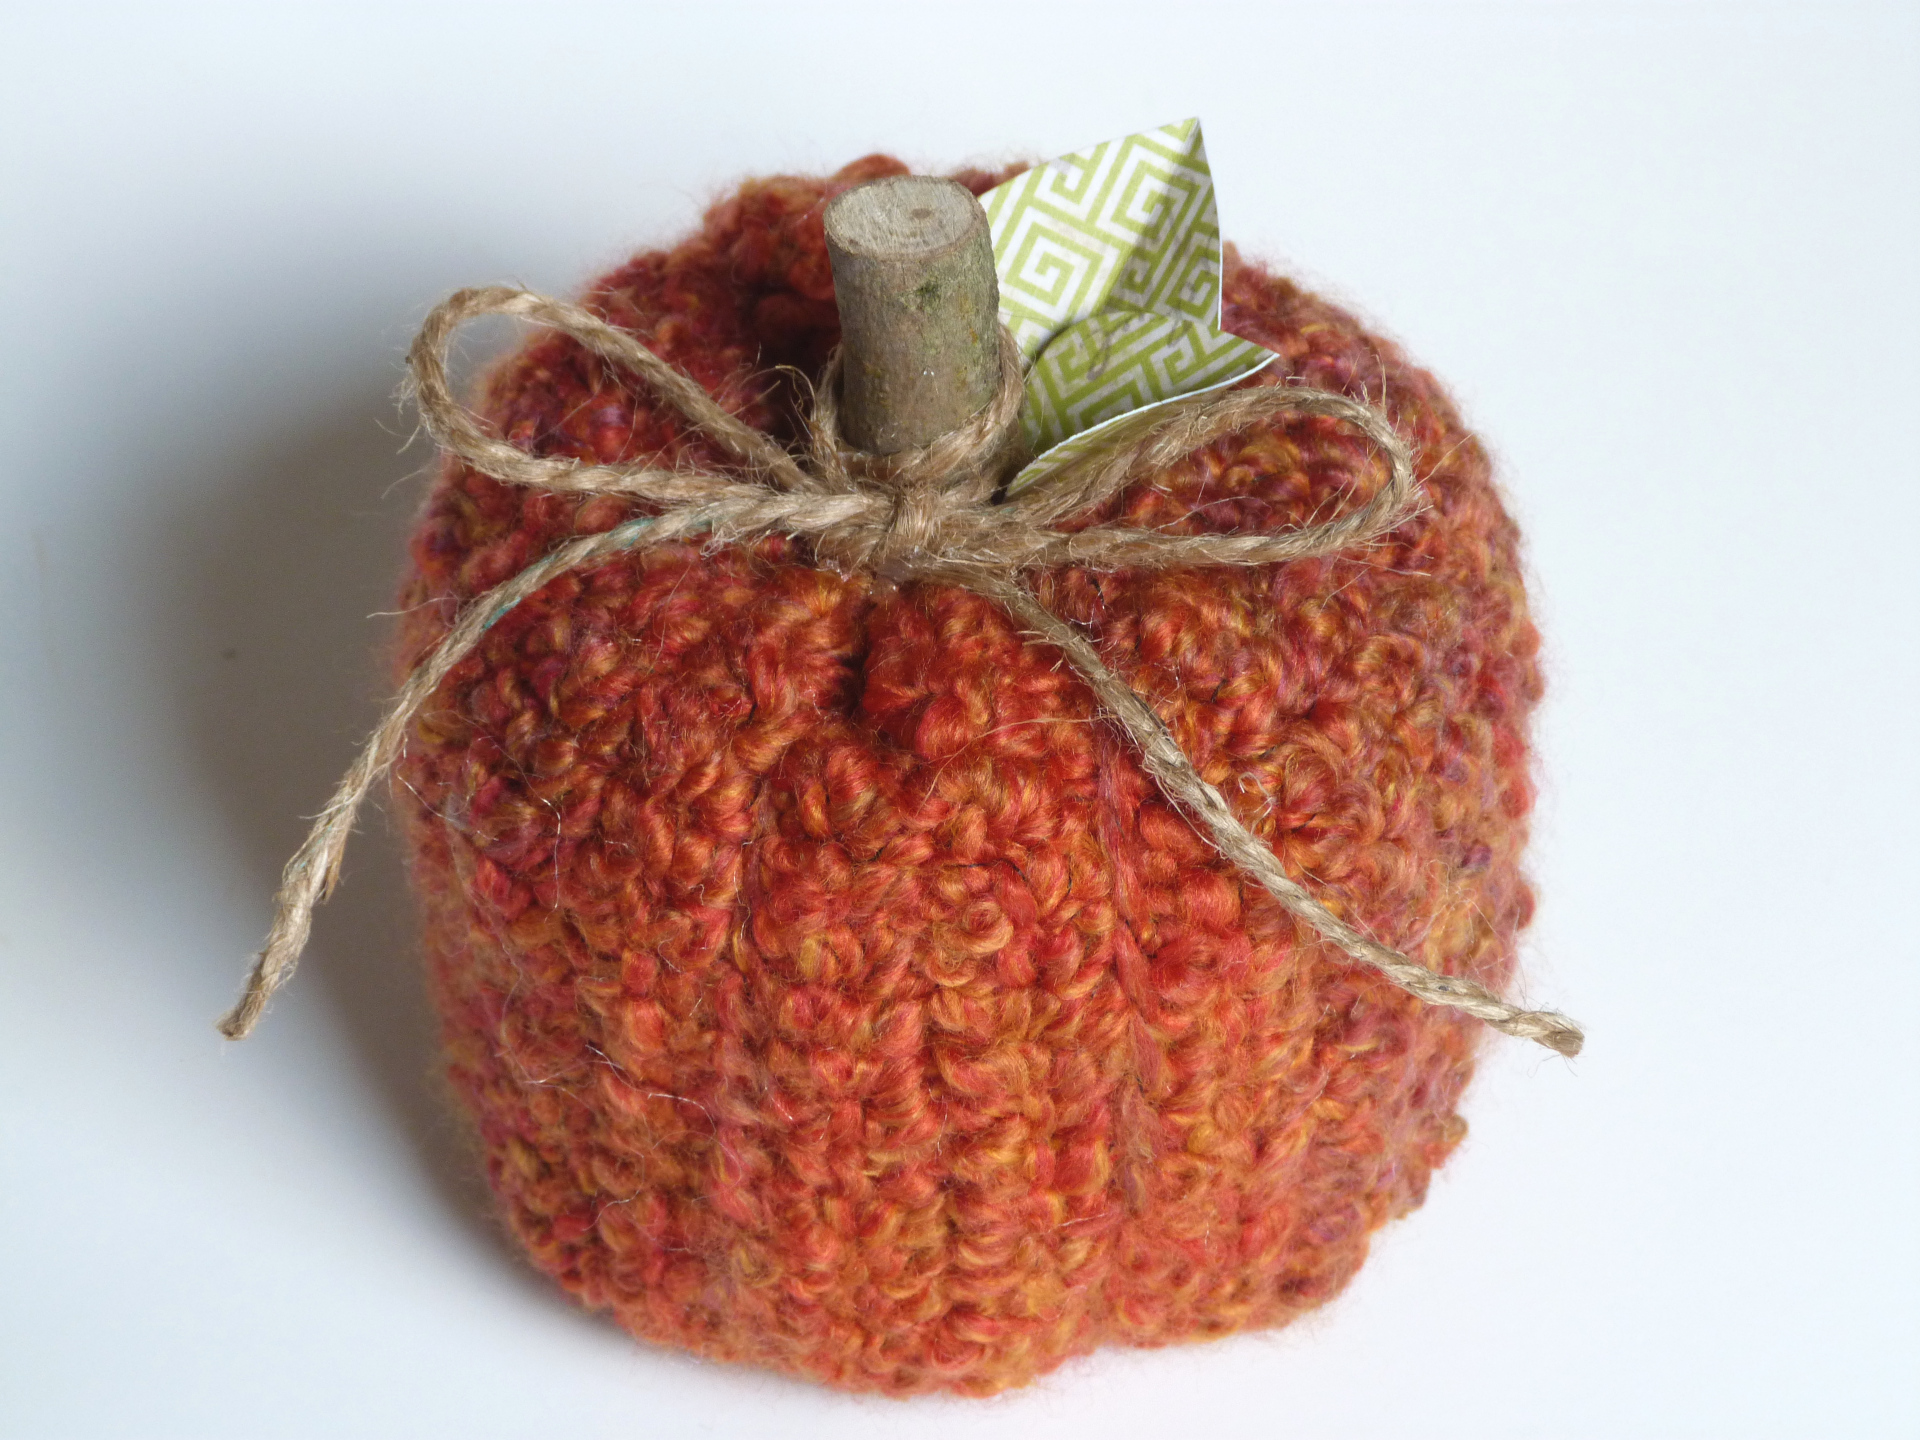
Orange pumpkin: 4†(10 cm) tall, 14†(35.5 cm) in circumference
| Materials: Bulky weight yarn (approximately 40 yards of yellow and 80 yards each black and orange) Crochet hook H (5.00 mm) Polyester Fiberfill Yarn needle Scrap wood for stalks Jute cord Patterned cardstock paper Craft glue Hot glue Scissors |
Gauge:
4 sc = 1’’
3 rows = 1’’
Gauge Swatch: 1’’w x 1’’h ( 2.5 cm x 2.5 cm) ch 5.
Row 1: sc in second ch from hook and in each ch across: 4 sc
Row 2 – 3: ch 1, turn, sc in each sc across: 4 sc
Finish off.
Need help understanding the abbreviations and symbols? Check out the crochet abbreviation chart.
Crochet Pattern: Chunky Crochet Pumpkins
Yellow Pumpkin
Row 1: with yellow, ch 17, sc in second ch from and in each ch across: 16 sc
Row 2 – 30: ch 1, turn, sc in each sc across: 16 sc
Align first and last row and sc together, finish off.
See Assembly Instructions below for how to finish.
Black Pumpkin
Row 1: with black, ch 25, sc in second ch from hook and in each ch across: 24 sc
Row 2 – 30: ch 1, turn, sc in each sc across: 24 sc
Align first and last row and sc together, finish off.
See Assembly Instructions below for how to finish.
Orange Pumpkin
Row 1: with black, ch 21, sc in second ch from hook and in each ch across: 20 sc
Row 2 – 34: ch 1, turn, sc in each sc across: 20 sc
Align first and last row and sc together, finish off.
See Assembly Instructions below for how to finish.
Assembly Instructions
Cut a strand of yarn the same color as the pumpkin you are working on, about 12 inches long. Thread the yarn needle and, with the sc seam on the outside, stitch around top of crocheted tube. Pull both strands to gather end and tie to secure. Do not stitch closed, however. Turn inside out and stuff. (See tips below for larger pumpkins). Once you have stuffed your pumpkin well, gather the top and close as you did the bottom.
Shaping the Pumpkin
To shape the pumpkin you will be making long stitches through the center of the pumpkin, out the bottom and back around from the outside. This will create the pumpkin shape. To do this, cut a very long strand of yarn the same color as the pumpkin you are working on, I’d say about 10 times the length of the pumpkin. Thread your needle and tie strand to the top of the pumpkin right next to the hole. You will be creating 5 indentations, or long stitches. Insert needle through center and out the bottom of the pumpkin. Come back around and go back through the top for the second indentation, being sure your last stitch lays where you want it. Give it a slight tug to pull the fabric inward and continue with the next stitch. Repeat, working around pumpkin, until you have 5 indentations. When you are finished, the yarn end should be at the bottom. Finish off and tuck into pumpkin.
Tips for Larger Pumpkins
– It can be hard to work the yarn needle through the layers of stuffing in the center of the pumpkin when shaping. I suggest taking a large wooden dowel, big crochet hook, or even a big knitting needle, and poking it through the middle and out the bottom hole before stuffing. Then stuff well around the stick. This will provide a clear pathway for shaping the pumpkin afterwards.
– When shaping the larger pumpkins, if you have left the center open as I suggested, try using a hook to pull the strand through instead of a needle.
Embellishment
For the stalks, use sticks along the wood line, in your yard, or wherever you might find them. I chose some around 2 to 3 inches in circumference and cut portions between 1 to 1 ½ inches long. Hot glue wood to top of pumpkin.
For the leaves, use patterned cardstock paper. First cut a length of paper around 3†by 4†and fold in half widthwise. Use craft glue to glue fold shut. Once glue has dried, fold paper in half lengthwise and draw a half teardrop shape at the fold. Cut out shape and open for a leaf. Make as many as you like, in whatever size you like, and hot glue to pumpkin next to stalk.
Cut portions of jute to tie around stalk if you like. Hot glue to pumpkin to prevent unraveling.
Tip: to curl the jute, wrap it tightly around a pencil for a moment and then ease the pencil out.
Have any questions? I’d love to help! Let me know in the comments below!

I never thought about it but Homespun makes a neat texture for pumpkins.
I’m glad you agree, Sheltie Times!
I find Homespun (and similar yarns like Red Heart’s Baby Clouds) impossibly frustrating to crochet with. Can you suggest a substitution that would still have a nice look but be easier to work with? These pumpkins are really cute.
Hello Twinkie Lover!
Great to hear from you again.
I can think of a lot of different yarns that would be great but if you are looking for a yarn with unique texture AND the same variegated color options, I might suggest Premier’s Serenity Chunky yarn, or Yarn Bee’s First Love… Red Heart’s Hygge has only a slight fuzziness but no variegated color options.
There is, however, a great site called YarnSub that compares over 9,000 yarns. There are some great suggestions for Homespun if you want to check it out.
Hope this helps!
Amy
Those are great suggestions. Thank you so much.
My pleasure! I hope they work for you.
These pumpkins are too cute! I love them!
Yay! So glad, Erica!