
Free Crochet Pattern: Walley Slouch Beanie
By Amy Yarbrough – 4 Comments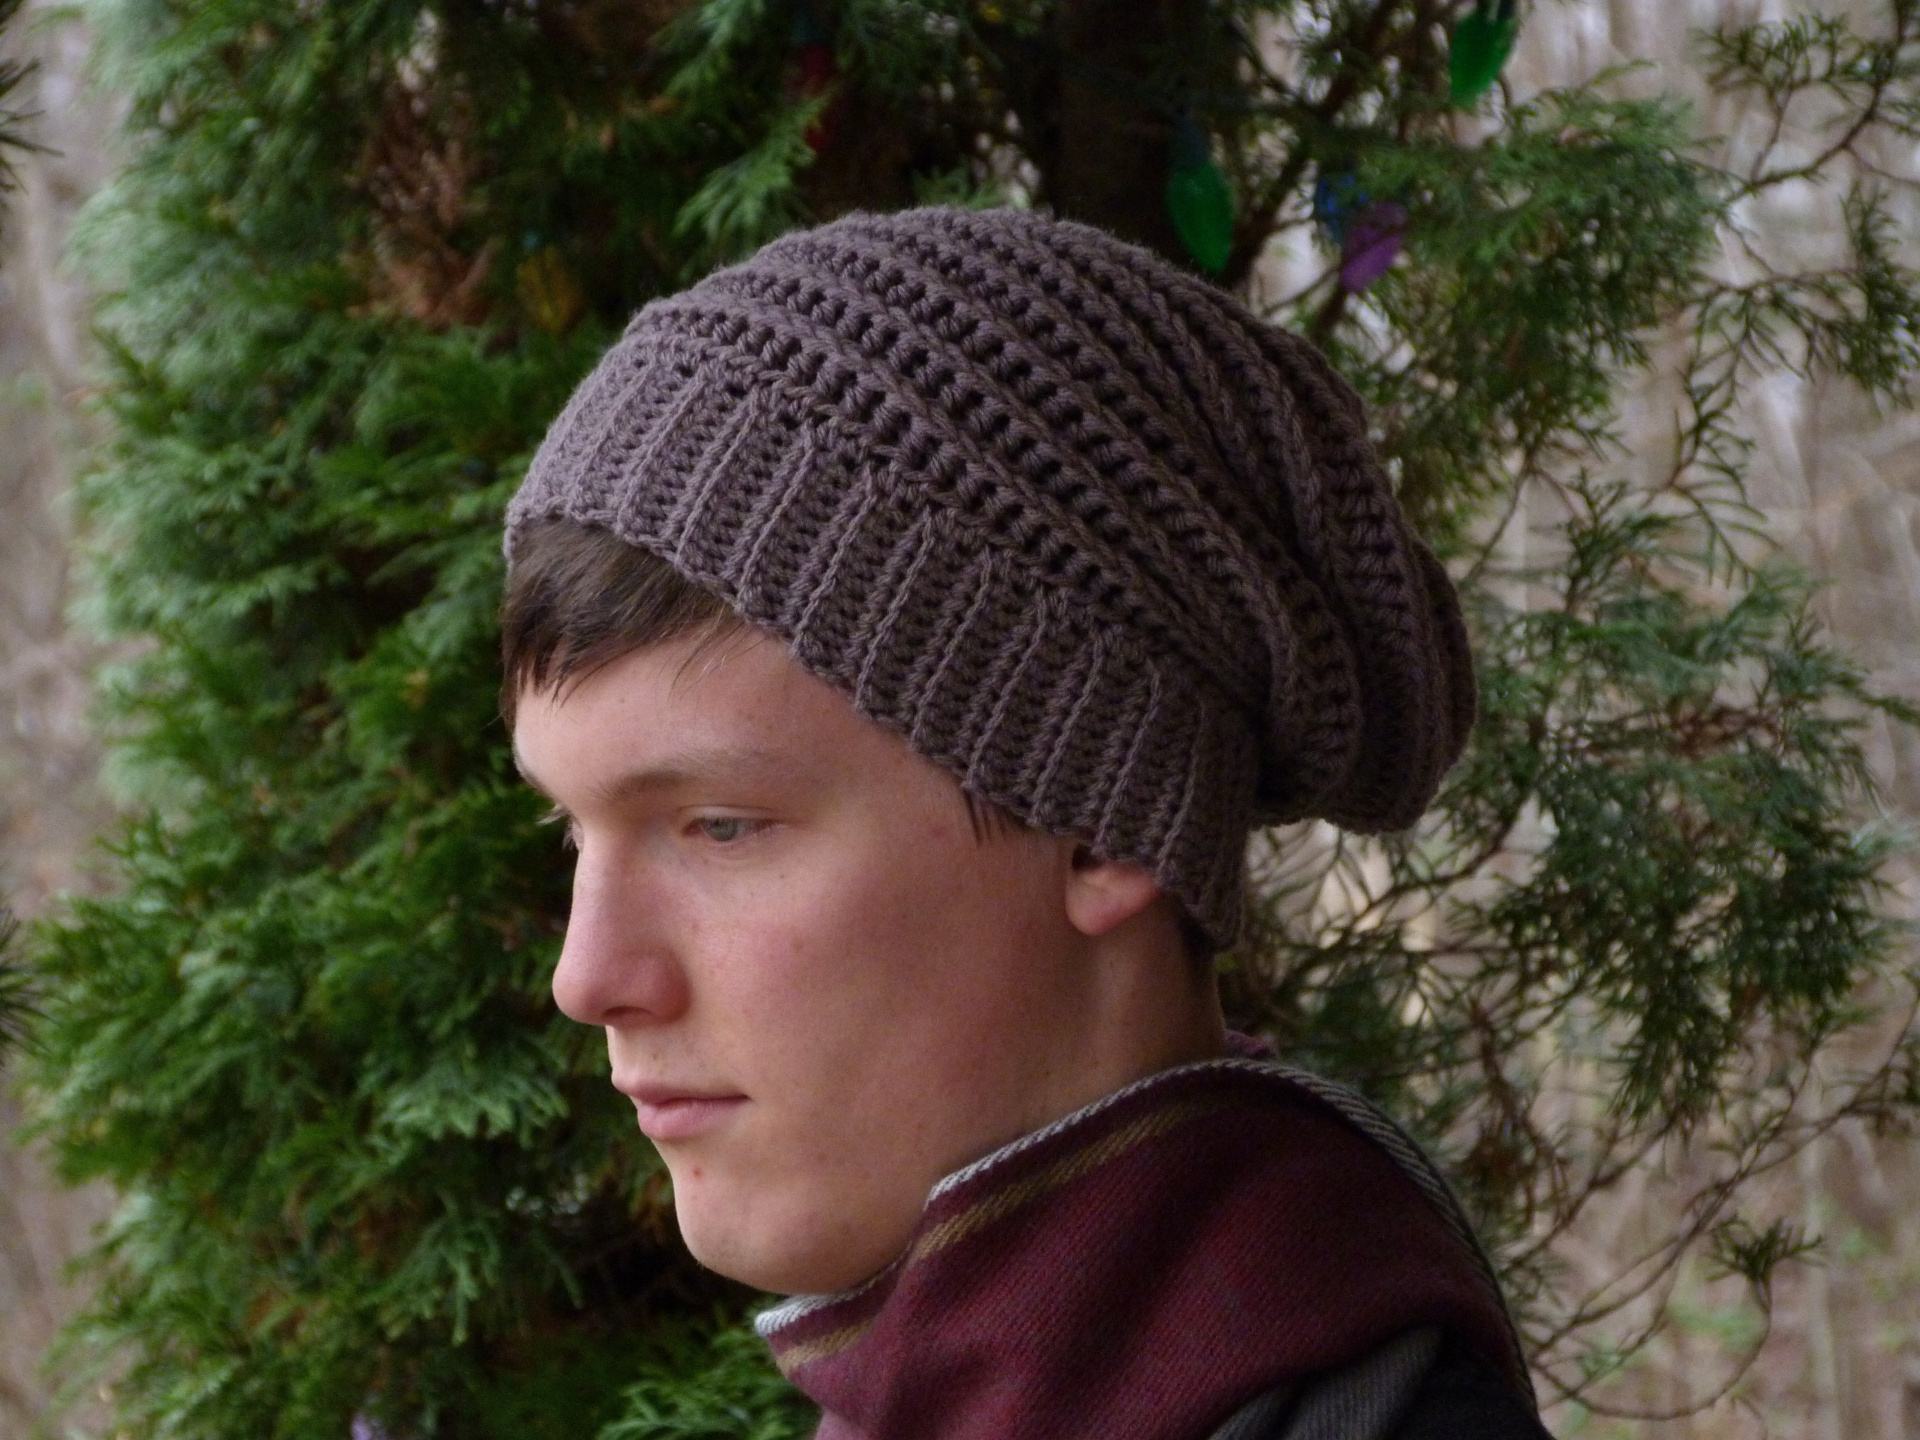
This is the season for hats, don’t you think? I rarely go out of the house without one. I enjoy wearing many styles of hats, and designed quite a few over the years. This one is a great style for anyone, guy or girl. With bands of ribbing in a casual slouch.
| Skill Level: |  |
Finished Size: Fits Adult head size 20†– 22†in circumference
| Materials: Medium weight yarn (approximately 260 yards) Crochet hooks H (5.00 mm) and K (6.50 mm) Yarn needle |
Gauge:
with K hook,
6 sc = 2’’
6 rows = 2’’
Gauge Swatch: 2’’w x 2’’h (5 cm x 5 cm) ch 7.
Row 1: sc in second ch from hook and in each ch across: 6 sc
Row 2 – 6: ch 1, turn, sc in each sc across: 6 sc
Finish off.
Stitch Notes:
Hdcfp (half double crochet front post – Work a hdc around the front post of each stitch)
Need help understanding the abbreviations and symbols? Check out the crochet abbreviation chart.

Crochet Pattern: Walley Slouch Beanie
Band
Row 1: with H hook, ch 11, sc in second ch from hook and in each ch across: 10 sc
Row 2 – 66: ch 1, turn, sc in back loops only in each sc across: 10 sc
Sc ends together. Do not finish off.
Body
Round 1: with K hook, hdc in each row around, sl st in first hdc: 66 hdc
Round 2 – 21: ch 1, turn, hdcfp in each st around, sl st in first hdc: 66 hdc
Round 22: ch 1, turn, * hdcfp2tog, hdcfp in next 9 hdc, repeat from * around, sl st in first hdc: 60 hdc
Round 23: ch 1, turn, * hdcfp2tog, hdcfp in next 8 hdc, repeat from * around, sl st in first hdc: 54 hdc
Round 24: ch 1, turn, * hdcfp2tog, hdcfp in next 7 hdc, repeat from * around, sl st in first hdc: 48 hdc
Finish off.
Thread your yarn needle with a length of yarn and make a running stitch around the last round. Cinch tight and stitch to secure. Flip hat right side out.
Be sure to leave me a comment letting me know what you think, or if you have any questions!

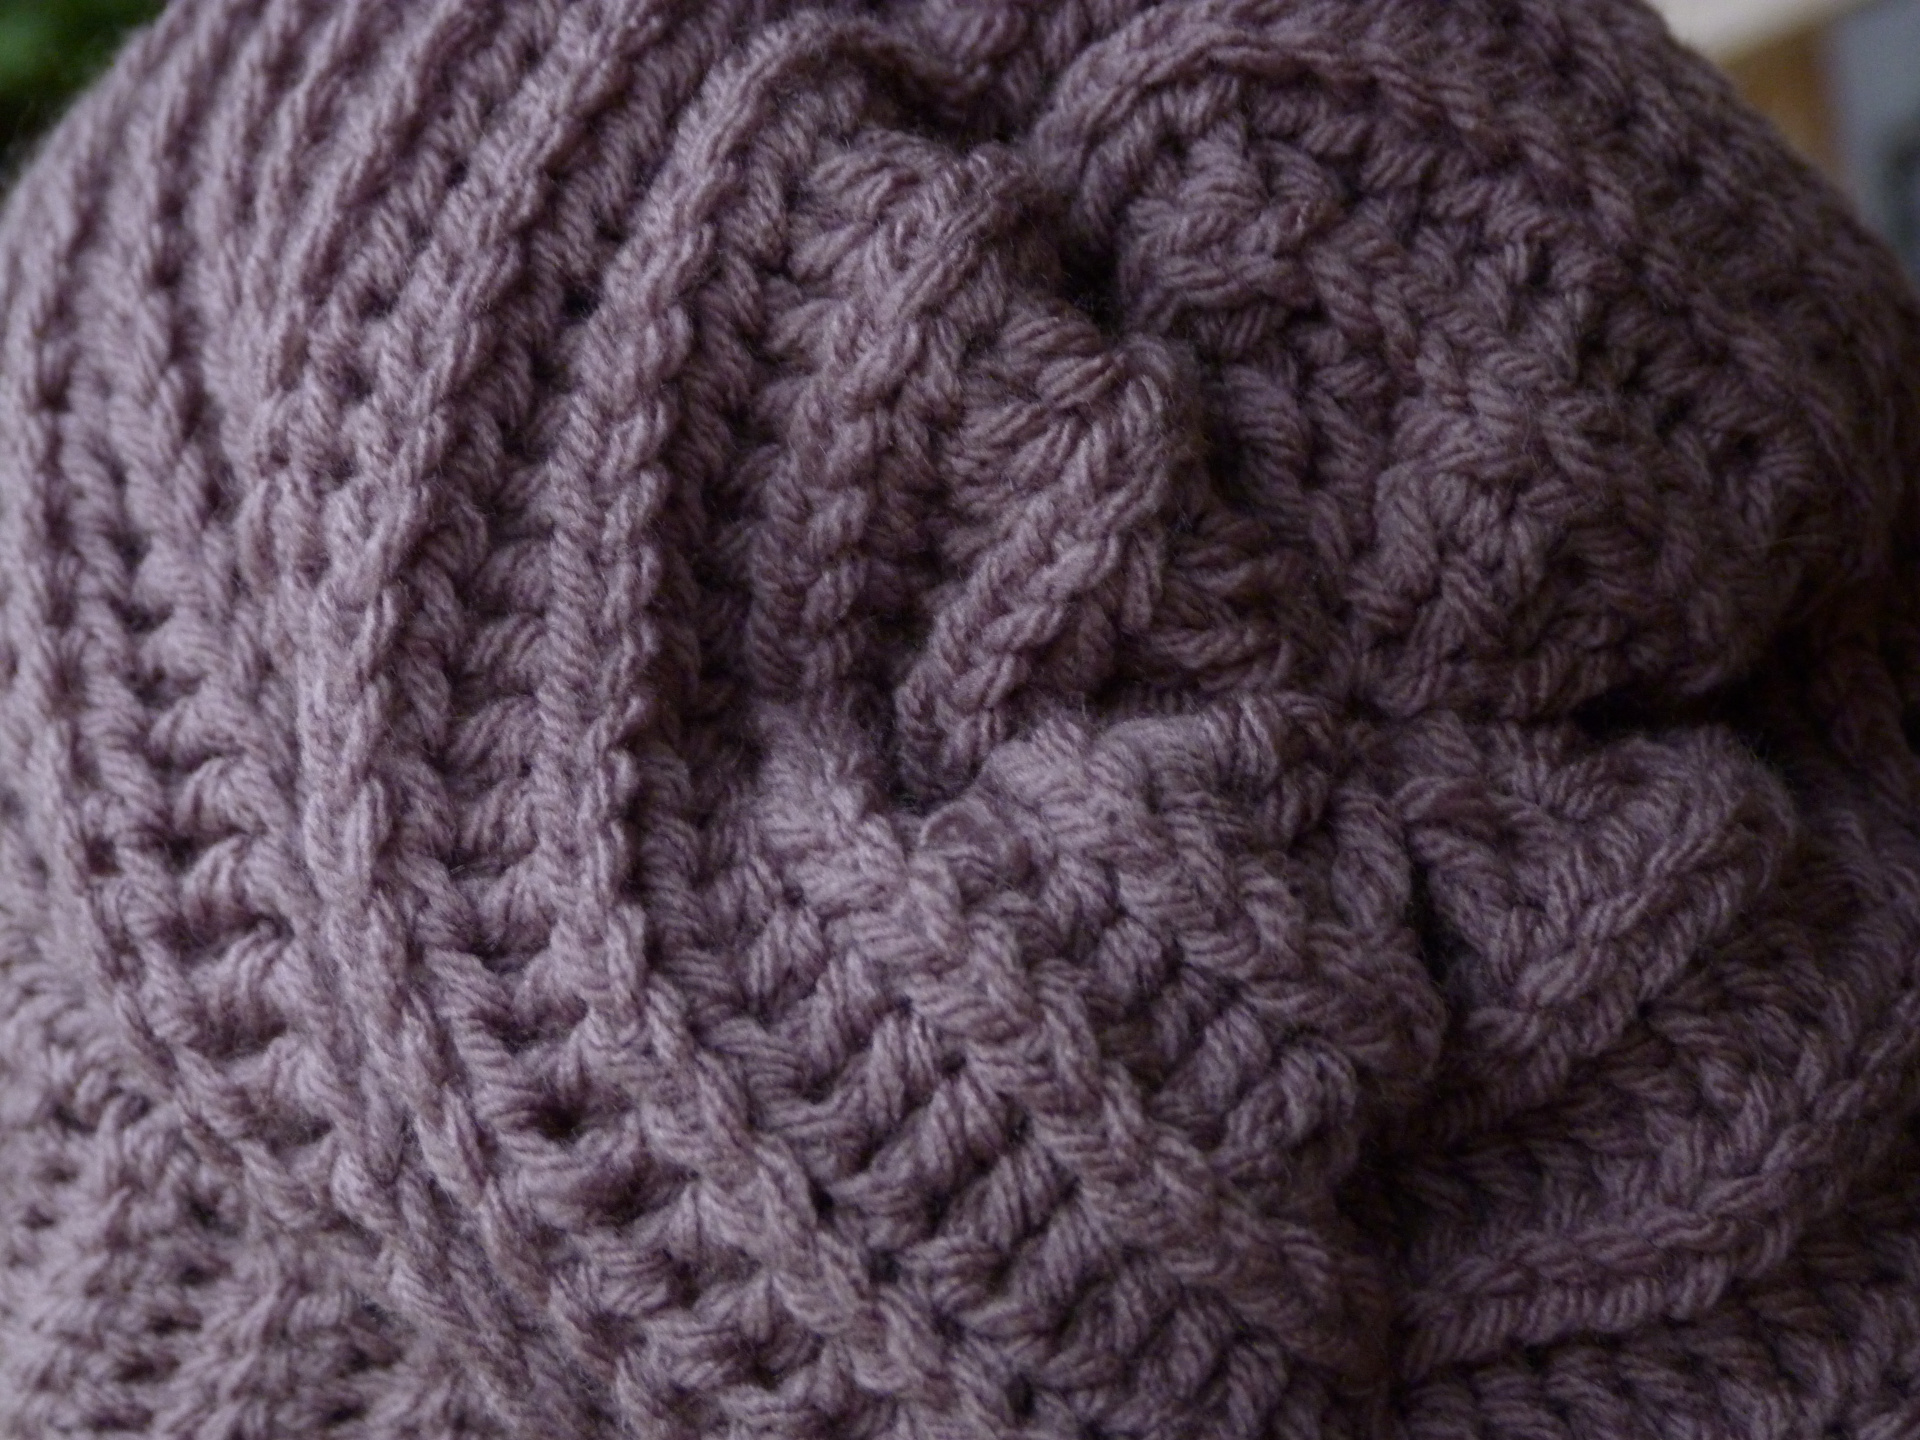
Hi! I love the look of this hat. I’m attempting it right now. I’m using a medium weight acrylic and suggested hooks. I’m not getting the same relaxed look to the rows on the main body of the hat. I’m about 5 rows into it (already completed the band) and they are stacking up puffy and thick. Not seeing much of the post between the rows like in the picture. My stitching isn’t tight at all. Any ideas to help? I really want to have this hat like in the pic! Thanks.
Hello Erin,
It seems like you are doing everything right, hm… Are you placing the front post stitch just under the top stitch or lower around the post? The hat has a definite stiffness at first but once it all comes together it works into a nice slouch.
Amy
I am putting the front post stitch lower around the post. Underneath the secondary yarn bar from the hdc. I only got about 6 rounds up before I stopped. Did not finish the hat, but ripped it back to the band. Turned that into an ear-warmer headband, so it wasn’t a complete loss. It’s cute and I will probably us the band again. Maybe will try the hat again put the stitch just under the top stitch and see if that was where I was going wrong. Thank you!!
Sorry it didn’t work out for you, Erin. But sounds like you were able to do something with it, lol. Thanks for sharing!
Amy