
Free Crochet Pattern: Wild Strawberry Lunch Bag
By Claire Golden – 5 Comments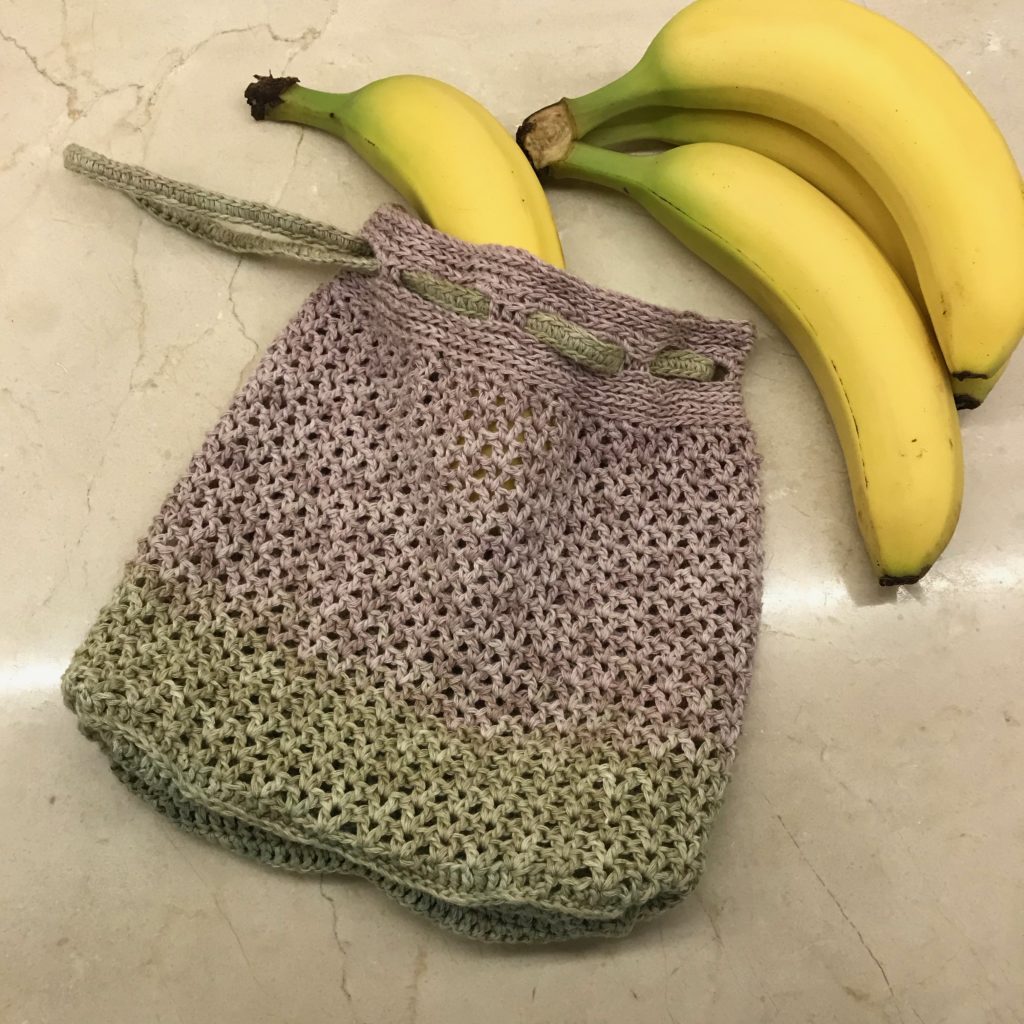
Recently I found myself in need of a reusable lunch bag. My college classes were scheduled right through lunchtime, which meant I was packing a lot of meals, and I wanted something to carry them in. Reusable lunch bags are great for the environment and easier to carry than a paper bag. I had a lovely ball of cotton yarn in my stash that was waiting for the right project, and the color changes make me think of wild strawberries, hence the name. Perhaps best of all, the cotton yarn means you can toss the bag in the washing machine.
| Skill Level: |  |
Finished Size: approximately 4″ (10 cm) wide, 6″ (15 cm) long, 8″ (20 cm) tall
| Materials: Fine weight yarn (approximately 200 yards) Crochet Hook D (3.25 mm) |
Gauge:
12 dc = 2″
7 rows = 2″
Gauge Swatch: 2″w x 2″h (5 cm x 5 cm) ch 14.
Row 1: dc in third ch from hook and in each ch across: 12 dc
Row 2 – 7: ch 2, turn, dc in each dc across: 12 dc
Finish off.
Need help understanding the abbreviations and symbols? Check out the crochet abbreviation chart.
Crochet Pattern: Strawberry Snack Bag
Base of Bag
Row 1: 24 fdc
(Alternatively, if you do not wish to use the fdc method you can ch 26 and dc in third ch from hook and in each chain across.)
Row 2-13: ch 2, turn, dc in each dc across: 24 dc
Do not finish off, continue with base edging.
Base Edging
Round 1: ch 2, turn, dc in each dc across (for a total of 24 dc on this side), turn to work across row ends and work 2 dc in the end of each row (for a total of 26 dc on this side), turn to work across opposite end of foundation and dc across (for a total of 24 dc on this side), turn to work across final edge and work 2 dc in the end of each row, except the last row, make 1 dc into the last row (for a total of 25 dc on this side), sl st to first dc: 99 dc
Round 2: ch 2, bpdc around each dc, sl st to first dc: 99 bpdc
Do not finish off, continue with sides.
Sides
Round 1: ch 2, ([dc, ch 1, dc] in next dc, skip next 2 dc) around, sl st to first dc: 33 ch-1 spaces
Round 2-20: [sl st, dc, ch 1, dc] in first ch-space, ch 2, [dc, ch 1, dc] in each ch-1 space around, sl st to first dc: 33 ch-1 spaces
Do not finish off, continue with top edging.
Top Edging
Round 21: ch 1, 2 hdc in each ch-1 space around, sl st to first hdc: 66 hdc
Round 22-24: ch 1, hdc into the back bar of each hdc around, sl st to first hdc: 66 hdc
Round 25: ch 2, hdc into the back bar of the first 2 hdc, (ch 3, skip next 3 hdc, hdc in back bar of next 3 hdc) around until 4 sts remain, ch 3, skip next 3 hdc, hdc into back bar of last hdc, sl st to first hdc: 11 ch-3 spaces, 33 hdc
Round 26: ch 1, hdc into the back bar of each hdc and make 3 hdc into each chain space around, sl st to first hdc: 66 hdc
Round 27-29: Repeat Round 22, but do not sl st to join at the end.
Round 30: sl st into back bar of each hdc around, Seamless join to first hdc: 66 sl st
Finish off.
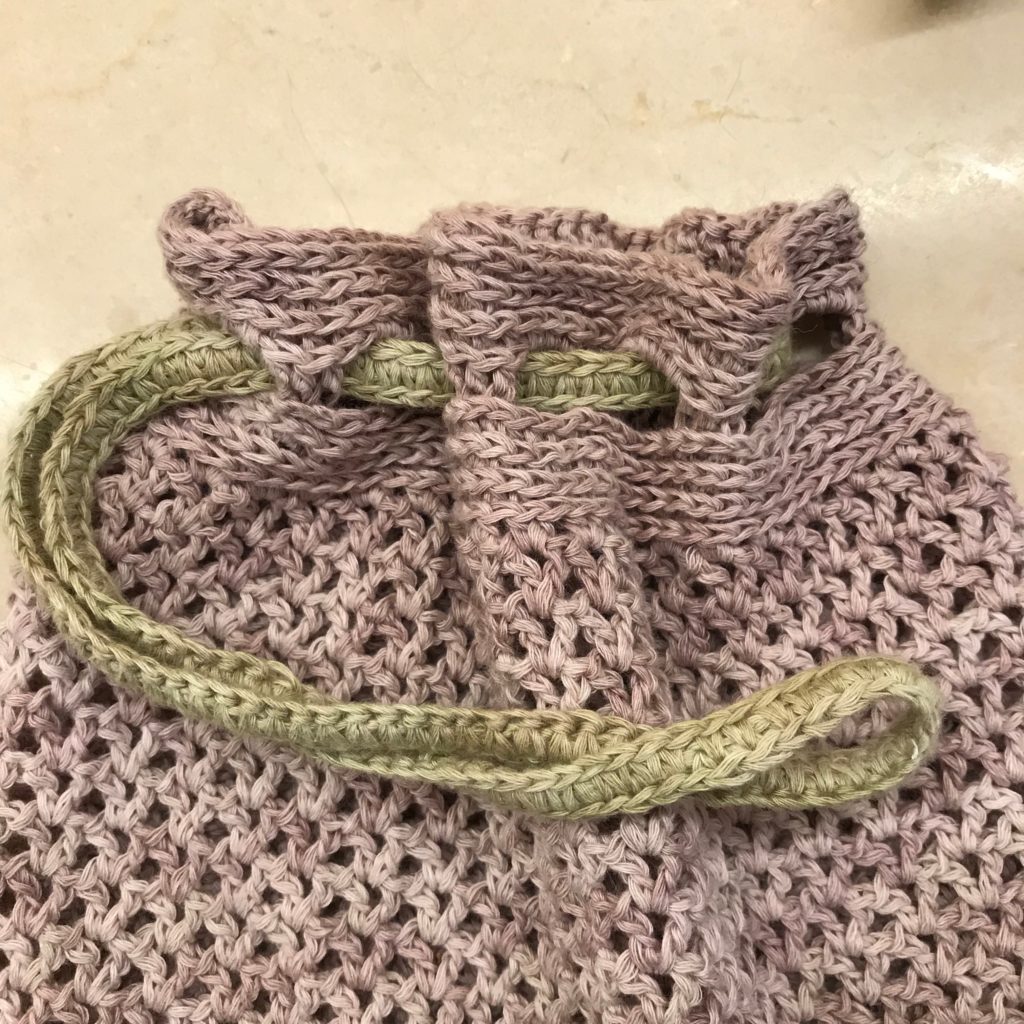
Drawstring
Make a Stretch-Free Crochet Cord about 16″ long or as long as desired, leaving an 8″ tail to sew the ends together. Thread the cord through the drawstring holes. Since there are an odd number of them, the ends of the drawstring will come out the same hole. Use the long tail to sew the ends together. Feel free to substitute an easier cord if you’re a beginner.
Need help while crocheting? Feel free to leave a comment below and I’ll help you out!

What a beautiful pattern! Thank you for sharing.
I think this is just beautiful ! Thank you for sharing .
Free Crochet Pattern: Wild Strawberry Lunch Bag
Hi! I need a little help, please.
I finished the base of the bag and started the base edging, Round 1. I chained 2, turned, and did double crochets across for a total of 24 dc.
My first question has to do with turning to do two dc in the ends of each row for a total of 26 dc. Because Round 1 started with another row of 24 dc across the initial side, that will give you 14 rows, not 13. So if you put two dc in the end of each row, you’ll have a total of 28 dc down that side. To keep your 26 count, I staggered the stitches a little down the side to get 25 dc and then did a dc2tg for the last stitch. So, I’m not sure how you wanted that.
My next question involves the next step of continuing the edge by rotating the piece to dc down the opposite side of the foundation. The final dc from the previous edge comes even to the top of the opposite side of the foundation. How do you turn the corner and get the height necessary to dc down the foundation?
I just can’t figure this out, so I apologize if it’s something simple and I’m not seeing it. I sure could use your help with both of these questions.
Thank you so much for your time! I really like this bag and look forward to your response, so I can finish it. My husband wants one for a lunch bag, too!
I think I have it! My eyes flew open this morning as I realized that’s where the bag starts it’s upward climb. I haven’t done many bags or hats or anything that winds around and climbs and was unsure. Thank you! (I tried to delete the above comment and wasn’t able, so I thought I’d just let you know I think I answered my own questions.)
Hi Larryn,
Sorry I didn’t catch your initial comment sooner! Sounds like you understood it perfectly in the second comment, though. You’re right that the bag starts going upward in that round – you don’t work into the end of the 14th row of dc. Good job figuring it out! Please let me know if you need any help with the rest of the pattern, and I hope you and your husband enjoy the finished bags!
Best,
Claire