
Free Crochet Pattern: Avery Textured Fingerless Gloves
By Amy Yarbrough – 10 Comments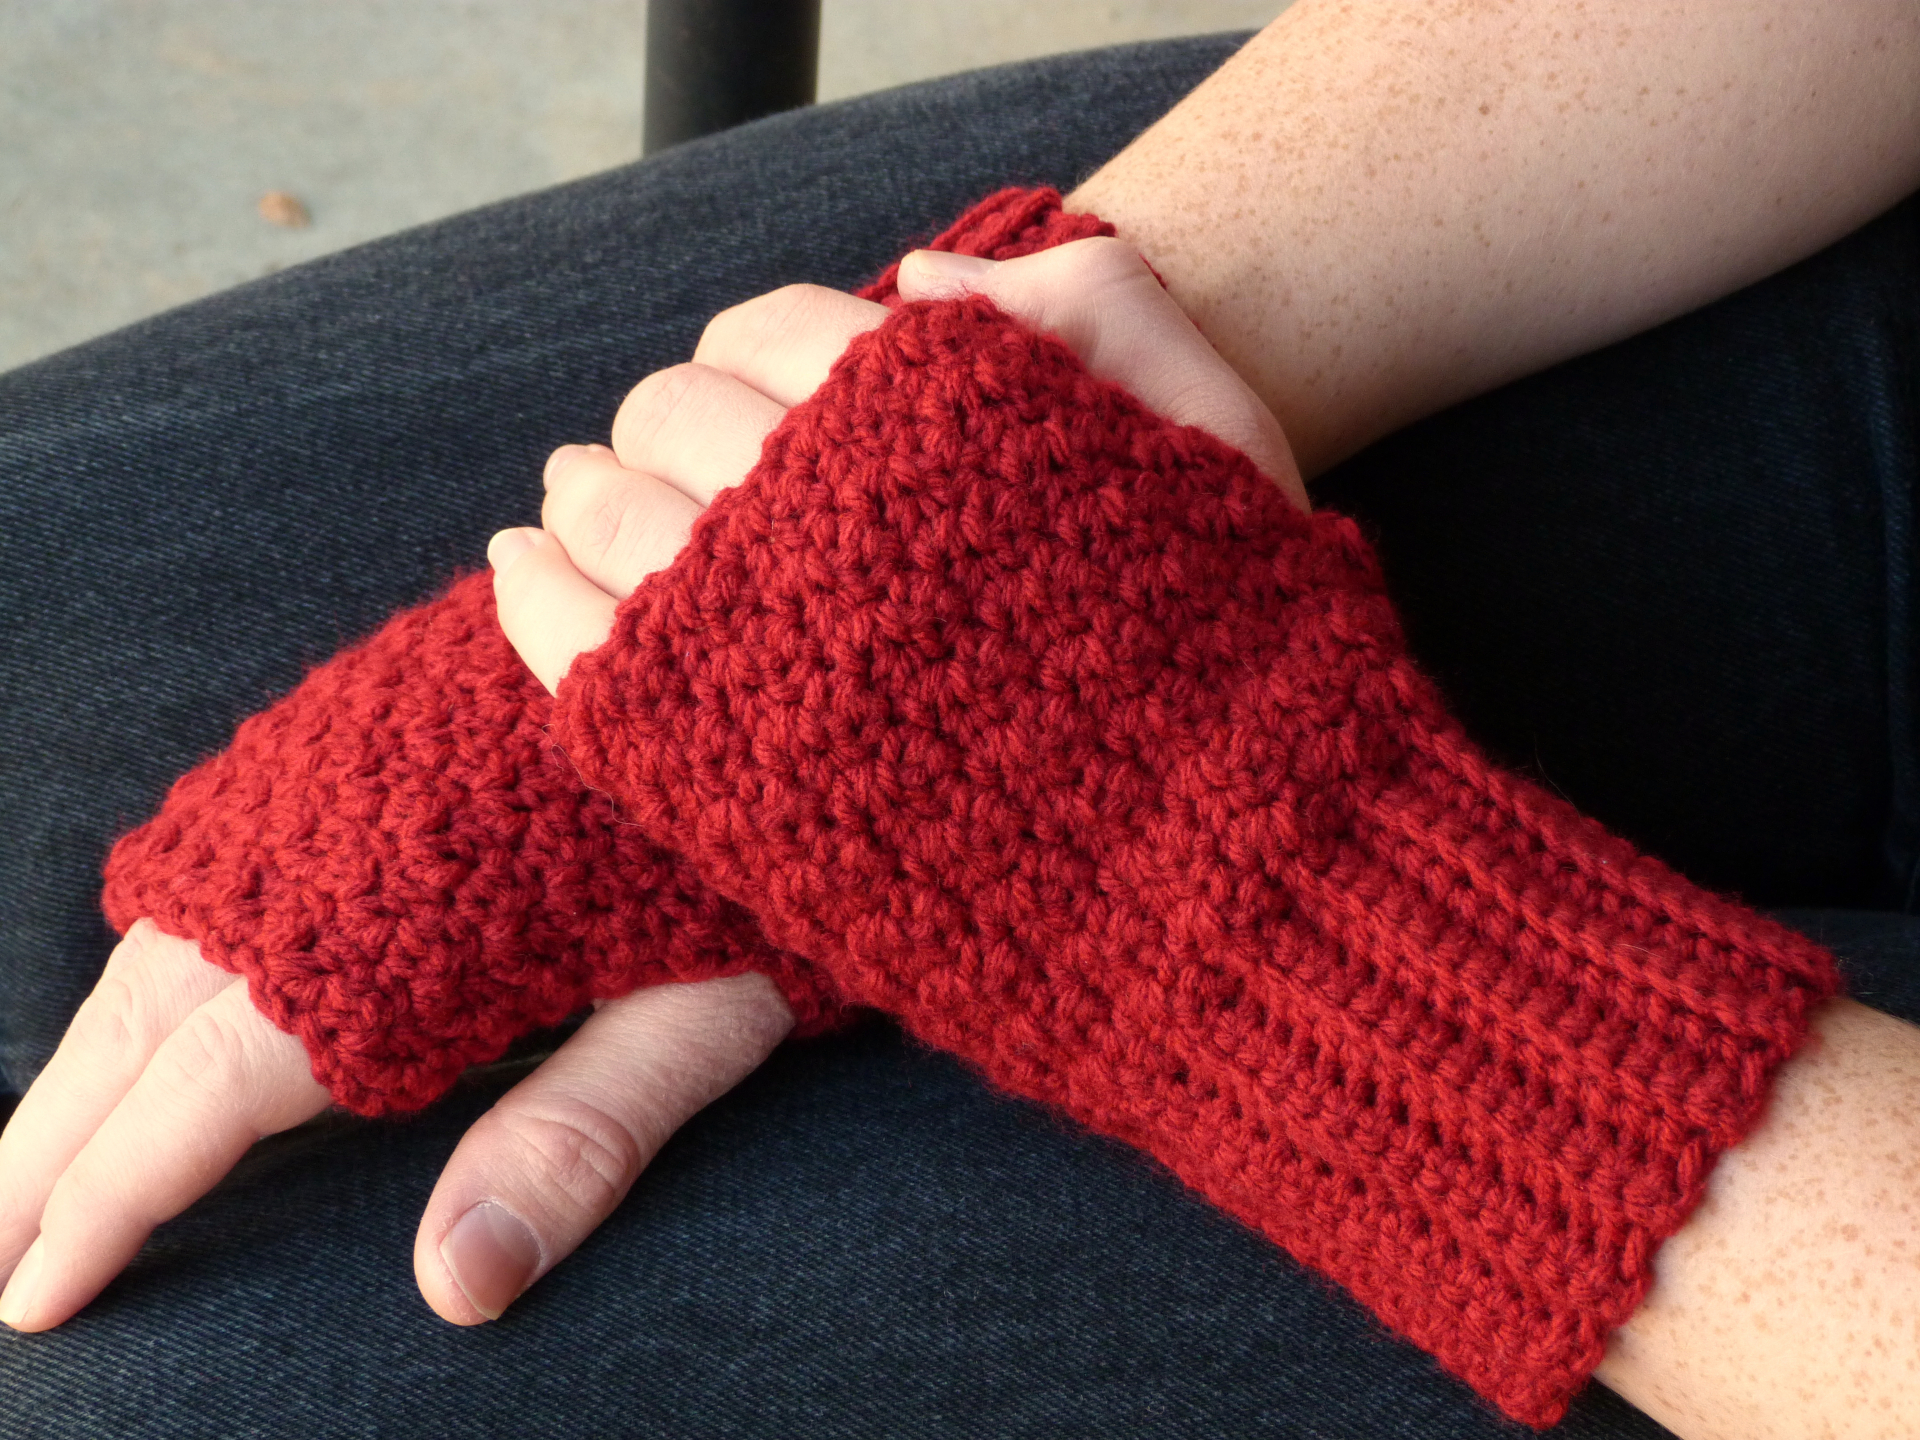
Looking for a simple fingerless glove pattern? I remember the first fingerless glove pattern I tried. It was very simple but still unique and I made many pairs for people I knew.
With this pattern I wanted to echo the simplicity of that design by working the glove in one piece from the ribbed cuff to the textured palm. If this looks complicated, it’s not! Even crocheting the thumb opening is easy.
The size of this pattern is for larger hands, great for the male members of the family, but it also includes instructions on how to easily adjust the size for any hand size.
| Skill Level: |  |
Finished Size: 8†(20.5 cm) long and 4 1/2†(11.5 cm) wide, laid flat (fits hand measuring 4 1/2†across palm, with instructions for size adjusting)
| Materials: Medium Weight Yarn (approximately 200 yards) Crochet Hook 4.50 mm Yarn needle |
Gauge:
7 sc = 2’’
6 rows = 2’’
Gauge Swatch: 2’’w x 2’’h (5 cm x 5 cm) ch 8.
Row 1: sc in second ch from hook and in each ch across: 7 sc
Row 2 – 6: ch 1, turn, sc in each sc across: 7 sc
Finish off.
Need help understanding the abbreviations and symbols? Check out the crochet abbreviation chart.
Note: Glove is worked sideways and in one piece, from cuff to body.
Adjusting Size
To adjust the size of the glove you will need to add or remove stitches from the foundation chain in even multiples, as well as working fewer rows between Row 4 – 25. For a whole size down or up, I would suggest subtracting or adding 4 stitches from the foundation chain and subtracting or adding the same amount of rows from Rows 4 – 25 before continuing the pattern as before. For a small adjustment, I would suggest only subtracting or adding 2 stitches to the foundation chain and likewise the same number adjustment to the Rows.
Trying the glove on as you go will help you tailor the size more specifically. Adjust the pattern as necessary.
Crochet Pattern: Avery Textured Fingerless Gloves
Row 1: ch 31, sc in second ch from hook and in each ch across: 30 sc
Row 2: ch 1, turn, sc in back loop only in next 14 sc, * dc in next st, sc in next st, repeat from * across: 30 sts
Row 3: ch 1, turn, * dc in next st, sc in next st, repeat from * until 14 sts remain, sc in back loop only in next 14 sts: 30 sts
Row 4 – 25: repeat Rows 2 and 3
Note: The following rows will create the thumb opening.
Row 26: ch 1, turn, sc in back loop only in next 14 sc, * dc in next st, sc in next st, repeat from * 2 more times: 20 sts
Row 27: ch 1, turn, * dc in next st, sc in next st, repeat from * until 14 sts remain, sc in back loop only in next 14 sts: 20 sts
Row 28: ch 1, turn, sc in back loop only in next 14 sc, * dc in next st, sc in next st, repeat from * across: 20 sts
Row 29 – 30: repeat Rows 27 and 28
Finish off, leaving a long tail for sewing.
Match ends (from cuff to top of thumb) and whip stitch together. Match upper end (from top to thumb) and whip stitch 1 1/2†together (adjust to fit for size changes), leaving remaining for thumb opening.
Have any questions? Please feel free to contact me in the comments below with any questions or thoughts you might have!

Very lovely and unique pattern- thank you! I like the one- piece method!
Thanks, Annmary! I’m glad you like it. I was pleased the one-piece method worked out.
What a beautiful pattern! Thank you for sharing.
Thanks, Erica! My pleasure.
HI! I got near the end and came across a problem. At rows 29 and 30 the instructions do not match the rest of the pattern. I don’t know where I went wrong if indeed I did something wrong. I have ended on row 28 with the dc, sc sequence. Row 29 says to crochet 14 sc but that;s where I am having trouble since the 28th row ends in dc and sc. Please help me and let me know what I did wrong if I did do something wrong or is in possible the pattern is off. Thank you. P.S. The rest of the pattern turned out really nice and I hope I will be able to finish these gloves.
Hello Mary,
I believe I see your problem. You should first work Row 3 and then work Row 2, to continue the same pattern you have been working. I have adjusted the pattern to say this. Sorry about that!
And I’m so glad you like my pattern! Let me know if there is anything else I can help you with.
Amy
Ok row 28 ends with 20 stitches. So how do you add 10 stitches for rows 29 and 30, because if you use rows 3 and 2 they both end in 30 stitches.
Hello Karla,
I’m sorry for the mistake. I have gone over the pattern and see that Rows 29-30 should repeat rows 27 and 28 instead. I have adjusted the pattern. I hope this solves your questions! Let me know if you have any more.
Amy
Hi Amy, I too love the looks of this pattern. I am on row 28 that has 20 stitches, this is good so now it says to do rows 2 & 3 but they each have 30 stitches. where do I go with the extra 10 stitches? HELP! Please…..Barb.
Hello Barb,
Sorry for the mistake! I went over the pattern again and realized it should read “Row 29 – 30: repeat Rows 27 and 28” instead. I have adjusted the pattern. I hope this solves your problem! Let me know if you have any more questions.
Amy