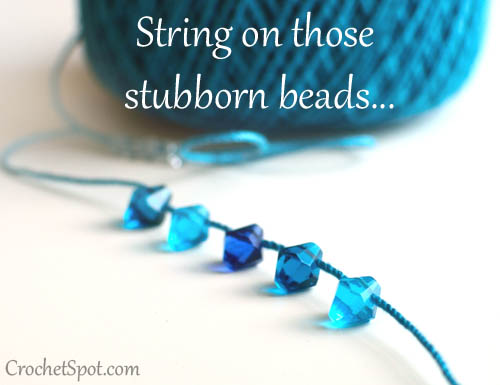
Tips and Tricks for Stringing Beads onto Yarn and Thread
By Rachel Choi – Be the first to commentBefore starting your beaded crochet project, you’ll have to string your beads onto the yarn or thread. If you’re lucky, the beads will string on with no problem. However, many beads have small holes that are intended for jewelry wire, not crochet thread or yarn. In this post, I’ll discuss some tips and tricks to string your beads on. Sometimes the trick is really simple and quick, other times it can take a bit more work to get those stubborn beads on.

Make a Clean Cut
If you’re bead isn’t easily sliding onto the yarn or thread, the first thing I always do is make a clean cut at the end of the string. Use a sharp pair of scissors so that you get as little fraying as possible. With a clean end, the beads are more likely to slide onto the string. If this isn’t enough to get your beads on, try the next tip.
Sewing Needle or Yarn Needle
If you have a sewing needle or yarn needle that can fit through your bead, and your string can also find onto your needle, it’s your lucky day! Simply string the needle onto your string. I like to use a sewing needle threader (or yarn needle threader for yarn needles) to make it extra easy. Once you have your needle on the string, string your beads on with ease.
Wet the Tip
If you don’t have a needle on hand or the beads just don’t fit onto the needle, this is a quick trick that I almost always try before taking more elaborate measures. Wet the tip with your mouth (or if you’re a germaphobe use a touch of water from the sink). Squeeze and twist the end of the string together to help the end stay together. The wetness should temporarily stop the string from fraying so that you can string on the beads.
Tape
If water isn’t enough, try some tape. Use a very thin piece of tape and wrap it around the end of the string. Taper the end of the taped string to a point with scissors. This will create a very stiff, pointy end that you can string your beads with. This method may be difficult to do depending on your yarn or thread. The tape may be too bulky when wrapped around. Try the nail polish tip if you’re having trouble with the tape.
Nail Polish
I like to use clear nail polish, but you can really use any color. Paint the very tip of the string with nail polish and let it dry almost all the way. Then mold the tip so that it is nicely pointed. I find that twisting the string into a point will help compress the string and form a point at the end. Once the nail polish dries completely you’ll have a hard and pointy end that can be inserted into your beads.
Twist, Twist, Twist!
Still having trouble getting your string though your beads? Twist, twist twist!!! Remember to twist the string into a point to help compress the string and form a point at the end. You’ll also want to slowly twist while inserting the string into the beads so that the end doesn’t start to fray again. The twisting, in conjunction with the nail polish, really helped me get my seemingly impossible tiny beads onto my thread when I was ready to give up!
Worst case scenario you may have to change to different beads or use a thinner thread or yarn. Hopefully these tips will help you get those stubborn beads on! I would love to know some of your tips and tricks. Leave a comment below to share yours!

