
Free Crochet Pattern: Catty Corner Throw Pillow
By Amy Yarbrough – Be the first to comment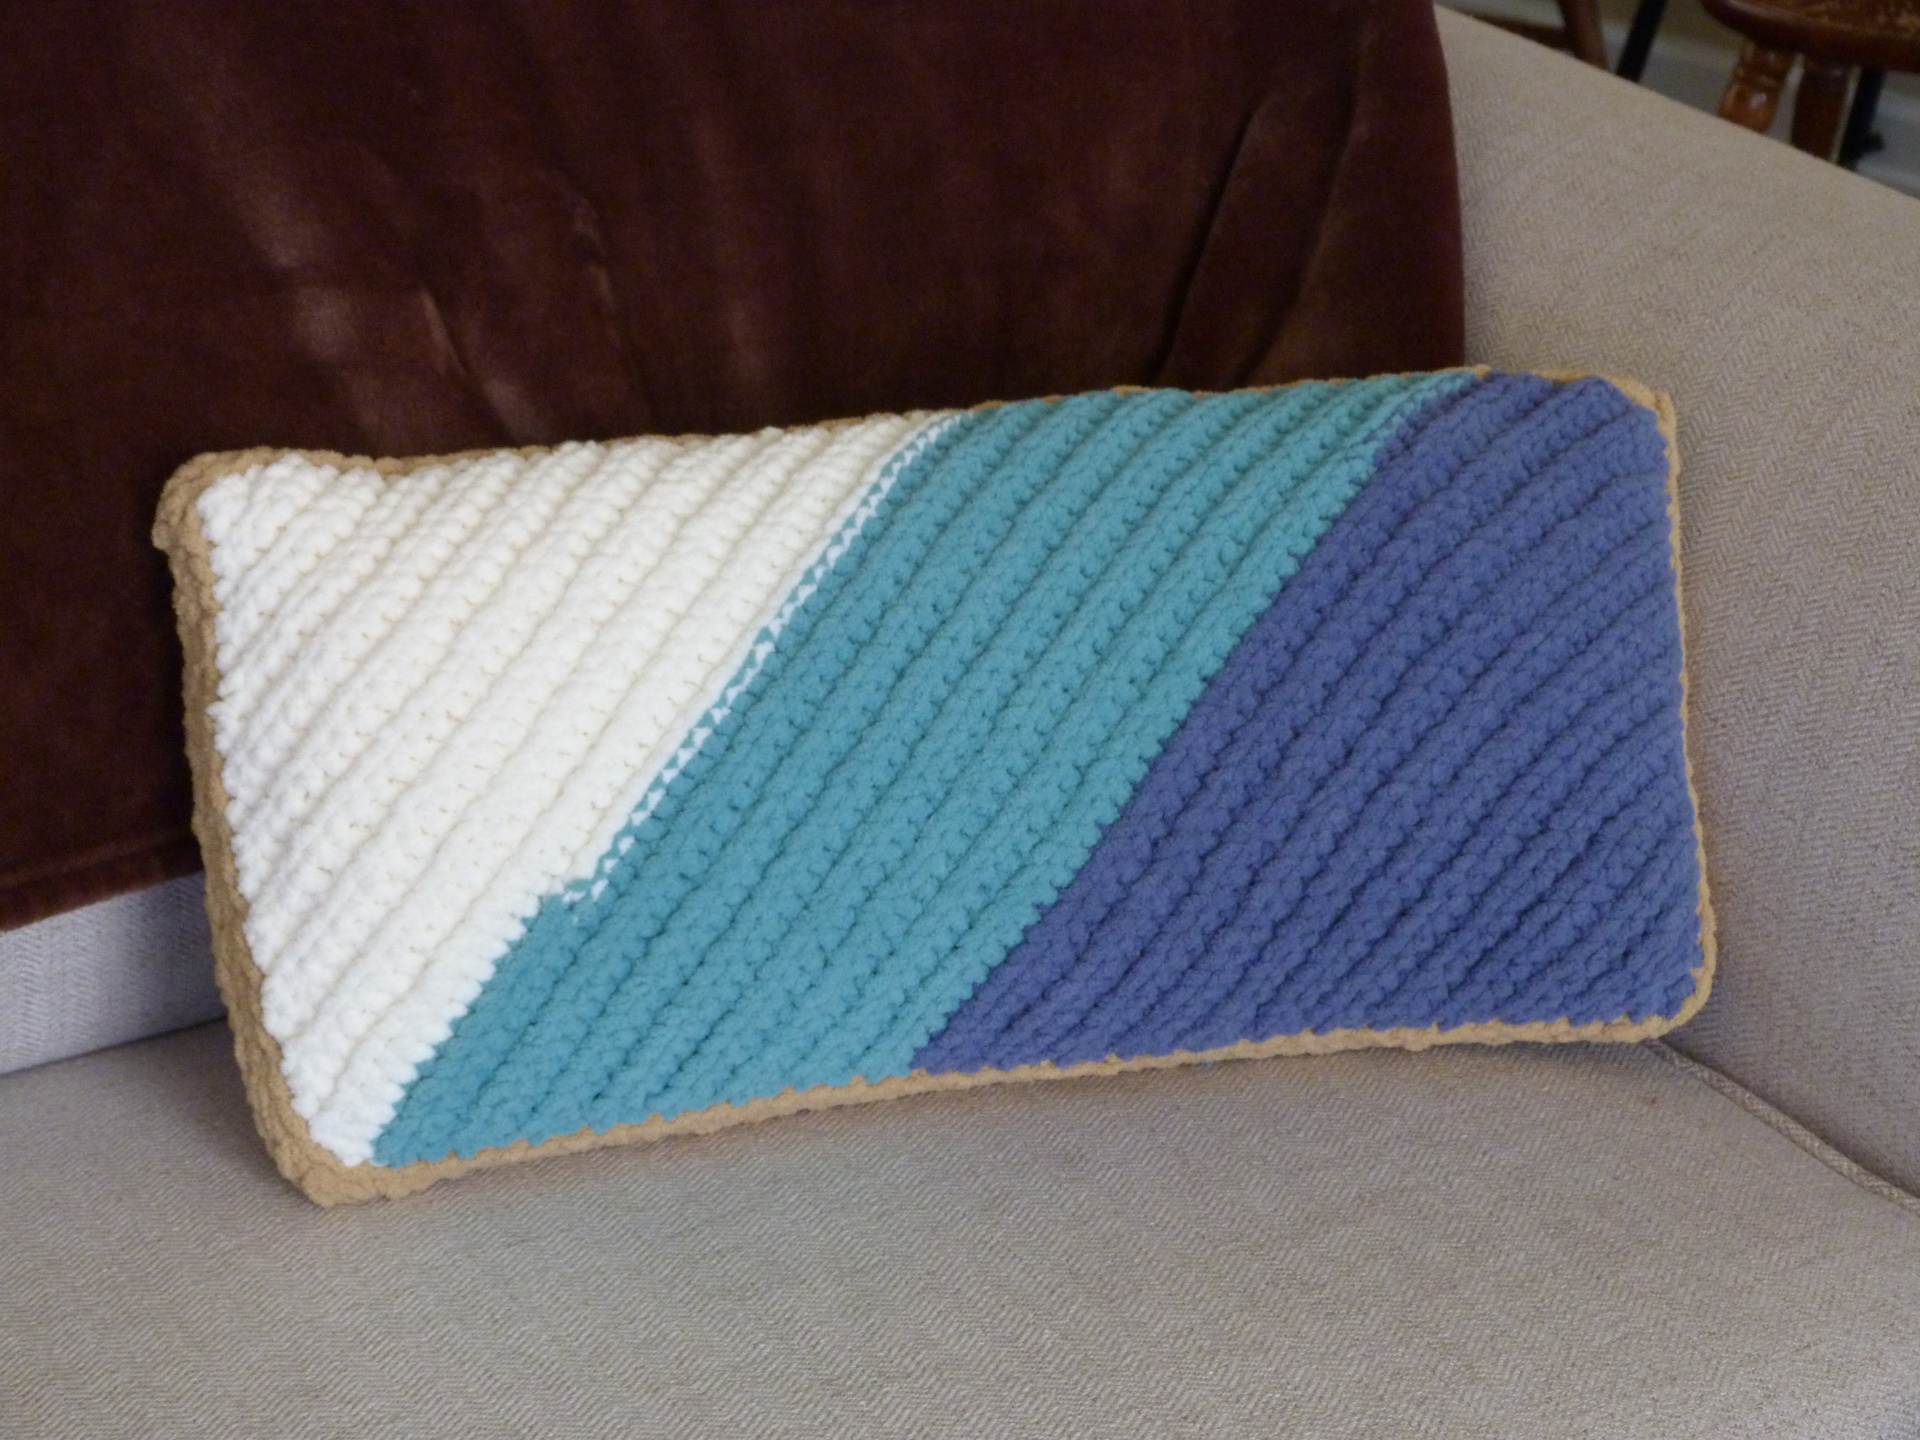
I’m not going to lie, I frogged this design so many times. The theory was sound, I kept telling myself, and I did not want to give up, but the uniqueness of the stitch I had chosen caused me a great deal of question. I first had to find how to count rows of slip stitch, where the turning chain was, whether I wanted to work into the turning chain for a finer edge, and etc. However, once I had it figured out, the going was a breeze!
If you’ve ever worked from corner to corner then this pattern should be easy as pie for you. If you haven’t, then just know you will be increasing on both ends until you have the width of the pillow, working even by increasing on one end and decreasing on the other, and then decreasing on both ends to finish. Sound complicated? It really isn’t, trust me.
The only thing you need to know is how to increase while working a slip stitch pattern. Don’t miss the instructions below on how to do this!
This was really an exciting pattern to design. I hope you like it. Let me know if you give it a try!
| Skill Level: |  |
Finished Size: 12†(30.5 cm) wide, 24†(61 cm) long
| Materials: Super Bulky weight yarn – (approximately 220 yards) (I used Bernat Blanket Stripes yarn in Seaside) Crochet hooks M (9.00 mm) and N (10.00 mm) Yarn needle Fiberfill |
Gauge:
With M hook,
4 sl st = 2’’
4 rows = 2’’
Gauge Swatch: 2’’w x 2’’h (5 cm x 5 cm) ch 5.
Row 1: sl st in blo of second ch from hook and in each ch across: 4 sl st
Row 2 – 4: ch 1, turn, sl st in blo of each sl st across: 4 sl st
Finish off.
Color Planning
If using Bernat Blanket Stripes, one panel will use up all of 3 colors. Use the 4th color for the border and seam.
Slip Stitch Increase (slstinc) – Since working two slip stitches in the same stitch is impossible, slip stitch in the back loop and then slip stitch in the front loop.
Need help understanding the abbreviations and symbols? Check out the crochet abbreviation chart.
Crochet Pattern: Catty Corner Throw Pillow
Panel (make 2)
Increase
Row 1: with M hook, ch 2, slstinc in second ch from hook: 2 sts
Row 2: ch 1, turn, slstinc in next 2 sts: 4 sl st
Row 3: ch 1, turn, slstinc in first st, sl st in blo of each st until 1 st remains, slstinc in last st: 6 sts
Row 4 – 21: repeat Row 3. The stitch count will increase by two on every row.
Work even
Row 22: ch 1, turn, slstinc in first st, sl st in blo of each st until 1 st remains, leave last st unworked: 42 sts
Row 23: ch 1, turn, skip first st, sl st in blo of each st across until 1 st remains, slstinc in last st: 42 sts
Row 24 – 41: repeat Rows 22 and 23
Decrease
Row 42: ch 1, turn, skip first st, sl st in blo of each st until 1 st remains, leave last st unworked: 40 sts
Row 43 – 60: repeat Row 42
Row 61: ch 1, turn, skip first st, sl st in blo of next 2 sts, leave last st unworked: 2 sts
With seam color (see color planning) and N hook, sl st around panel. Finish off.
Seaming
Align panels and use stitch markers to keep them in place. With yarn needle and same color as seam, whipstitch through back loops of sl st border on each panel. Stuff very well and complete seaming.
Have any questions? Let me know and I’ll see what I can do!
