
How to Crochet: Surface Crochet or Surface Slip Stitch
By Claire Ortega-Reyes – 38 Comments|
Surface crochet, surface slip stitch or surface chain–the name pretty much explains itself. This technique involves slip stitches made through crocheted fabric, to make designs directly onto crocheted pieces. It is also used to smooth out the outlines when the design involves color changes. It’s a little like drawing, except we use yarn and hook instead of pen and paper–ain’t that cool? Here’s a step-by-step tutorial for surface crochet, or surface slip stitch. Mousing over the images will show the photos for the left-handed tutorial. |
 |
Before starting surface crochet, it is best to have an idea of what design to “draw.” You can even draw up charts to help you with where to place the stitches. Or use up existing charts for tapestry crochet, filet crochet, or even embroidery templates and cross stitch patterns. Surface crochet is easiest when working on a crochet piece with mostly single crochet stitches–and that is what we use in this tutorial.
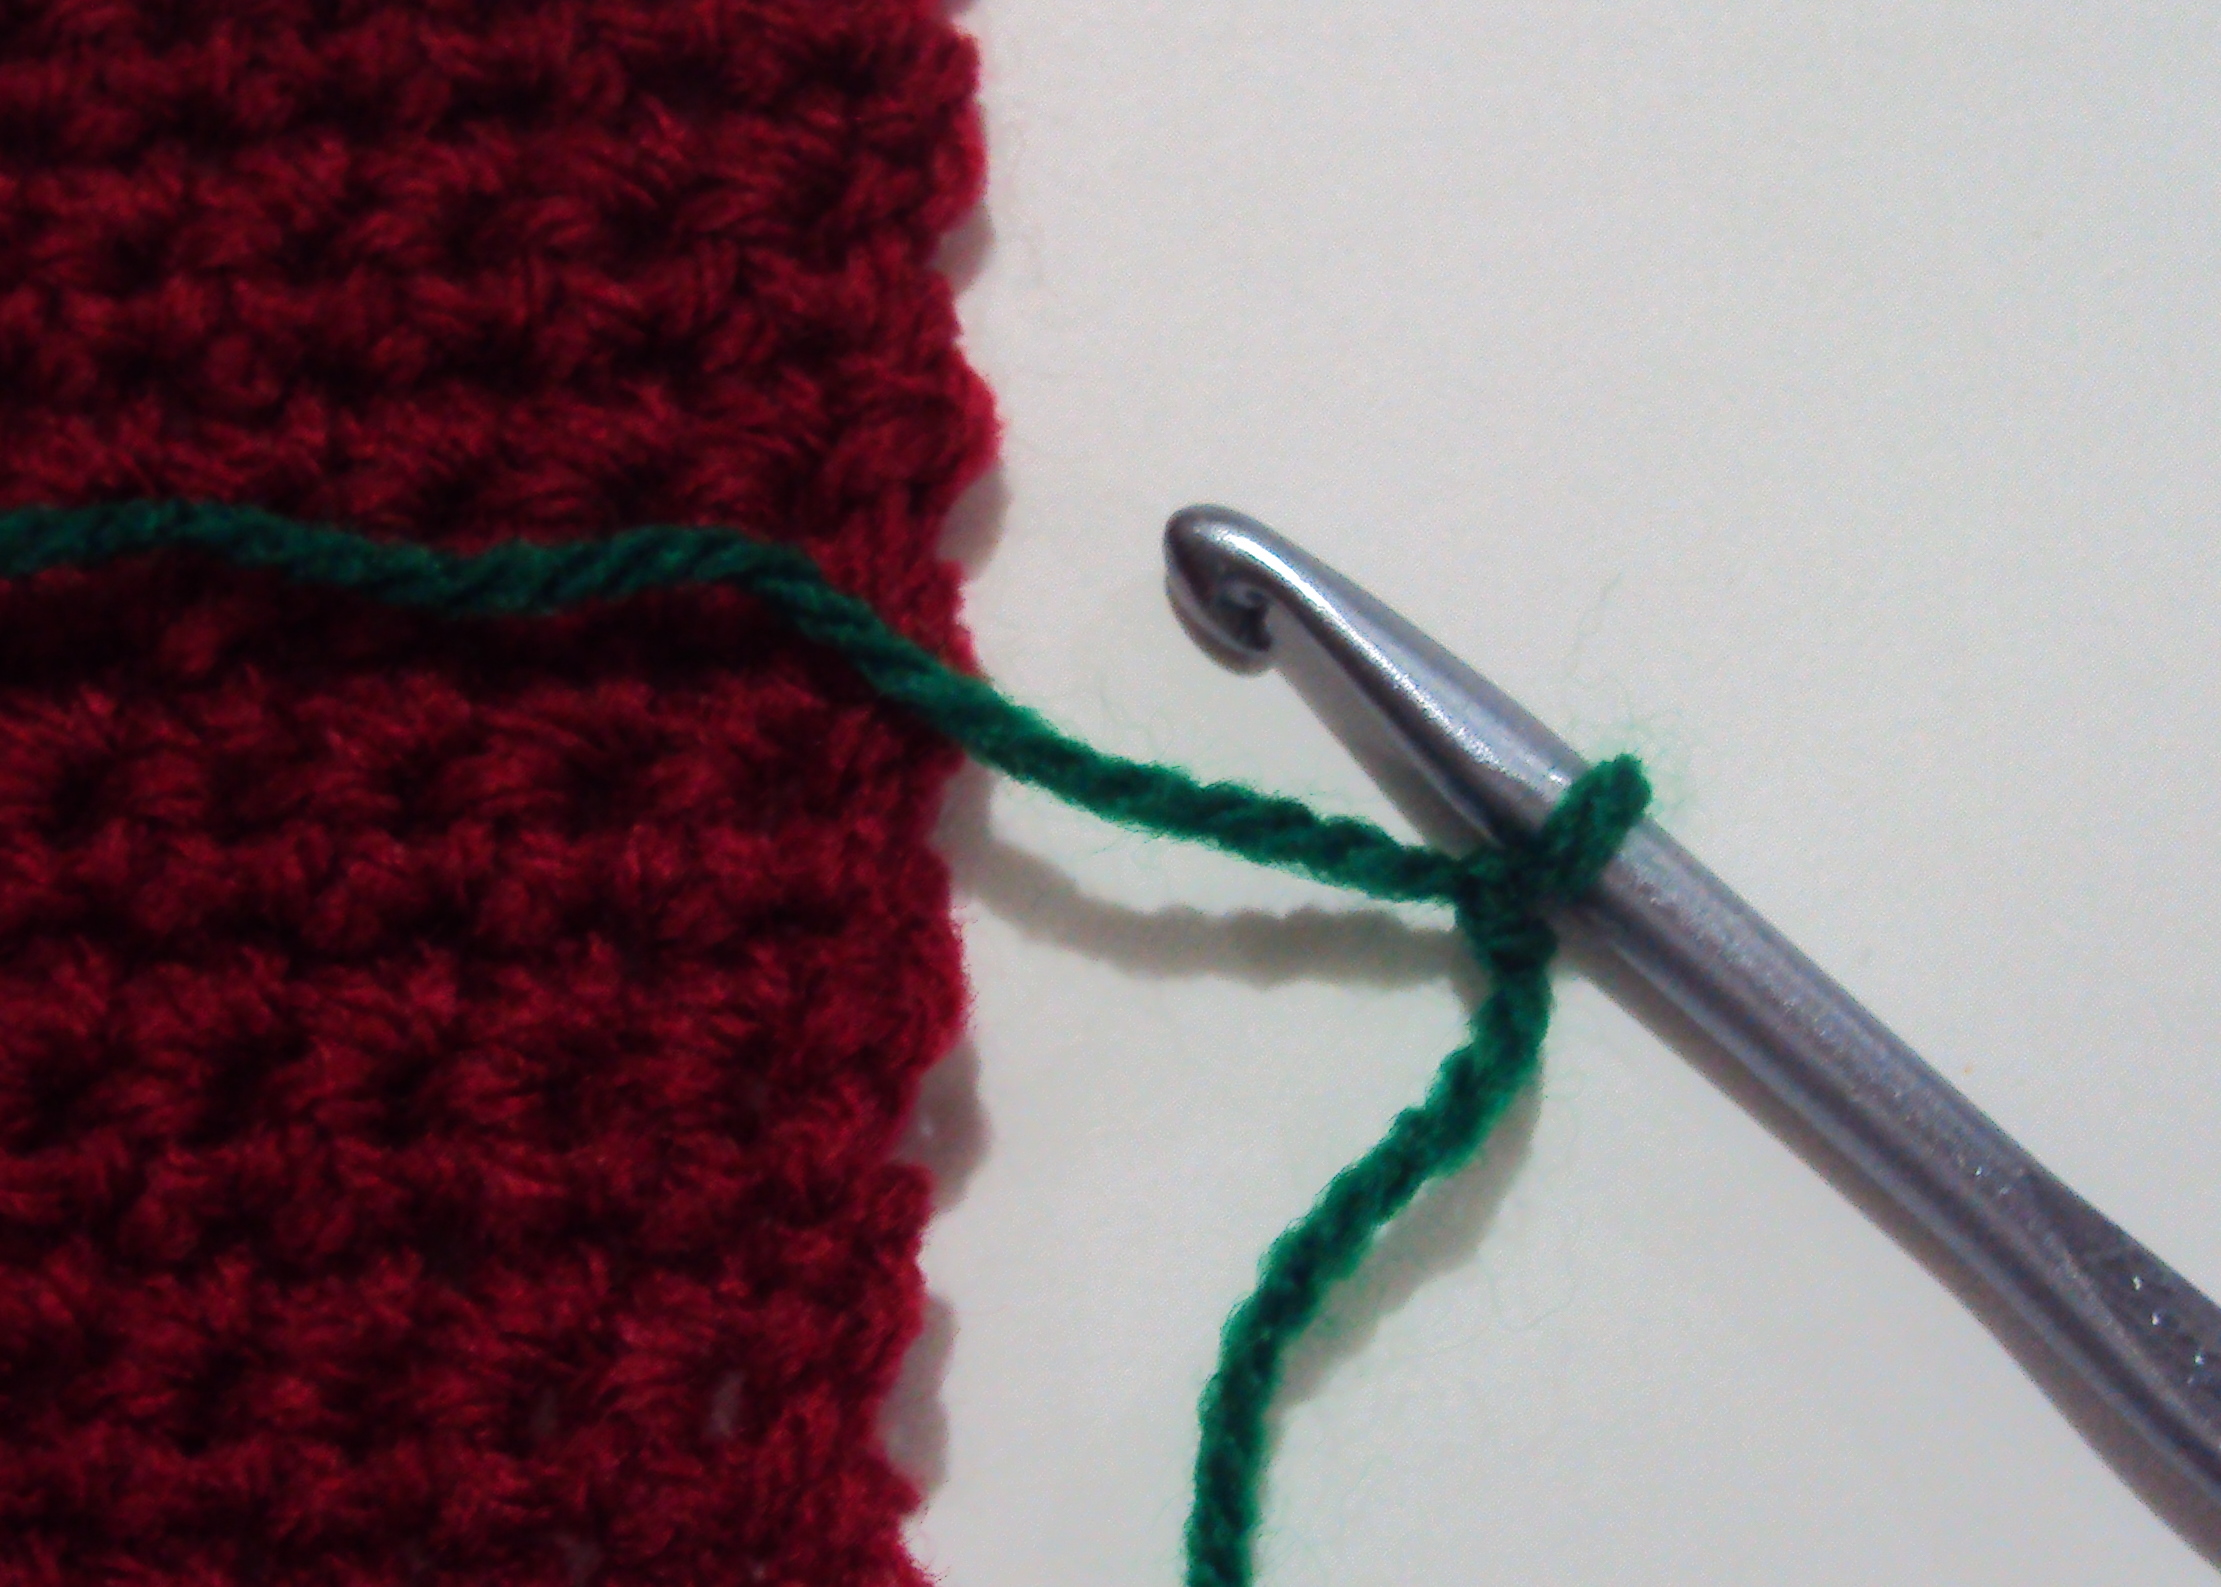
As with all crochet work, start by making a slip knot. And having your crochet project to embellish on standby.
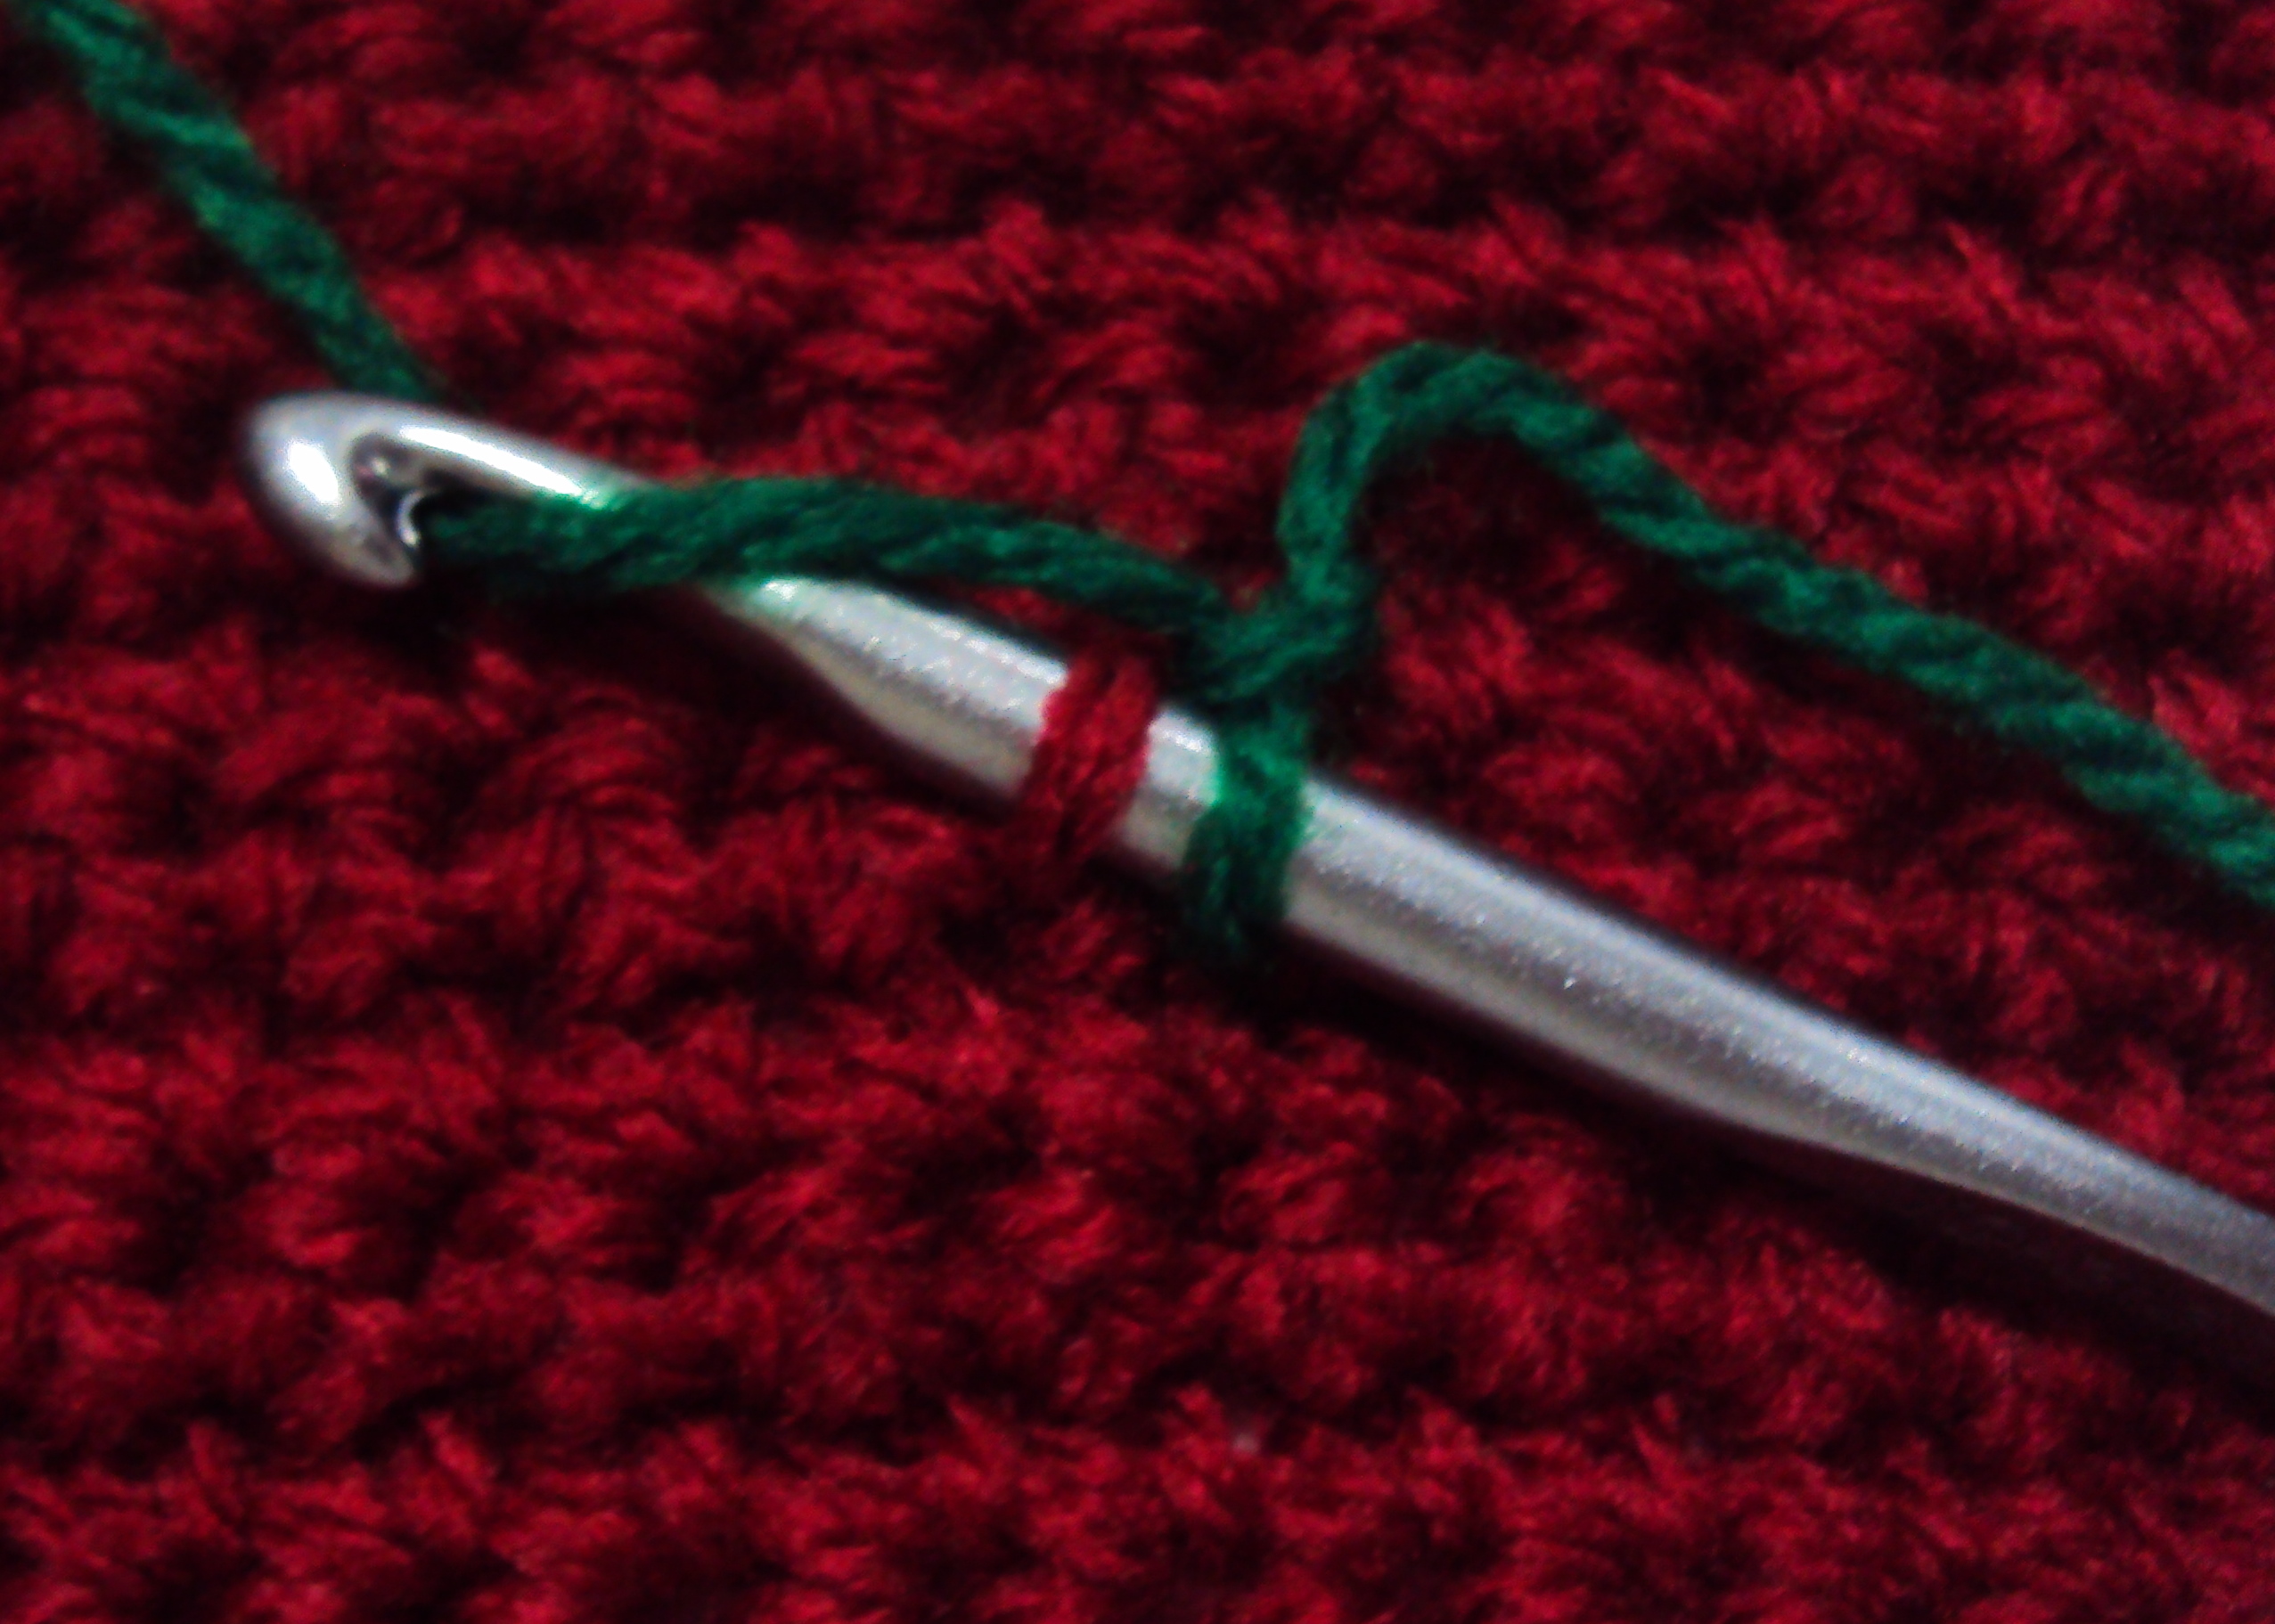
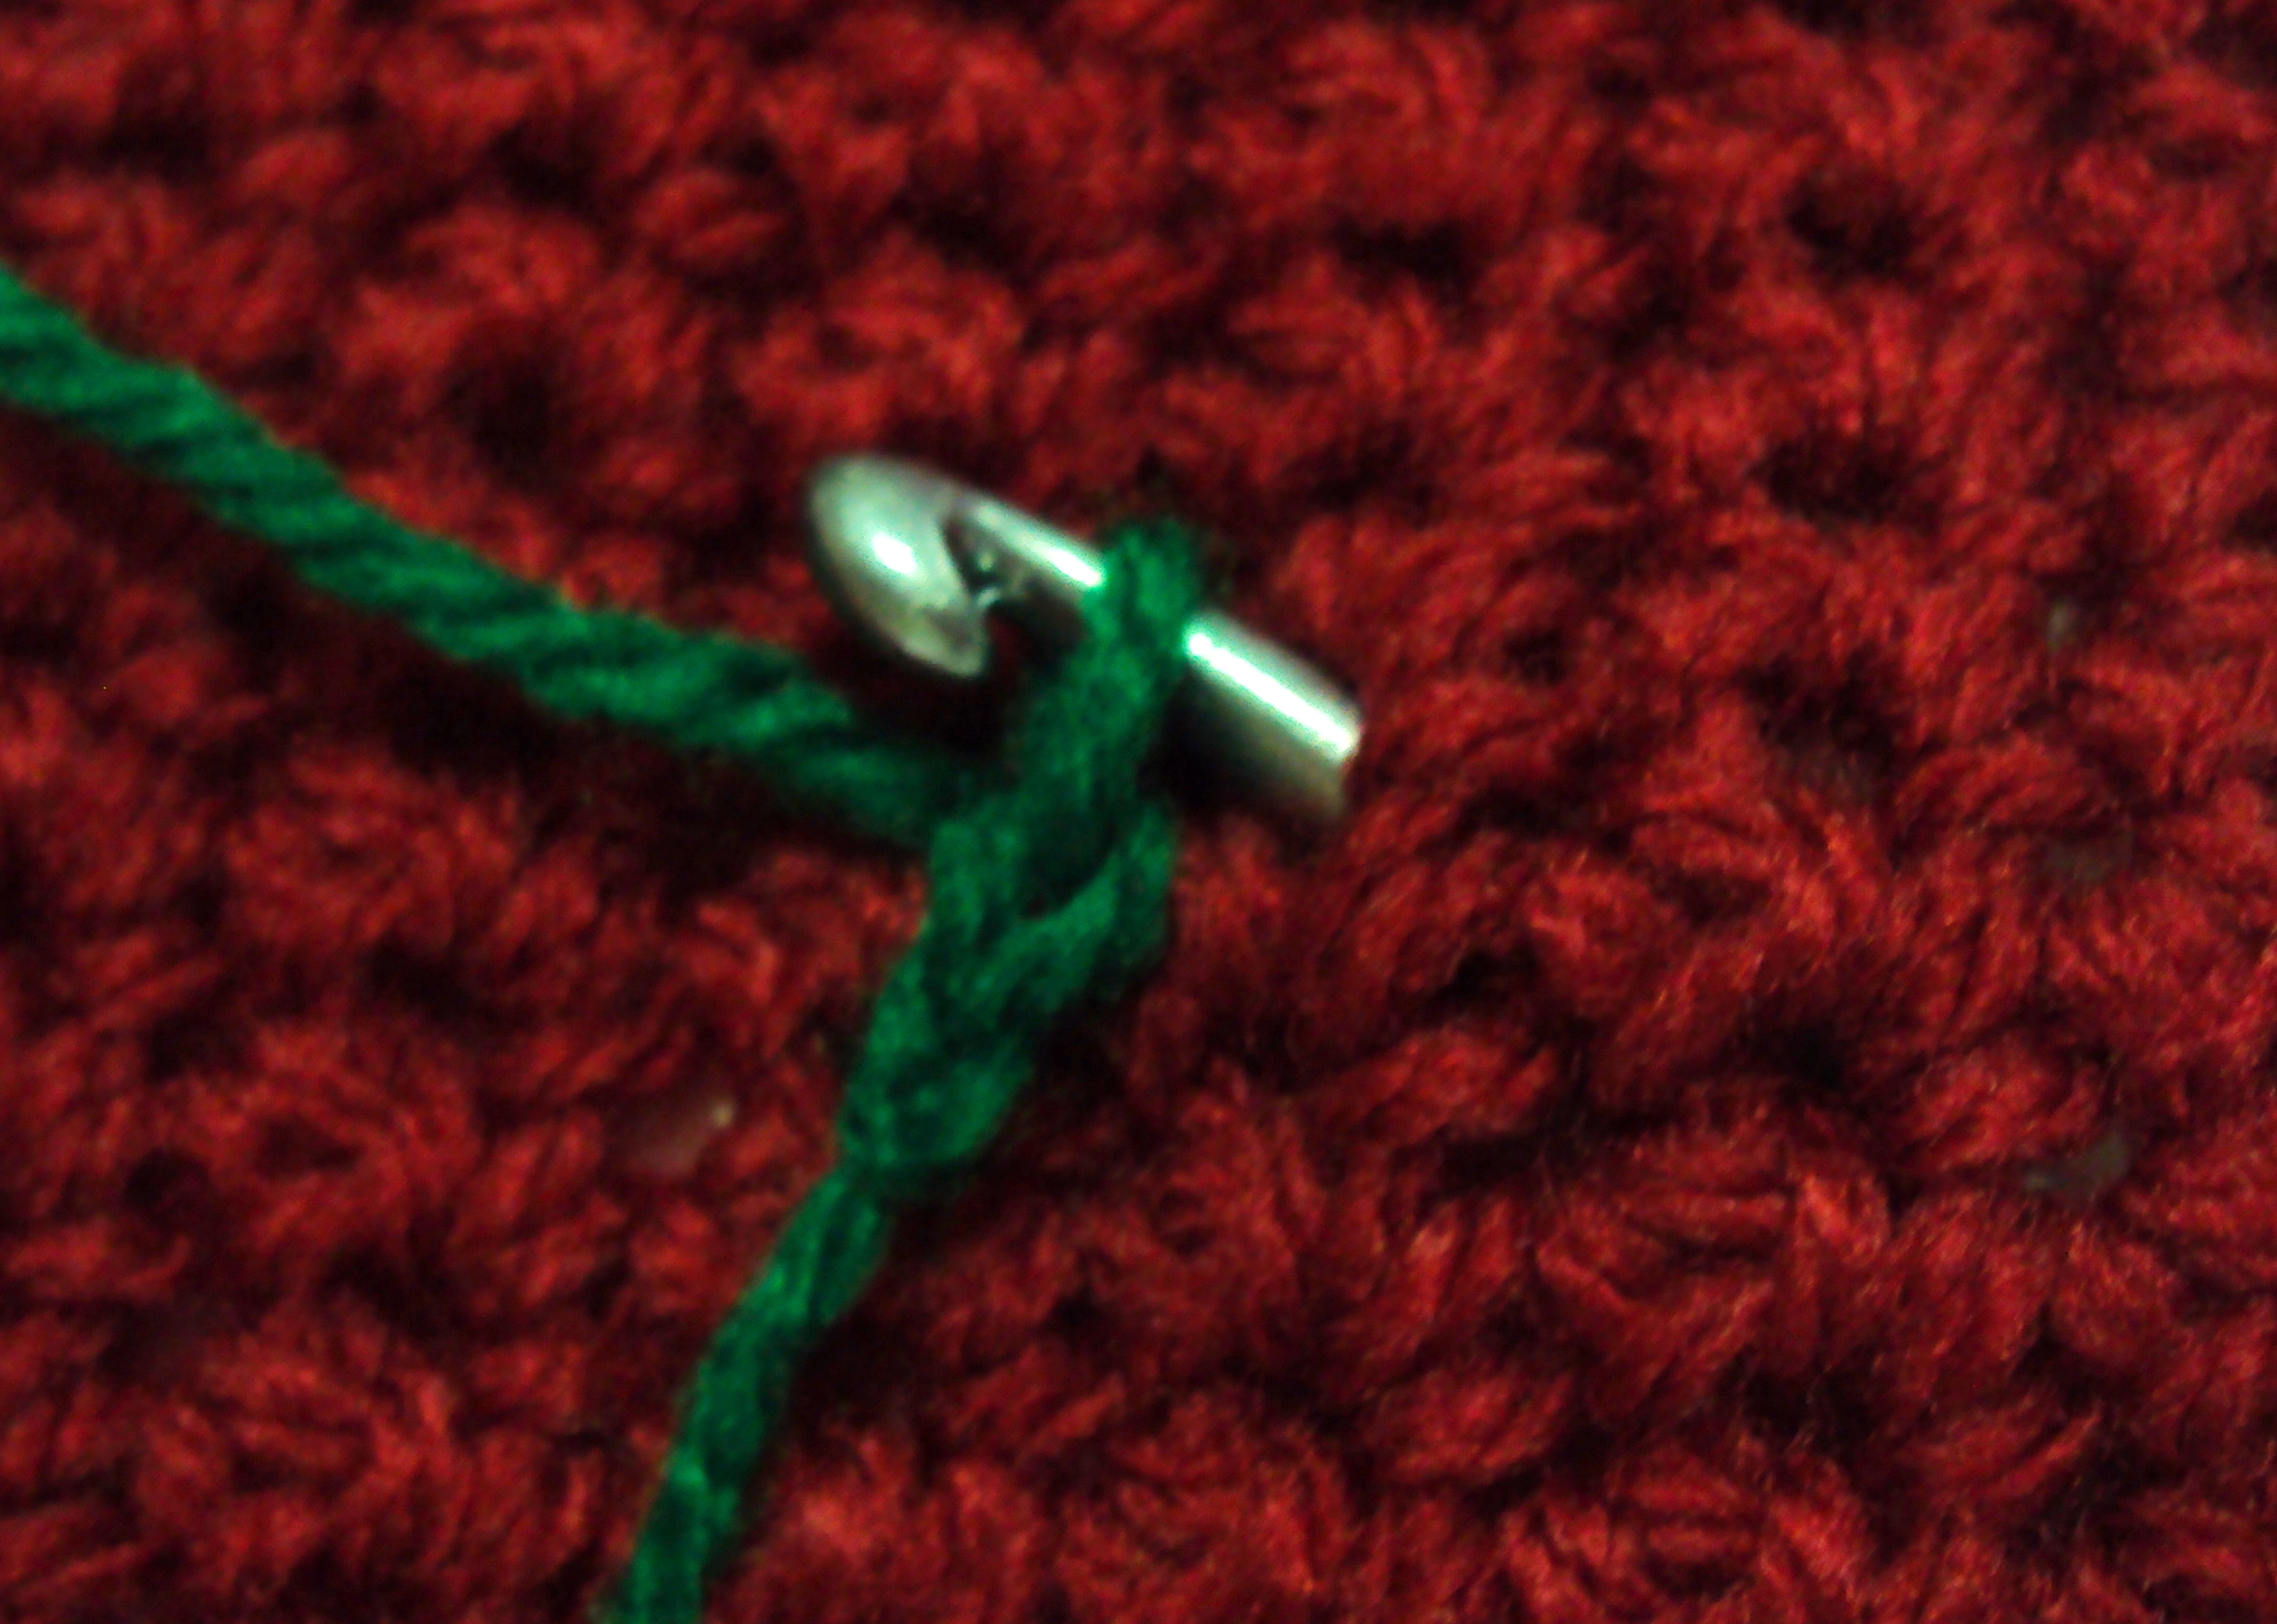
Attach the slip knot to the back of the work where you want to start your surface crochet design, by making a slip stitch into one of the stitches. Make sure that the stitch doesn’t show in front!
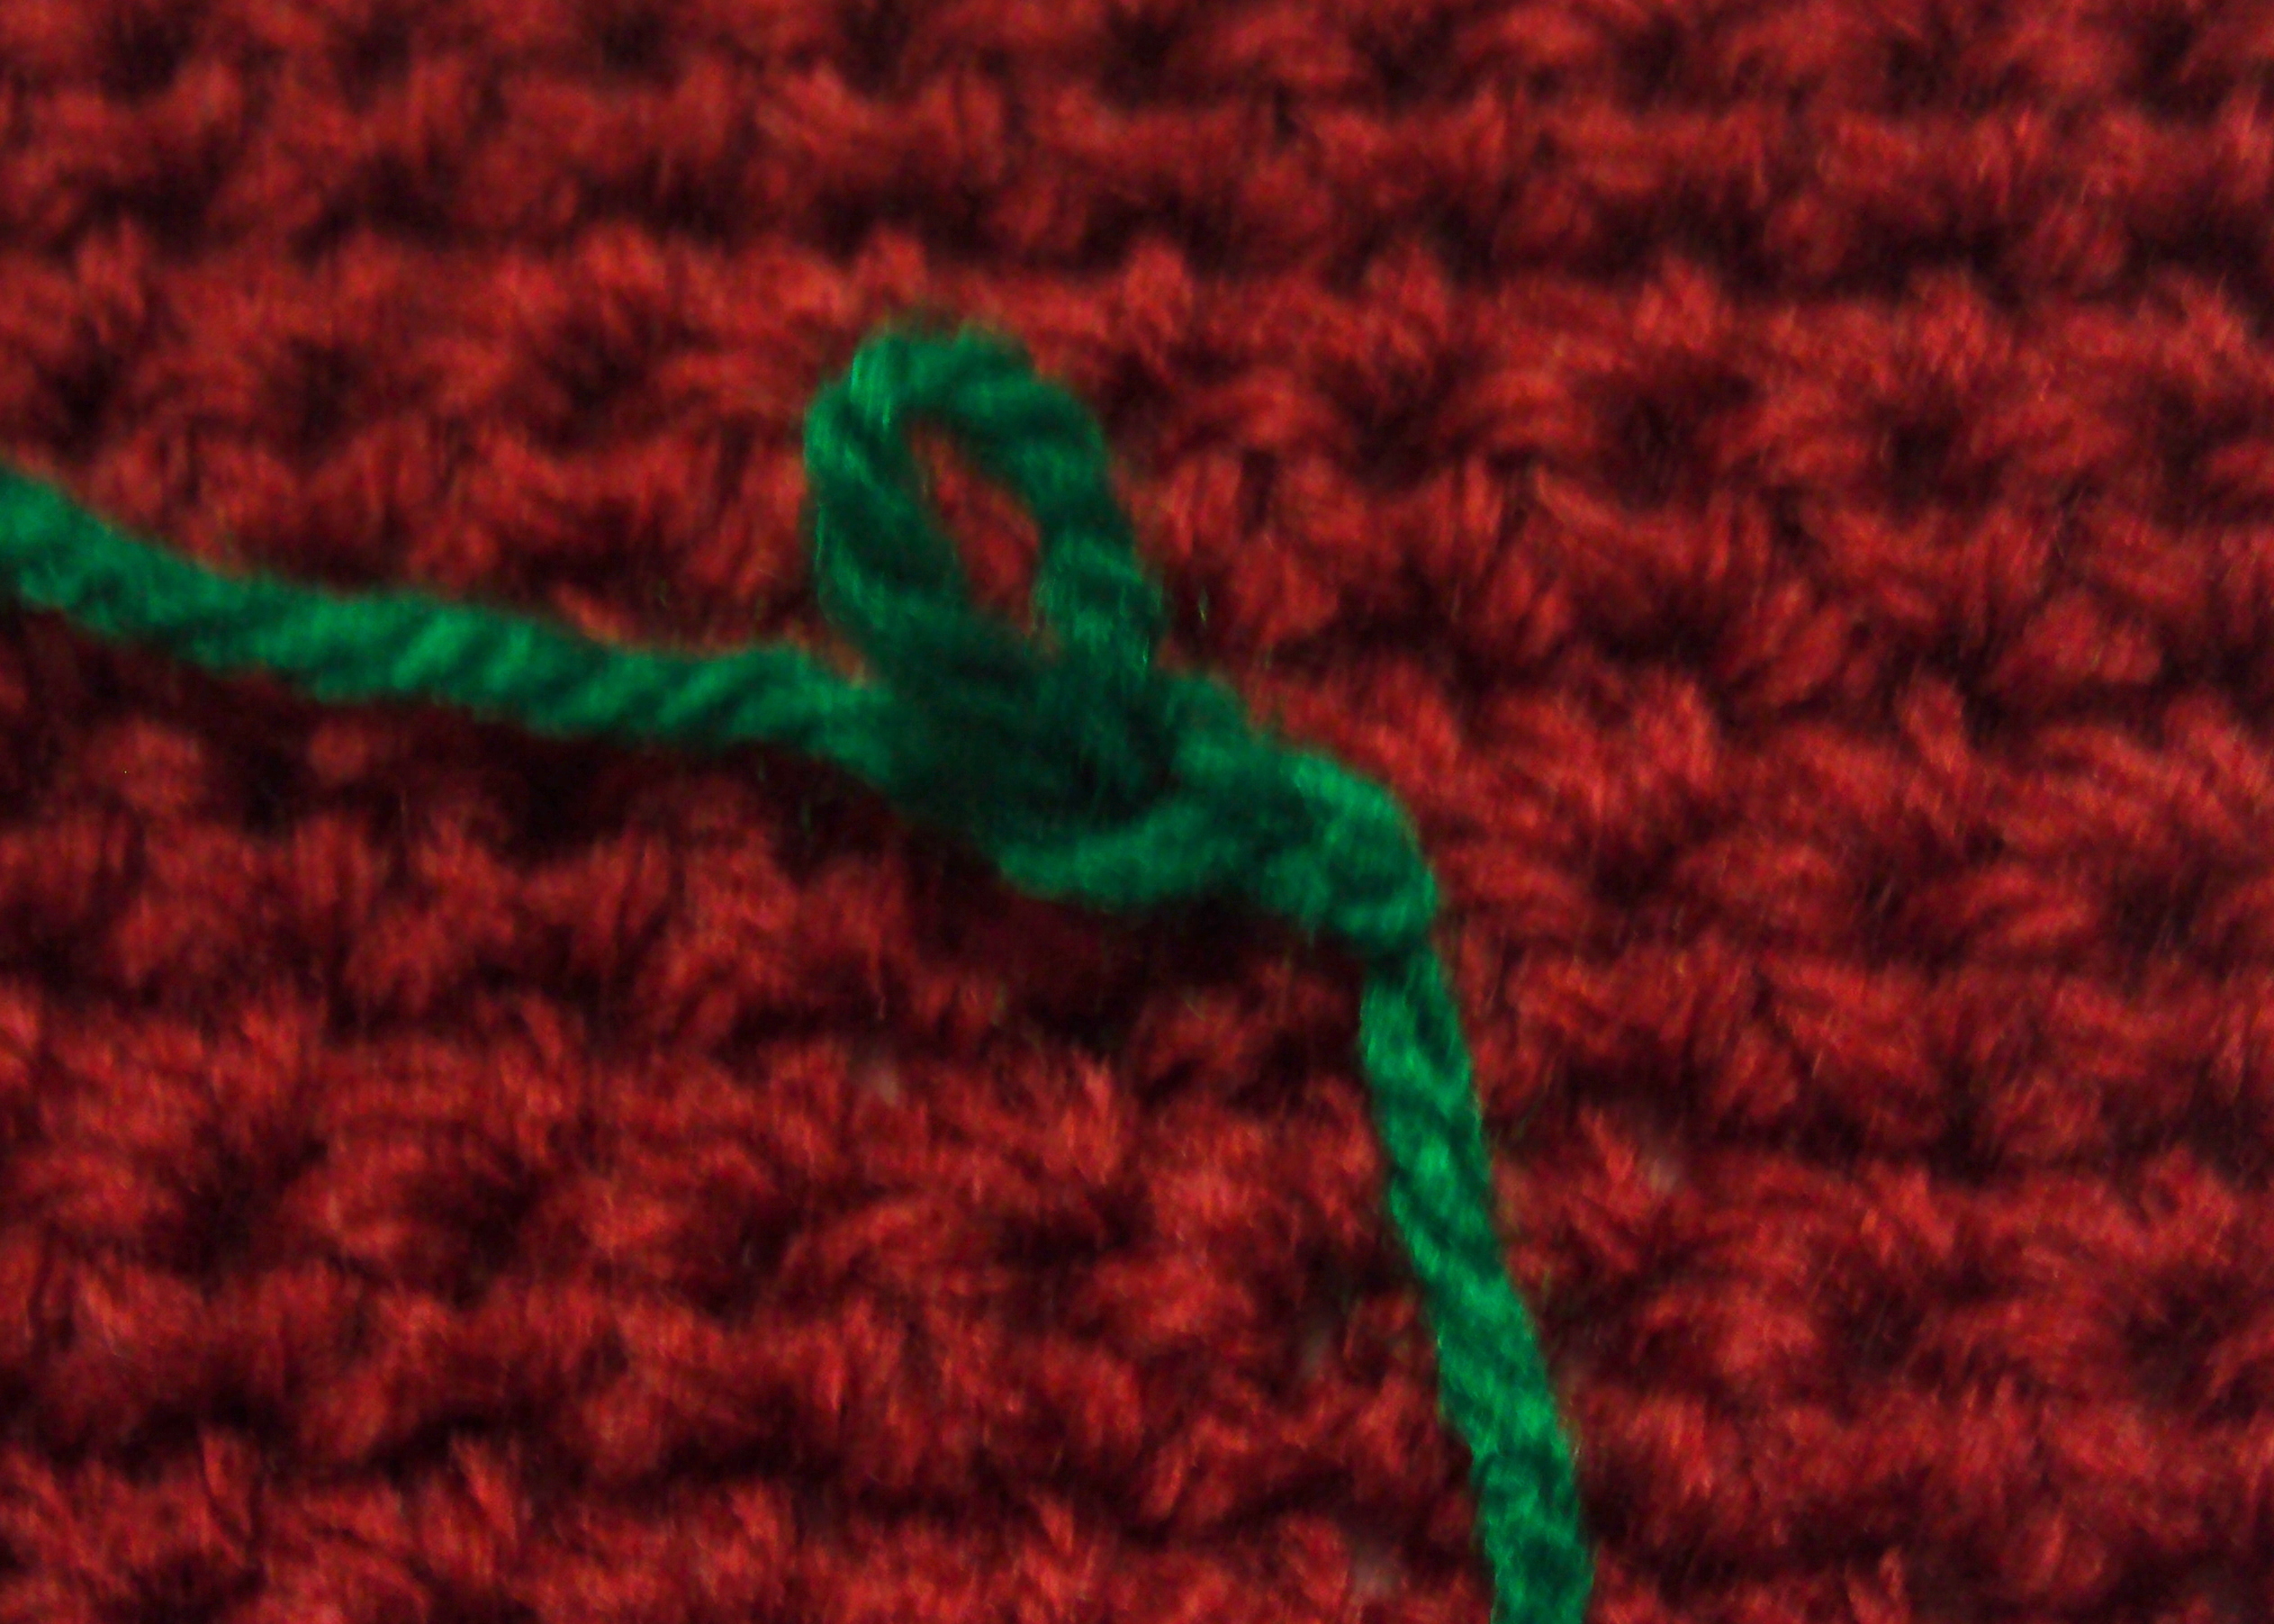
One slip stitch in the back of the work made. Take your hook off the working loop.
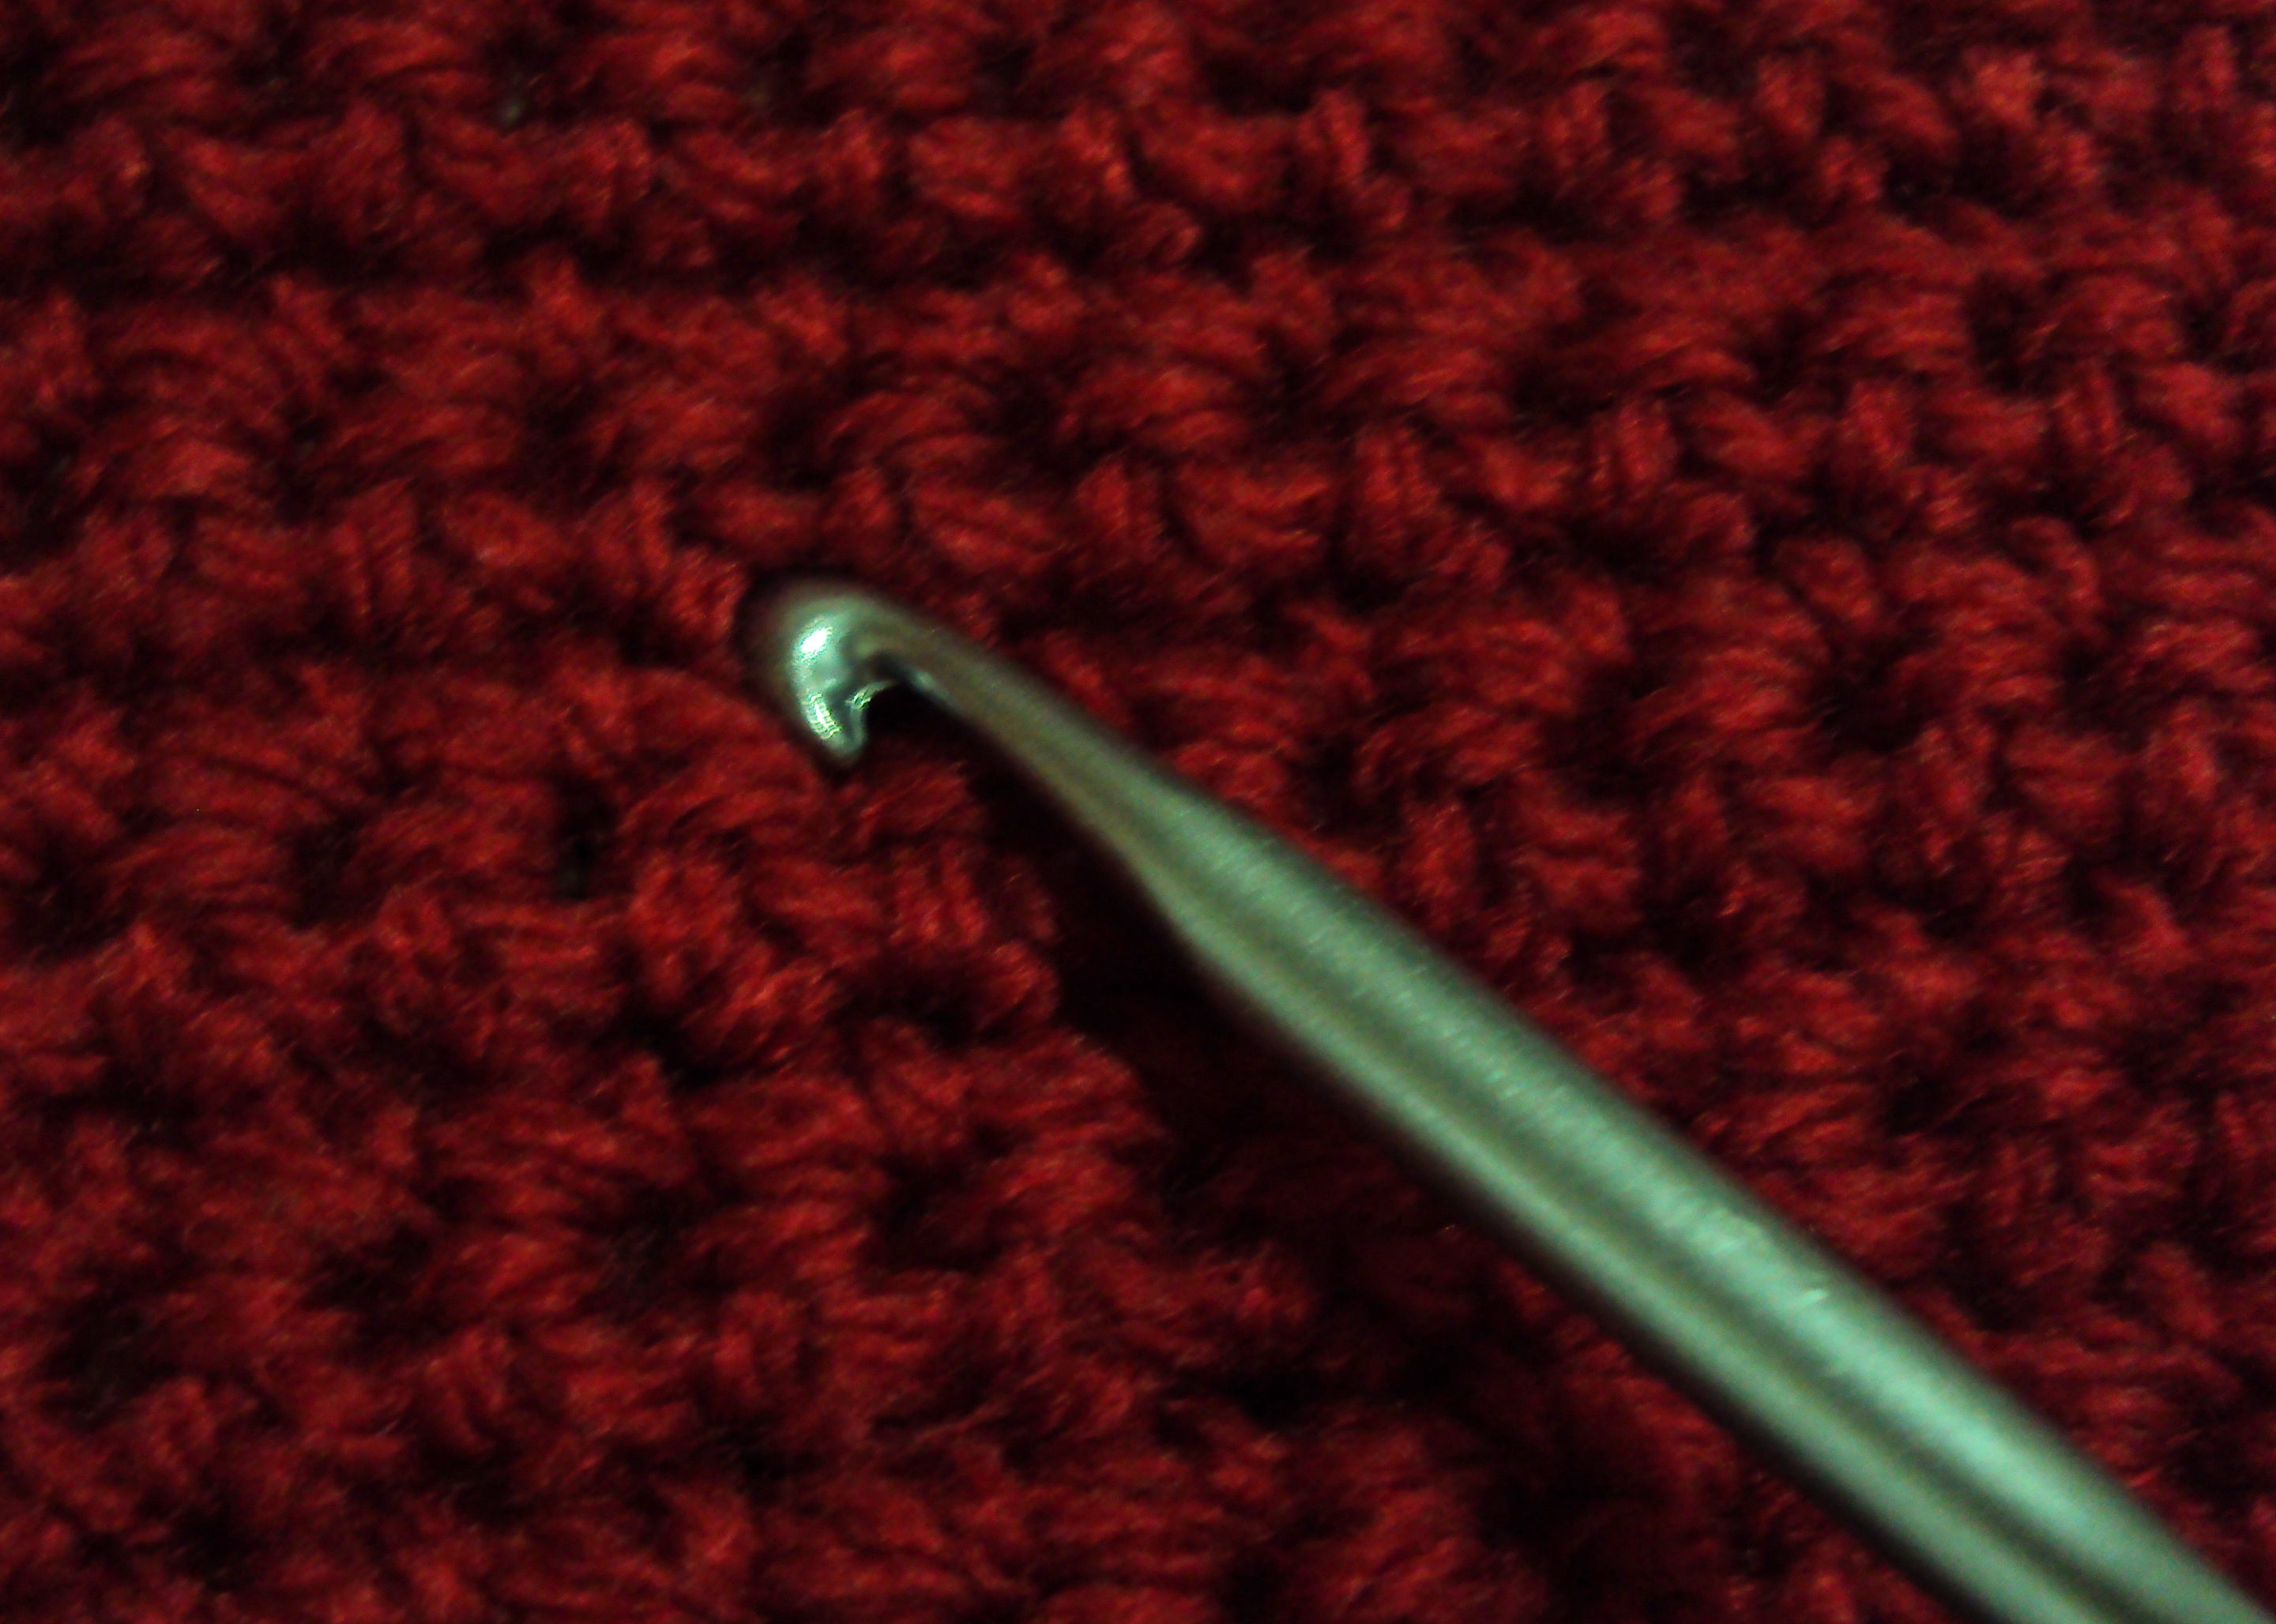
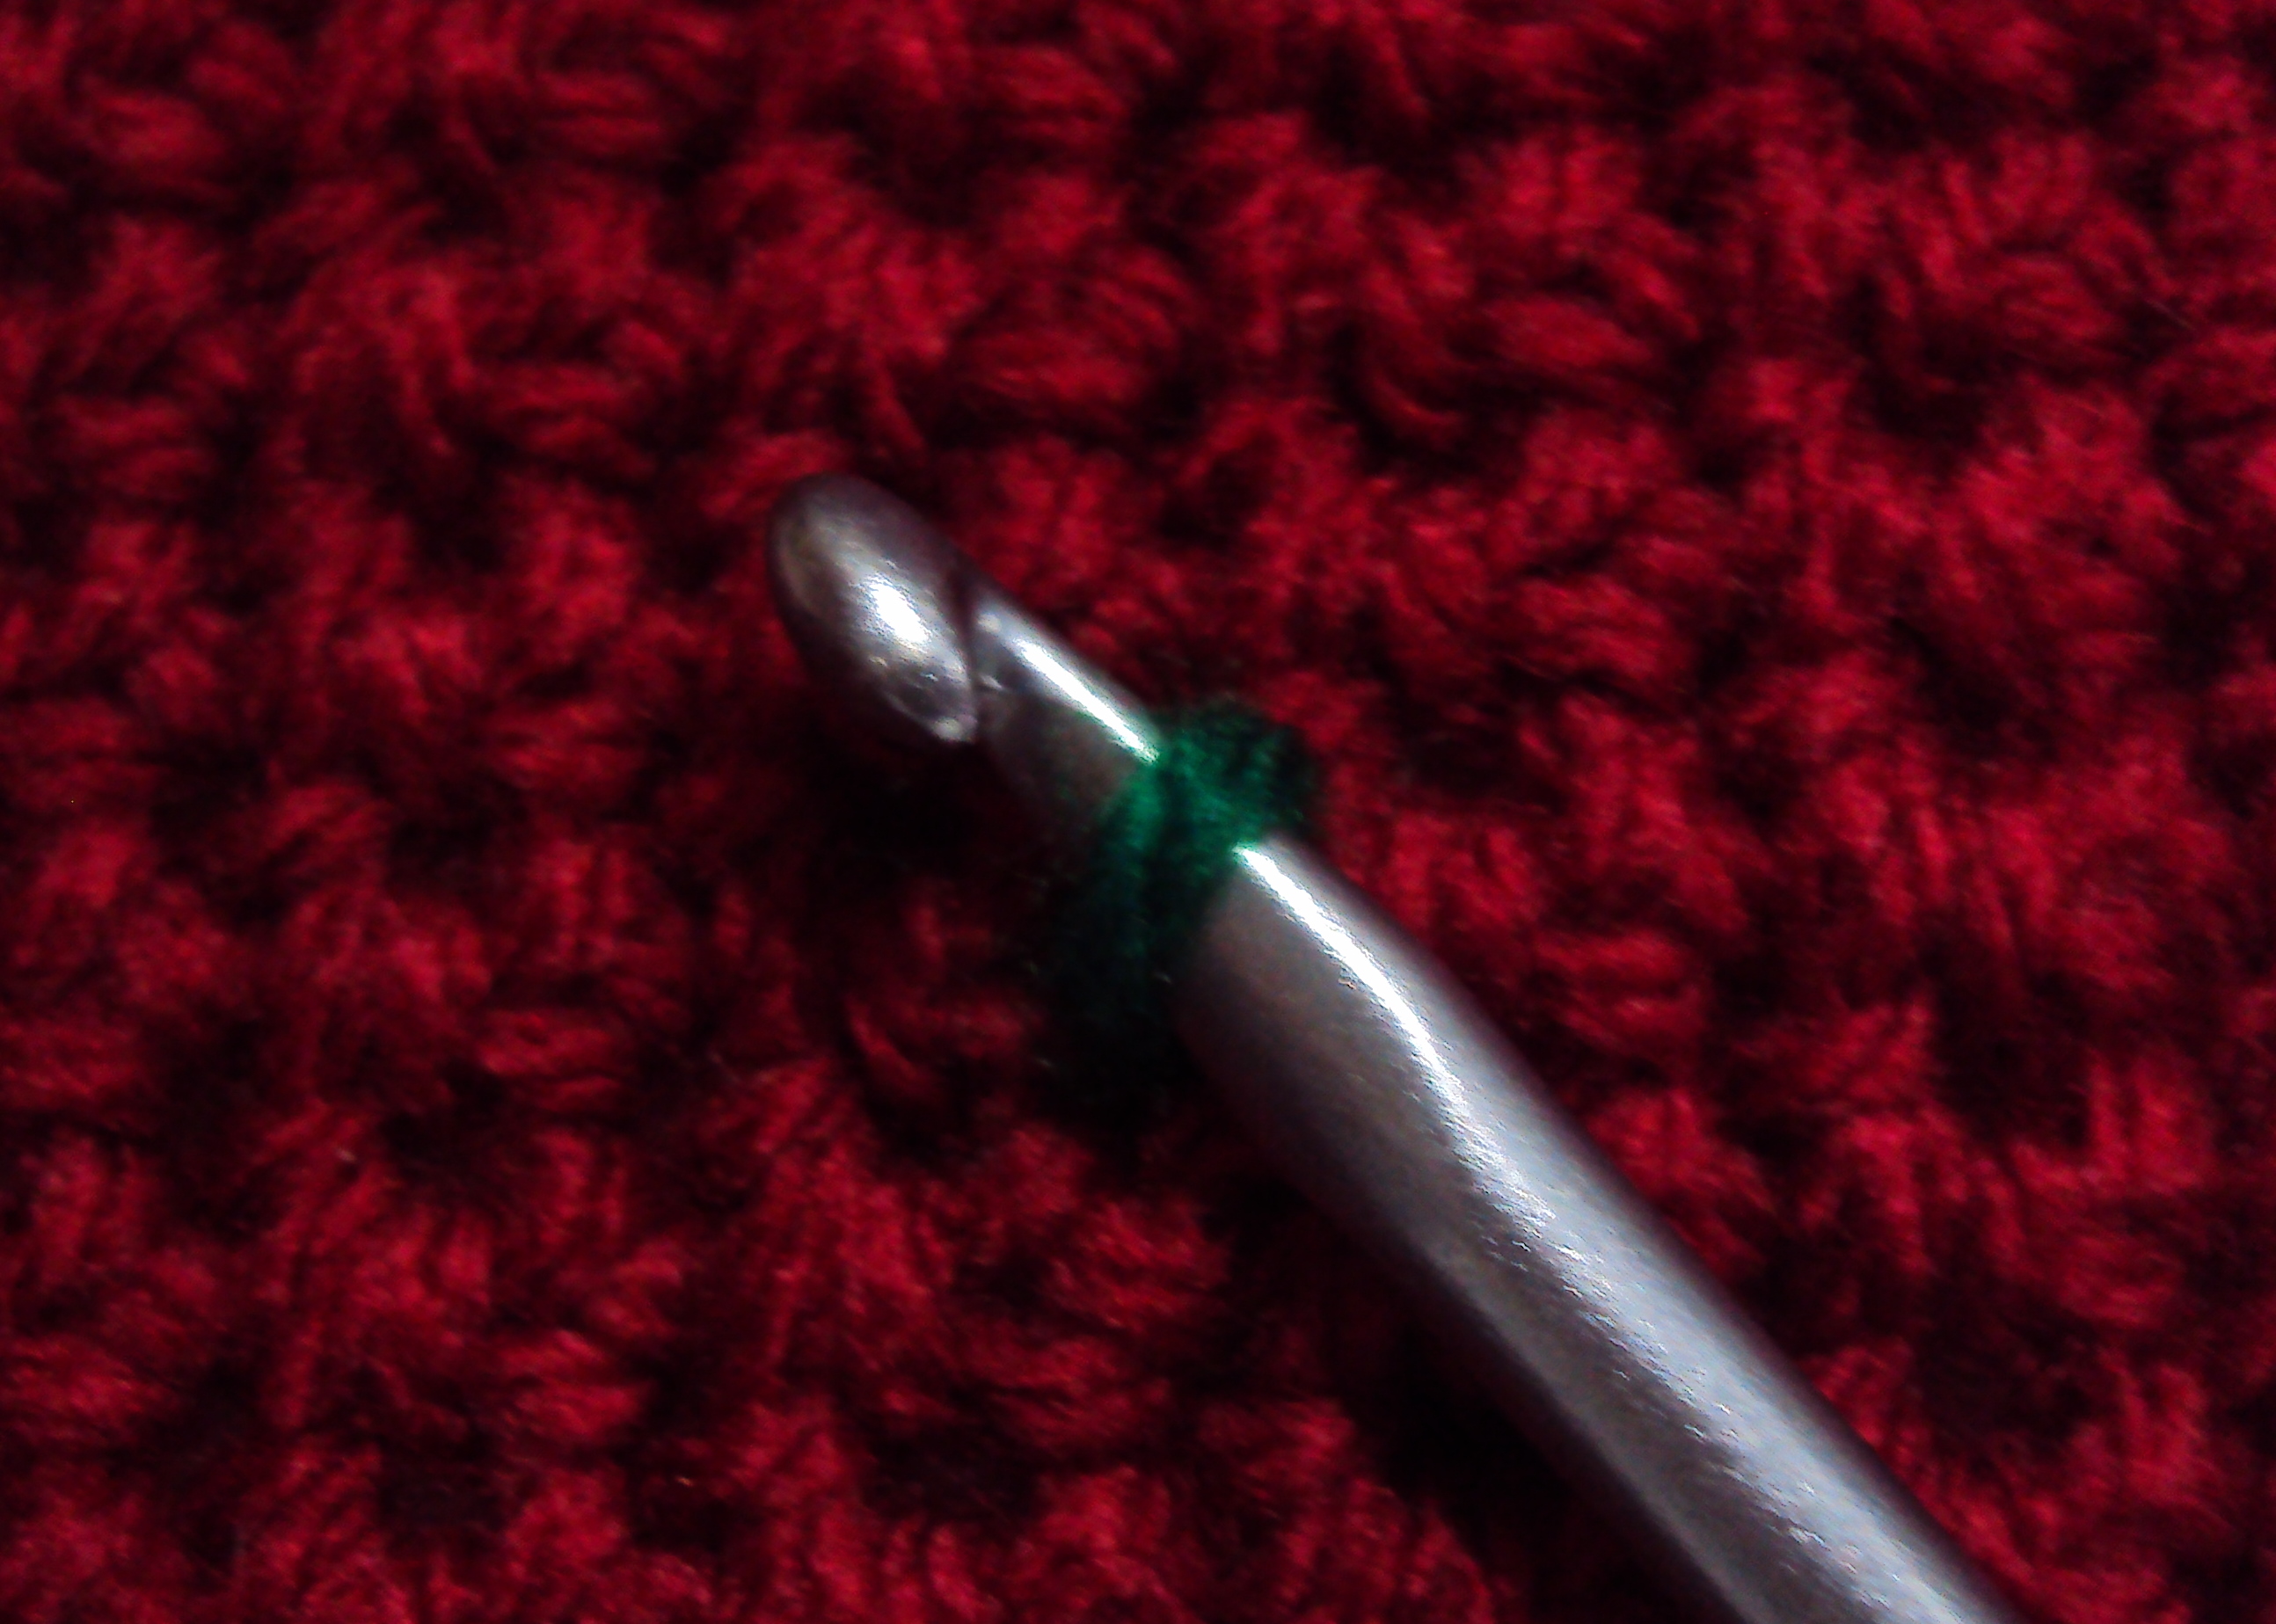
From the front of the work, insert hook into a stitch near the working loop in the back.
Insert hook into working loop and pull up the loop through to the front of the work.
You should have something like this in the front of the work at this point.
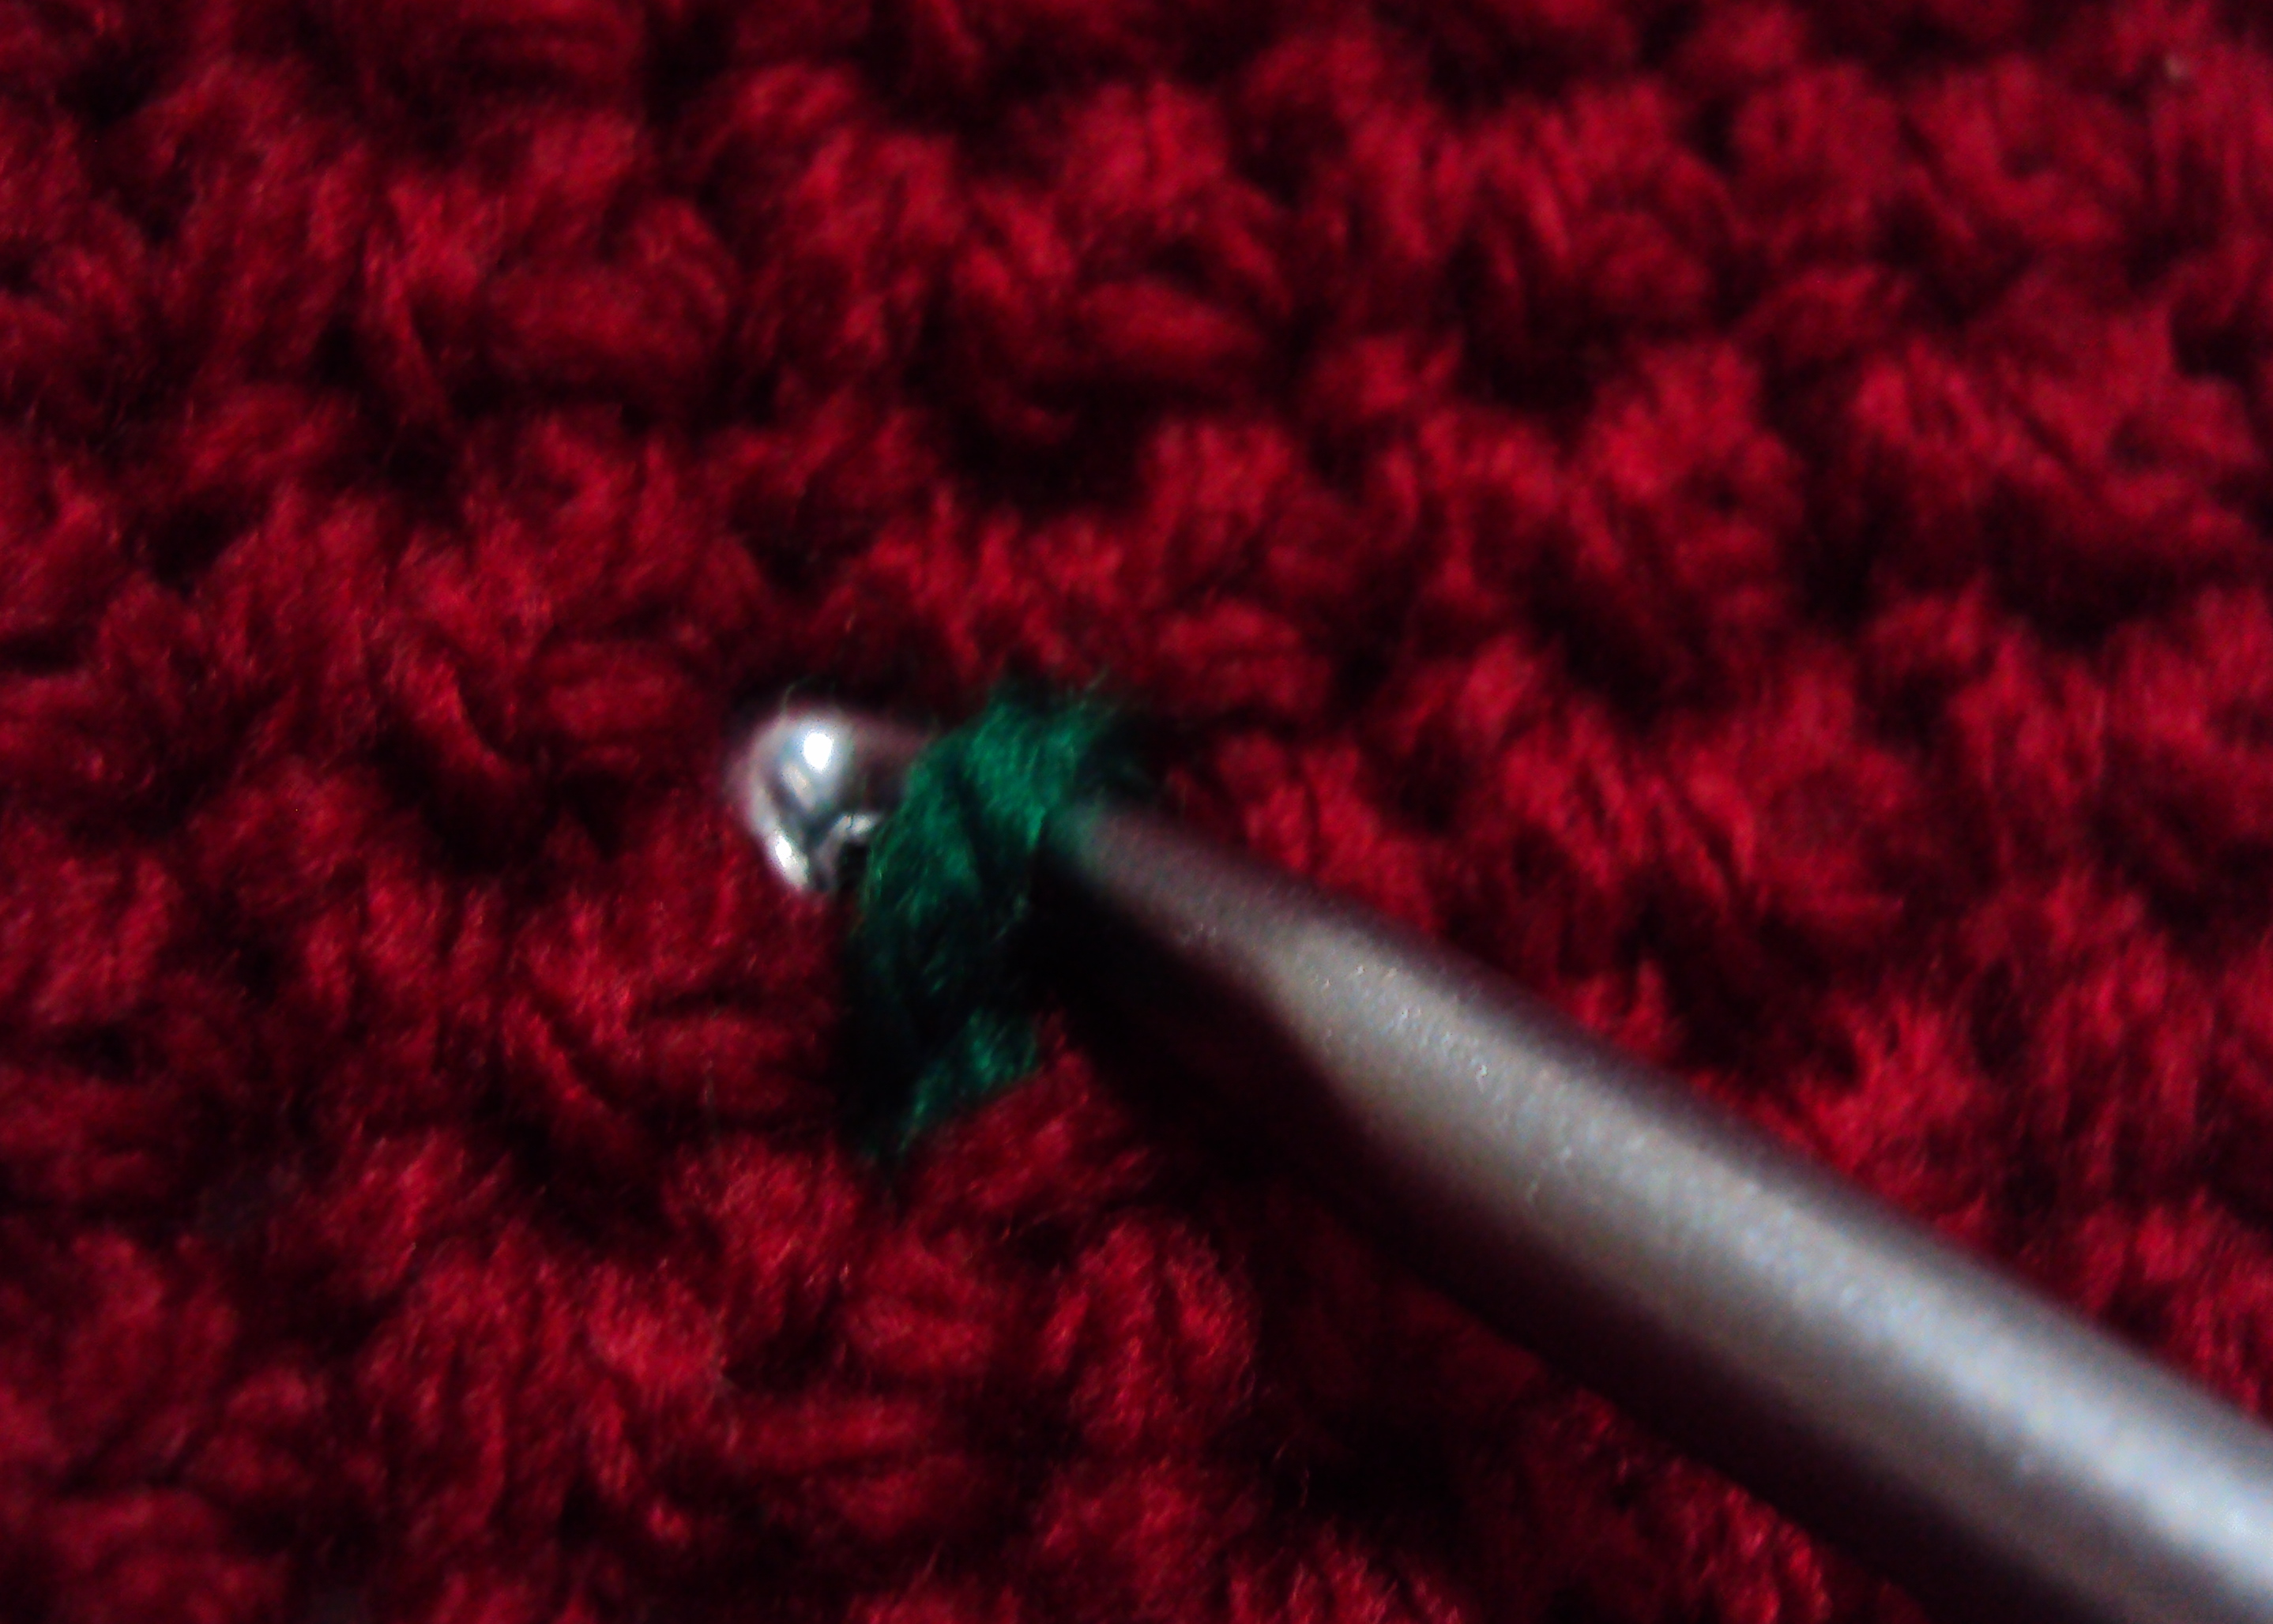
Now we start making slip stitches on the surface, with the yarn feeding from the back of the work. Insert hook into next stitch.
From the back of the work, yarn over.
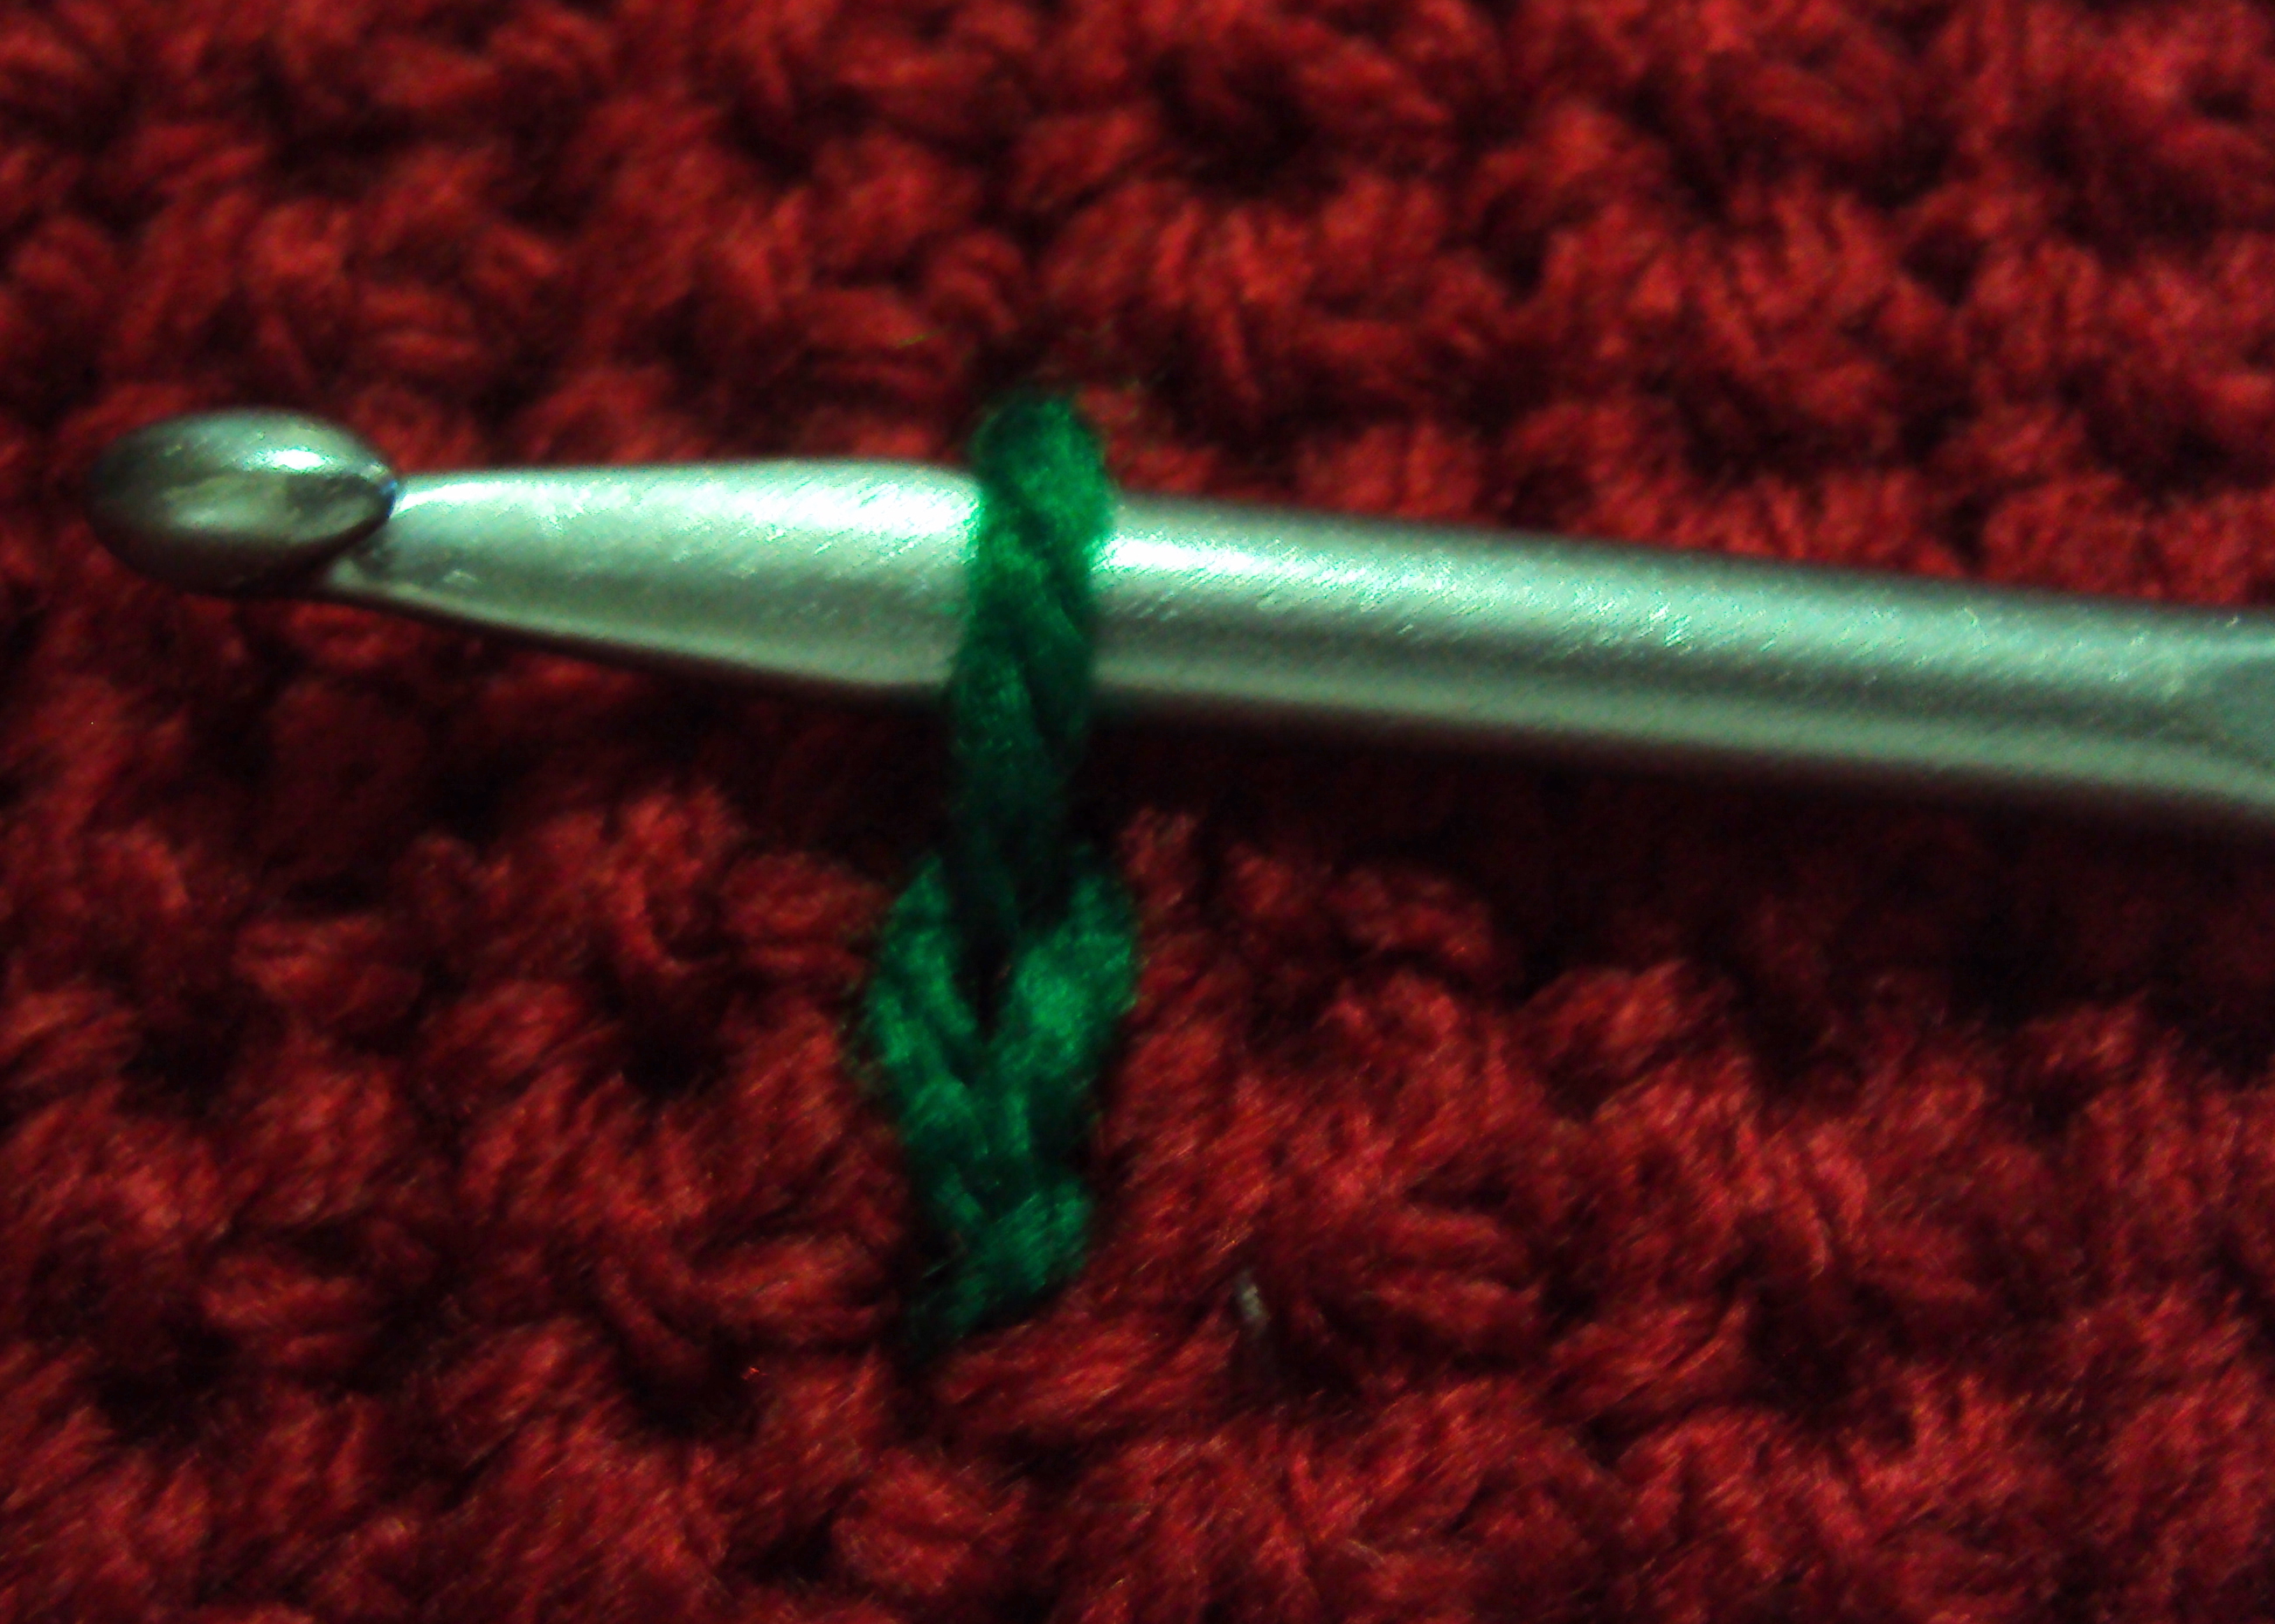
Draw yarn through loop–one surface slip stitch made!
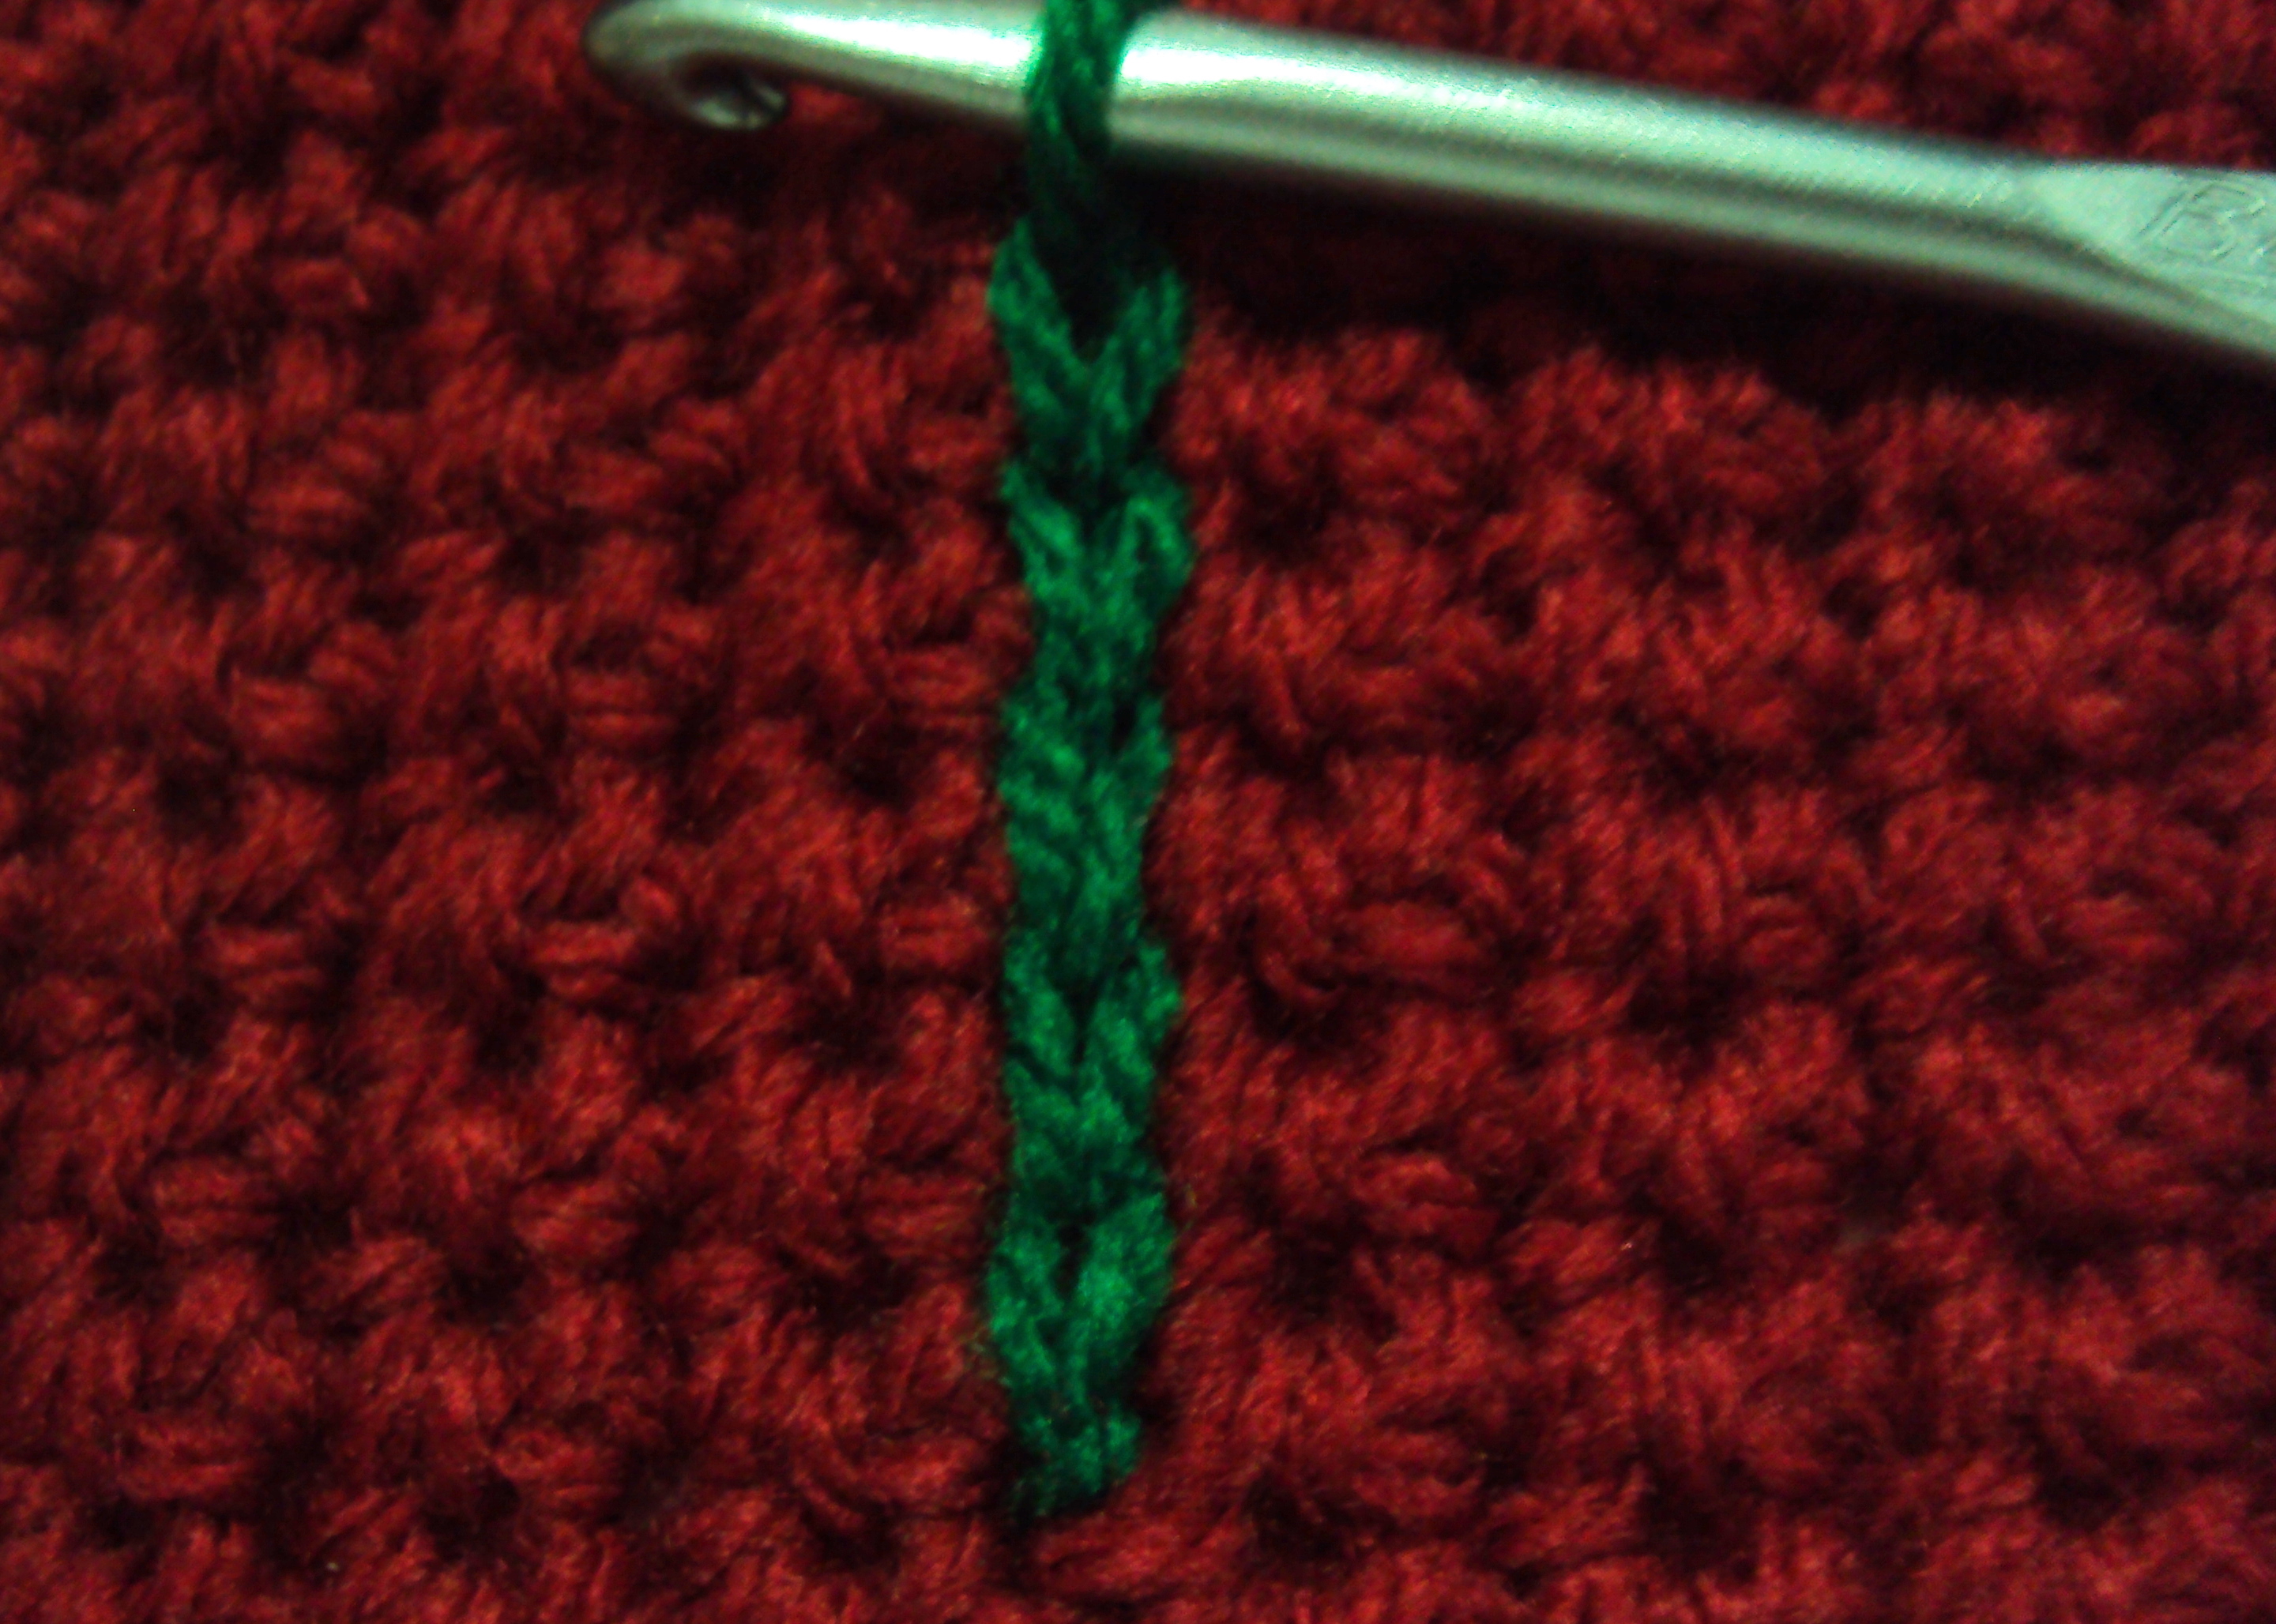
Continue working like so according to the design in mind. This photo shows five (5) surface slip stitches in a straight line.
Finishing
Surface crochet was easy! Say we already finished working on the design. Here’s how to finish off surface crochet work.

After making the last stitch in your design, remove hook from working loop.
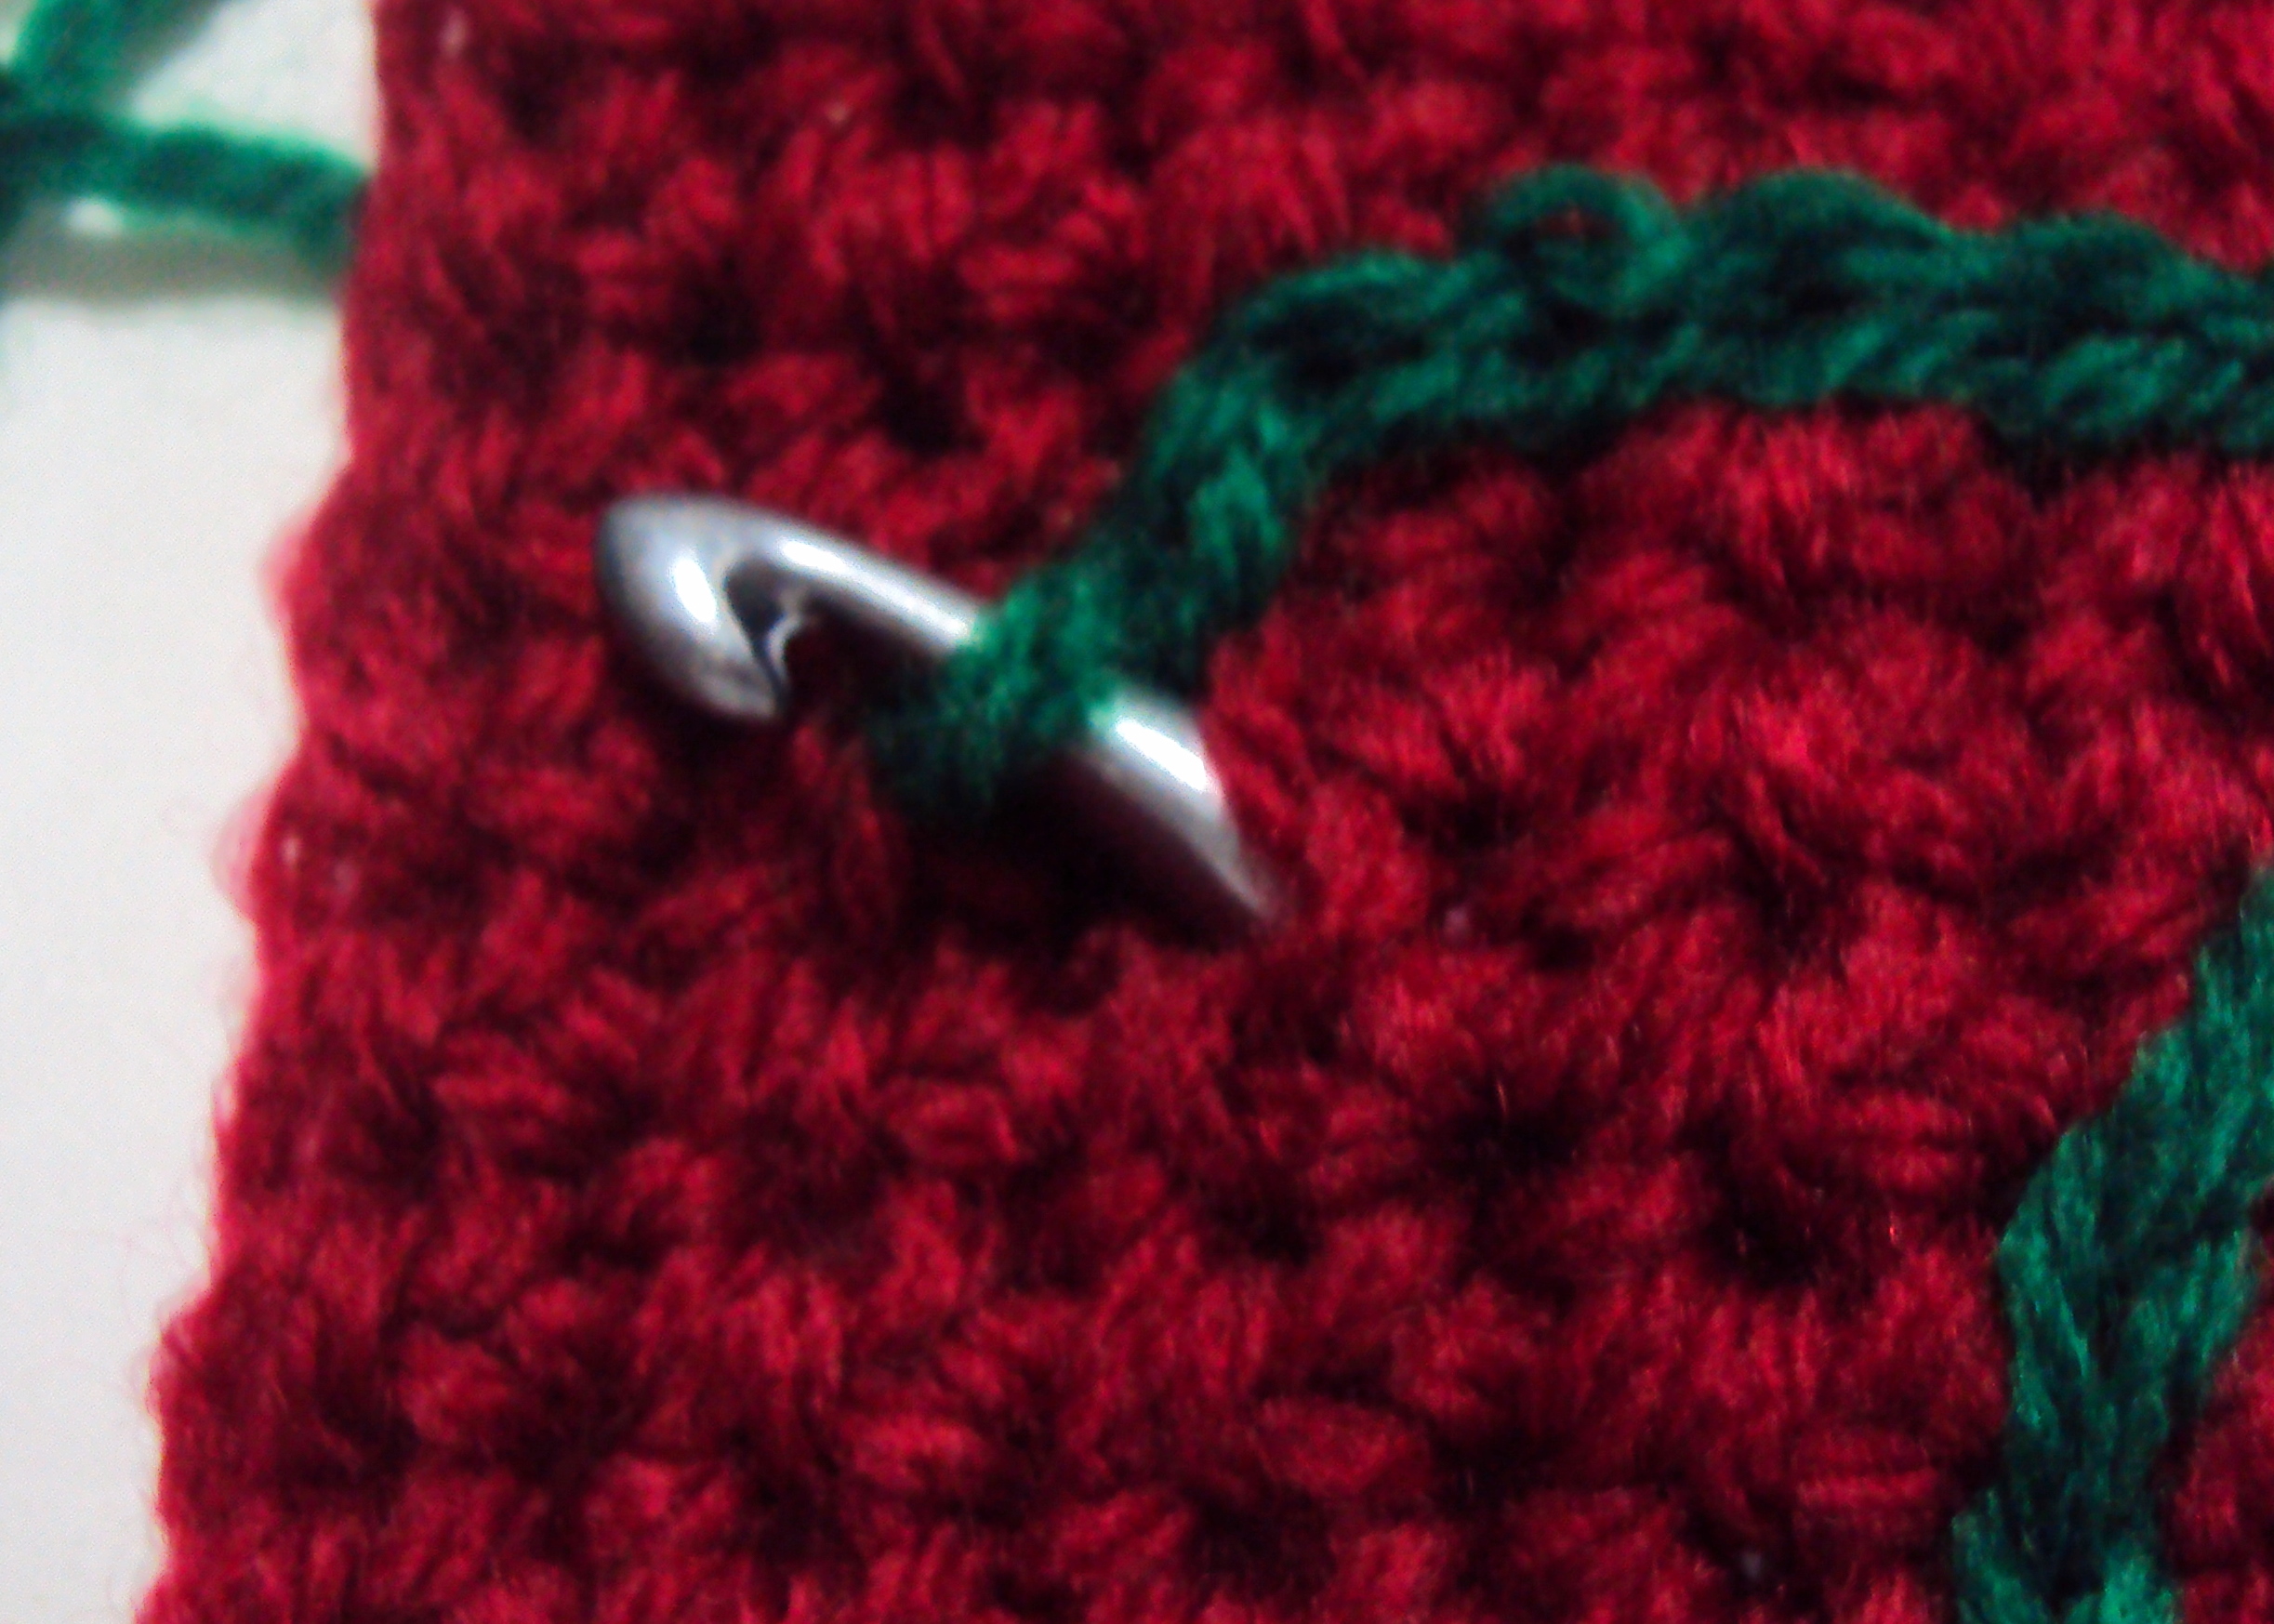
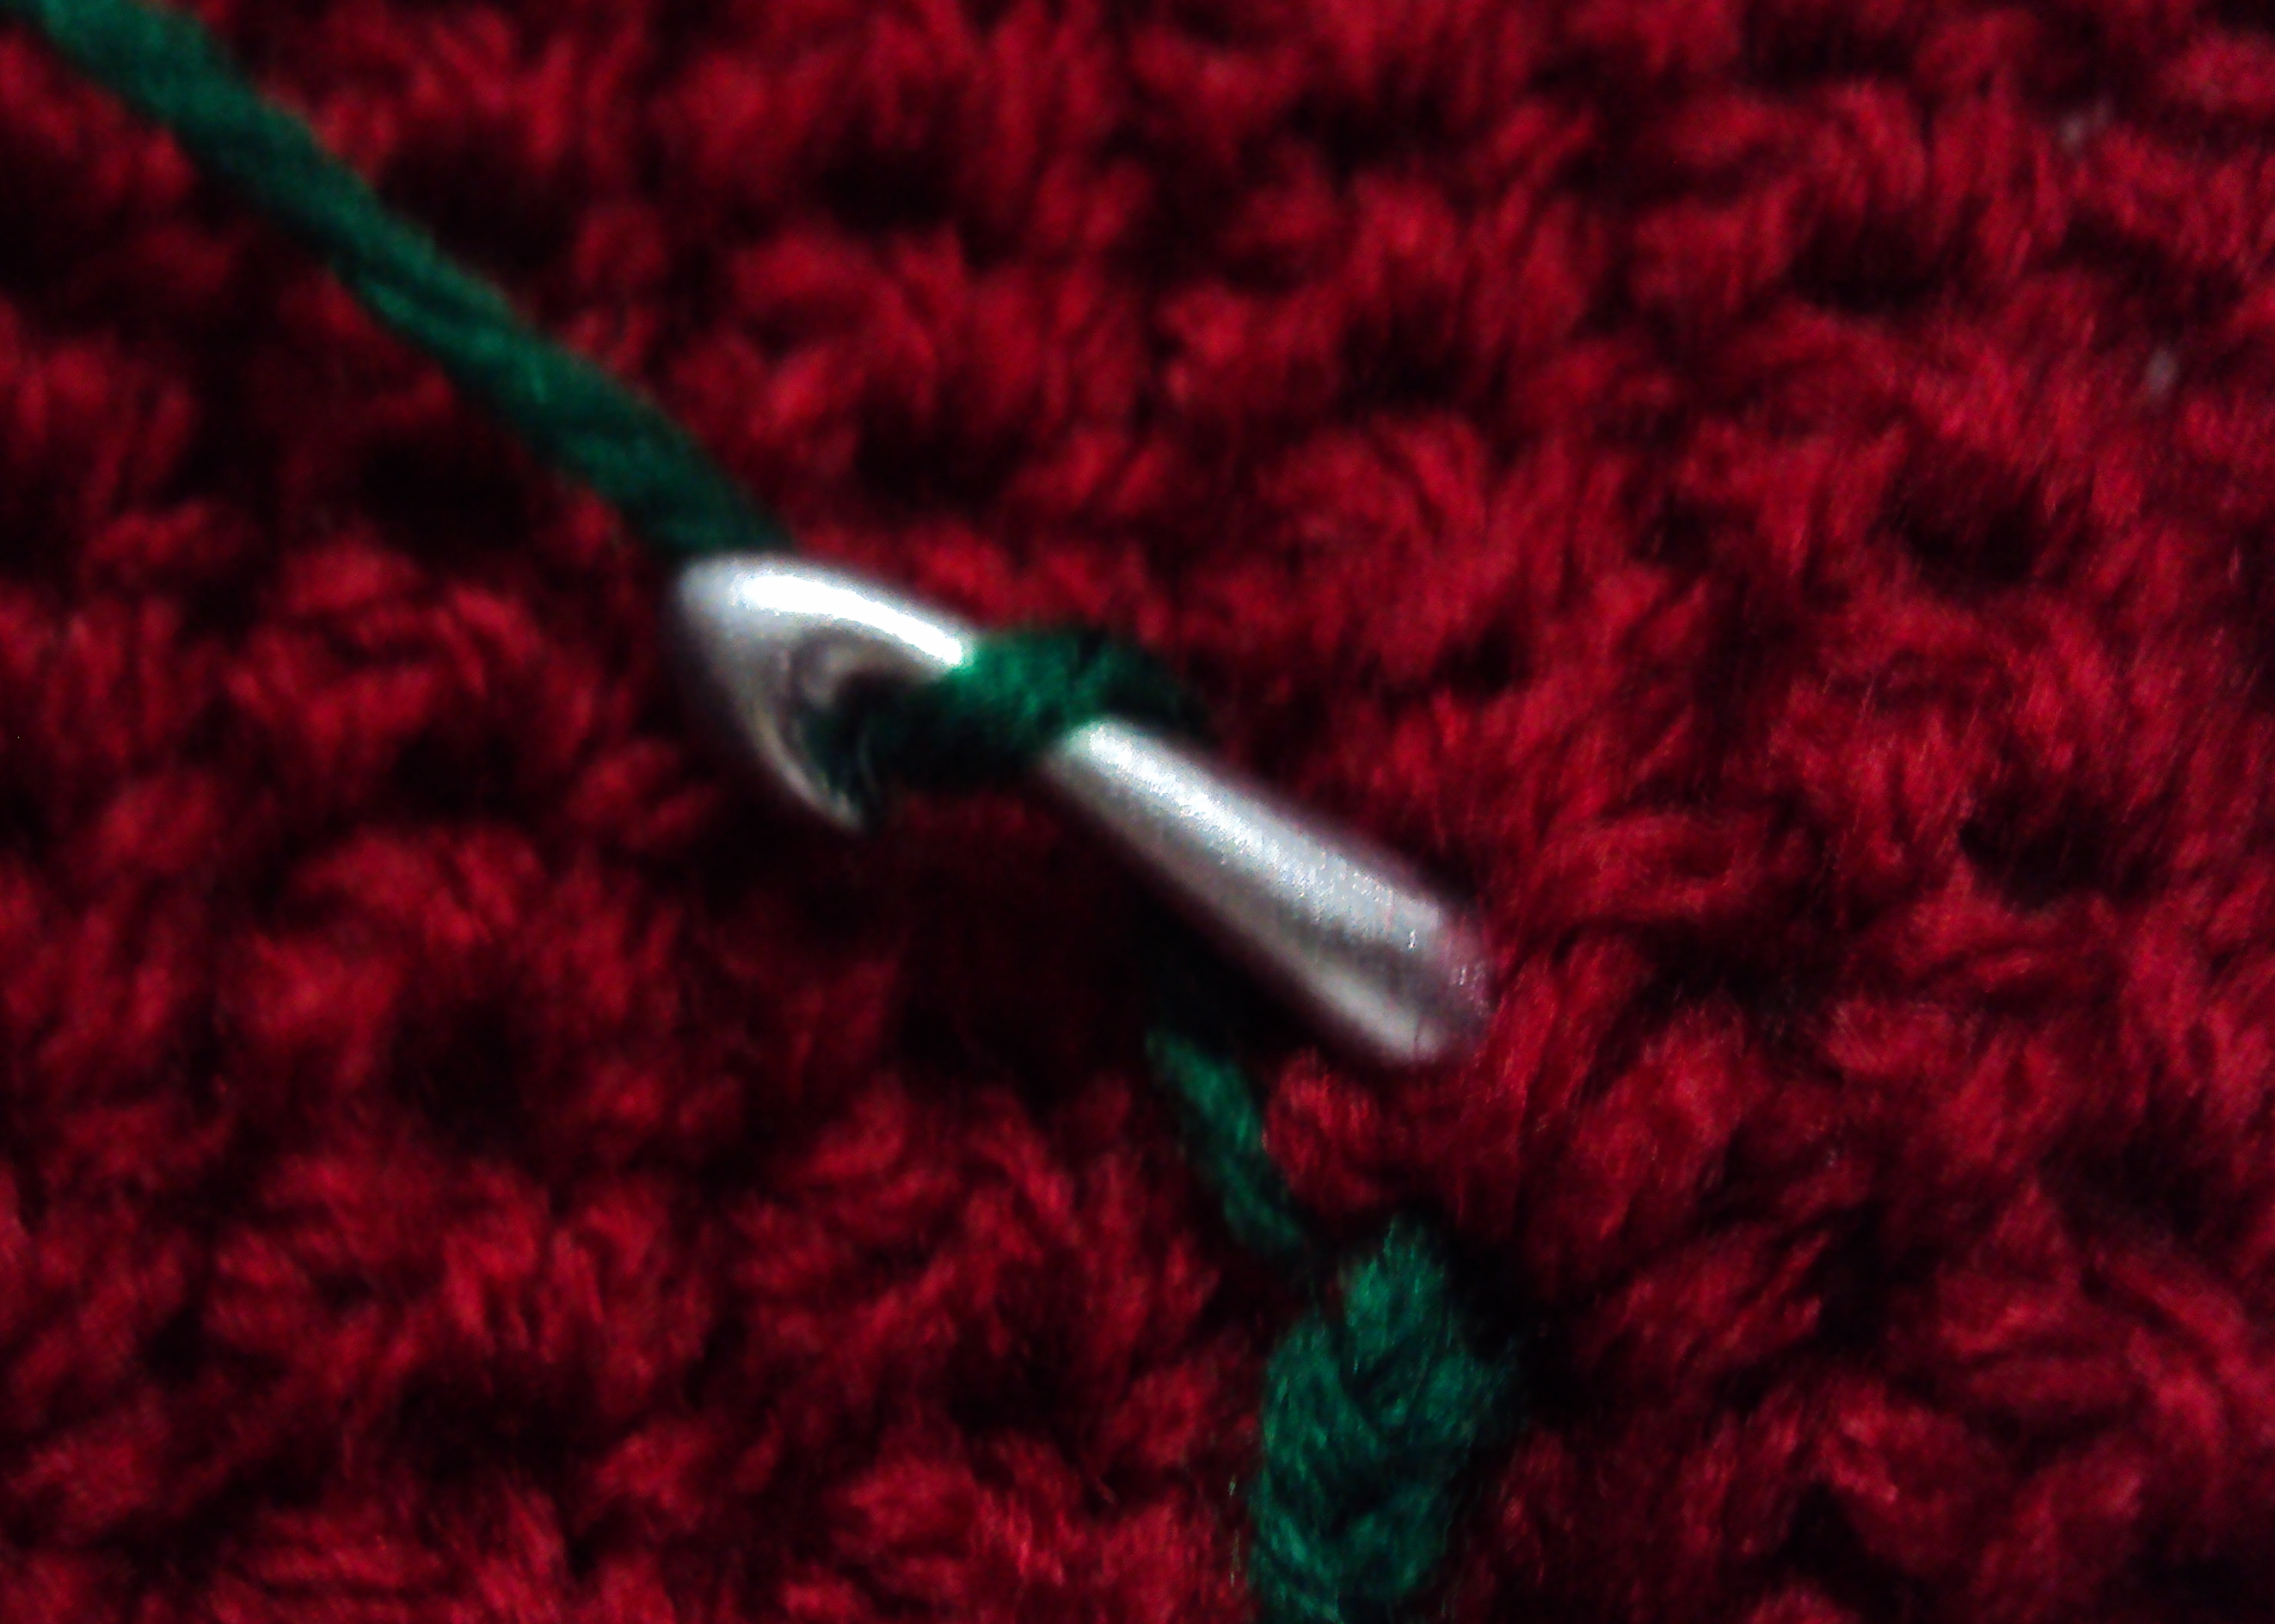
Inserting hook from the back of the work, pick up the working loop and bring it to the back of the work.
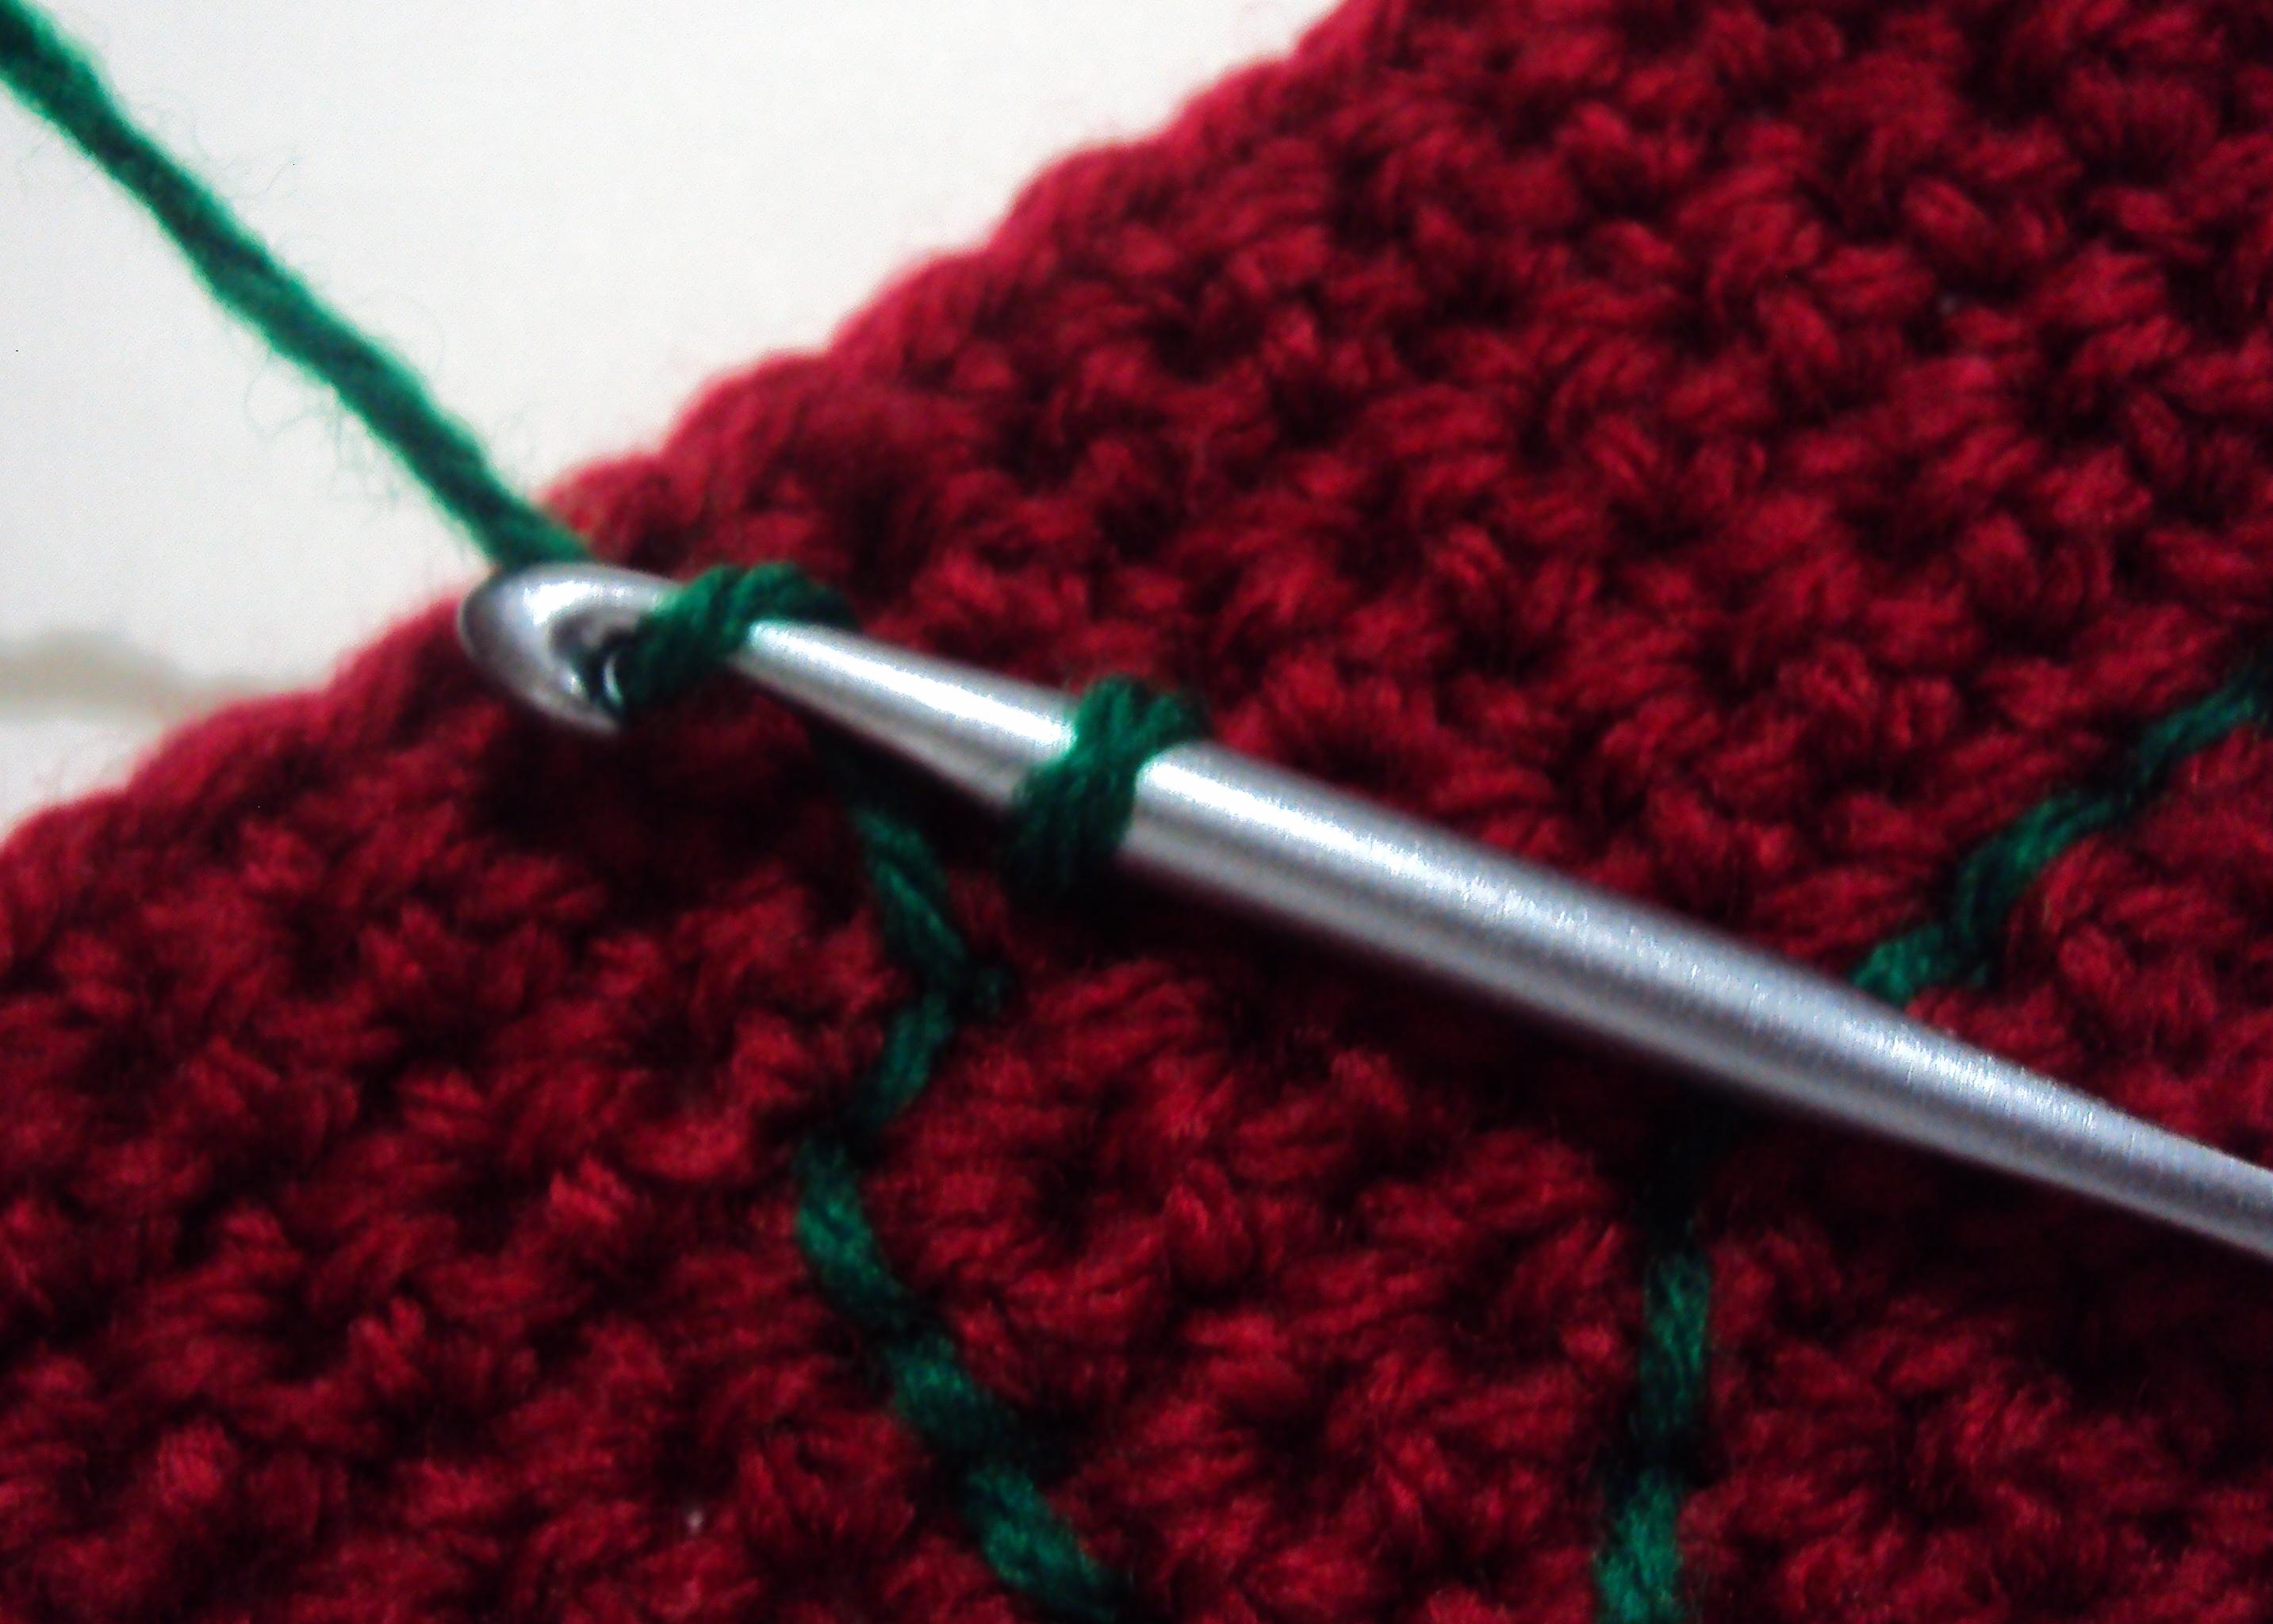
From the back of the work, yarn over, pull yarn through loop. Finish off and weave in ends.
|
These two photos show how surface crochet looks from the front and the back. The front stitches (left) look like chain stitches or a thin braid, while they look like a basic running stitch from the back (right). |  |
I hope that was helpful. If you need any help just leave a comment below. Happy hooking!

SWEET! Thanks so much for sharing, my brother has asked me to make him a Michigan hat with a big M on it but, wasn’t sure how to.
Thank you! I’ve been seeing a lot of this lately and now I know how 🙂
Thanks you guys!! I was looking forward to this tutorial.
Re the Michigan hat — now I should make an OSU hat in the same manner. (Grin.) Thanks for the primer!
Peggy, Ohio State ’74
Wow. That was so easy! I thought that would be alot harder to pull of but I was wrong. I’m so excited now, this tutorial opens up a whole lot more for me crochet wise. I’ve wanted to make something with my initials on it for quite some time now and now that I have learned this stitch I can. Thank you for all of your wonderful patterns and tutorials 😀
Thanks for this post. I had been trying to figure out a way to put a logo on a coffee cuff but didn’t want to do embroidery and I’m not quite to motifs yet, so this was perfect.
Great tutorial. This is good information to have. I have a question. Do you know if this would work with knitting? I think I might try it.
Hi Gene! I’m positive that it would work with knitted things (although I have yet to try it personally). 🙂 Hope that was helpful!
Claire
It works great on knit. If you stay vertical, you can fake intarsia. I also use this stitch to secure crocheted appliques and seams on both knit and crochet.
I found a pattern for a dog bone applique recently and immeditly. She has two dogs and now this tutorial will help me crochet in they’re first letter of their names! C and R! Thank you sooo much!
awesome! Used this technique to add a couple small stripe details to baby hats and it looks so cute
[…] fun garland! You can also embroider a message to your Sweetheart on the front with this technique: How to Crochet: Surface Slip Stitch This is one of those fun and easy holiday patterns you could use for years and […]
Thanks for posting these great instructions. I teach a crochet class for some girls in my neighborhood and they will be excited to learn how to add initials and other details to their Amigurumi animals using this technique. 🙂
I have been crocheting for 45 years and I have learned so much from this site. Thank you MUCH! I love Crochet Spot. I look forward to my emails I receive from you. It’s always the first email I will open. Thank you, Thank you, Thank you. ~ Brenda
Thanks for your trick
Thank you so much for this. I’ve been searching all morning for a tutorial that shows how to finish off the surface crochet. This was easy to understand.
Can anyone tell me what stitch is that called on the background (red)
Hi Monica, looks like rows of single crochet stitches to me 🙂
Fabulous! This sure beats how I’ve been doing it: chaining then sewing the chain onto the work. Thank you for the tutorial!
Thanks for this great tutorial. I especially loved that the left-handed directions are available my hovering over the pictures. Being a leftie, I think this was so helpful!
Excellent – very clear and so easy to follow – it has helped me understand how it is done. Thanks
Thanks so much for the left handed tutorial. It is very hard sometimes to learn new things because most of them are right handed and I am completely lost. I usually have to just read the pattern and try to figure it out on my own. I am making Thing one 1 and Thing 2 hats for my little nieces for their birthdays so this is great.
Thank you very much for this tutorial. I just made a pair of crocheted moccasins for a little girl. Now, I can embellish them with the look of beads. It is so much like embroidery now that I know how to do it.
Thank you SO much for this great tutorial! I’m working on a big project that suggests using felt for some parts and I just refuse, lol. To put so much time and effort into something and then “cheapen” it bothers me. This is awesome!
Just wondering if this would work as well on a half double crochet background? So much easier to do this than cross stitch a design onto your work. So glad I found this but I already have my blanket done in HDC and need to get a peace sign onto it by Christmas. Really hoping it works so I do not have to do a new background in SC. Thanks
Hi Sabrina, I would recommend trying it out first. The design might come out a bit wonky, and the chains might move around (since hdc should be taller than a single chain). You can also try crocheting a separate chain and then sewing that on to the blanket.
Thank you for this! It helped me decorate a scarf.
Thank you for a super easy, uncluttered tutorial.
I appreciate your time and effort in sharing this.
I <3 u
Wondering do you have to do to each letter? Example I am doing a hat with Thing 1 written on it, how do I do the H beside the T ? Do I have to finish off each letter?
Hi Karen!
I would recommend finishing off after each letter, it would be cleaner that way. You can drag the yarn across the back of the work if, but it may be messy.
This is so cool! Thank you for this tutorial. What a great, easy way to add embellishments :-).
You are a genius! This is amazing. I’ve always wanted to “embroider” my knitting and crochet but didn’t think it was possible. Thanks so much for passing along the info!!
I was using this technique to put Nike swooshes on some booties I made, but struggled and had to guess my way along. Do you have a technique for filled-in shapes?
Glad I found your tutorial. I was following pattern and they instructed to make a “chain stitch” on the crochet piece, and I had no idea how to do it Your pictures and instructions were easy to follow. I wish I had learned this with earlier projects, but never the less it’s fun to learn new crochet techniques.Thanks a bunch!
Thanks for posting these instructions! I wanted to personalize an item for a friend, and this worked perfectly! My item was a mix of single and double crochet, and it worked just fine.
Thank you! Very clear and easy to follow instructions and photos. I am making the Finding Dorey bookmarks. 🙂
I have been looking for these instructions for sometime so thank you. May I suggest that maybe show how to do this is white yarn on the darker project, would be much easier to see exactly how it is done.
Thank you for this easy to follow, clear tutorial. I have struggled with how to do this for a long time. Tonight I successfully put an initial on the back of a little Xmas jumper decoration I made for for a friend who had to say goodbye to her dog during the year. I’m delighted with it and will have many uses for this technique in the future.