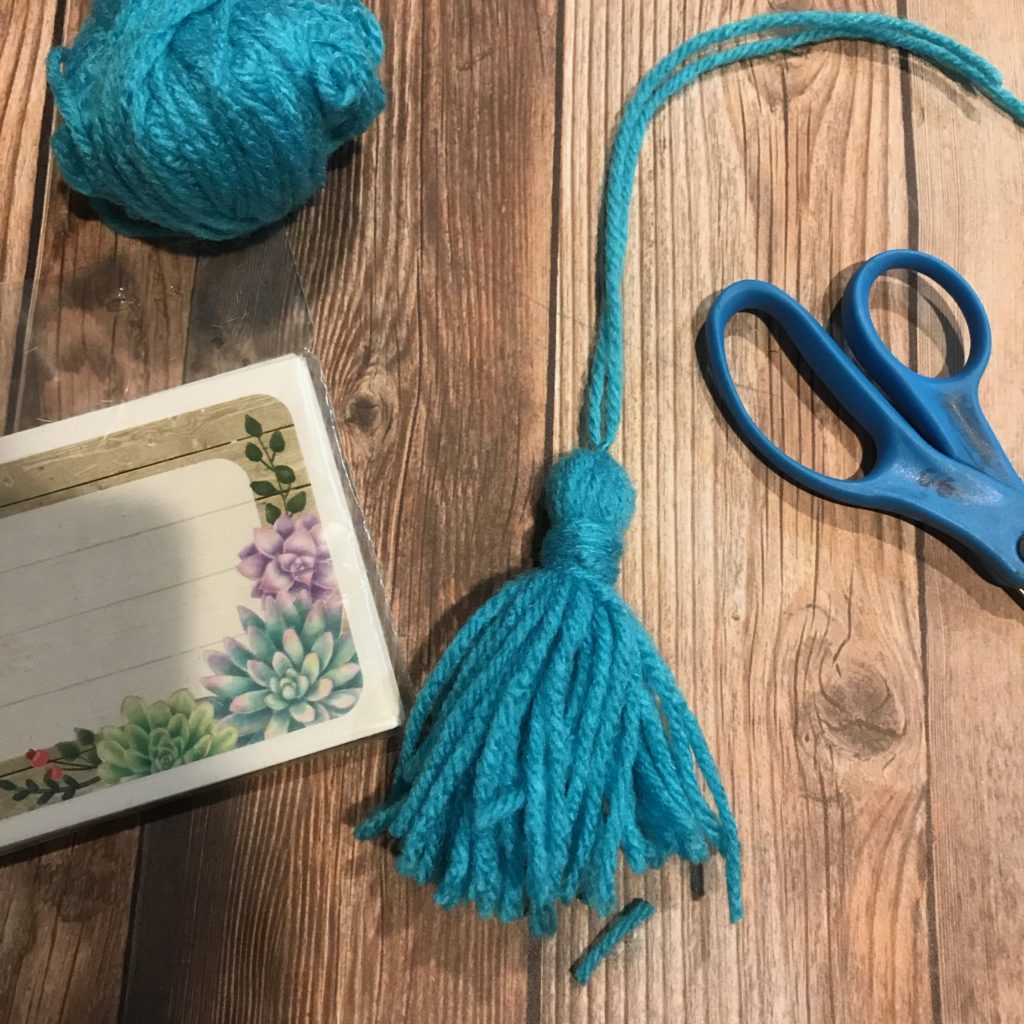
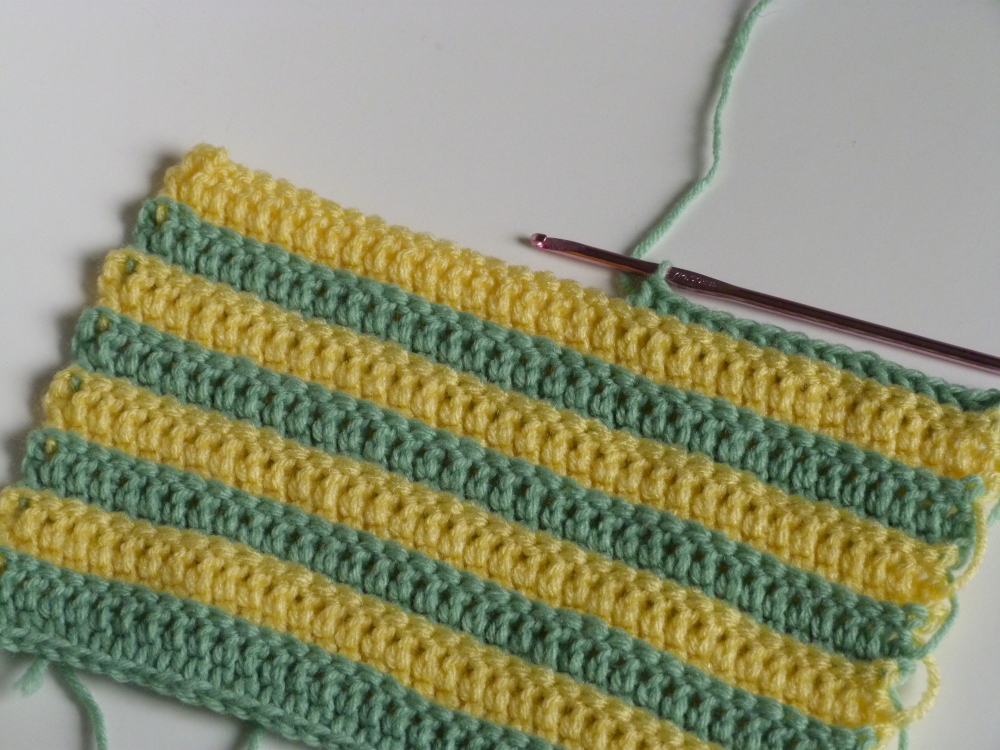
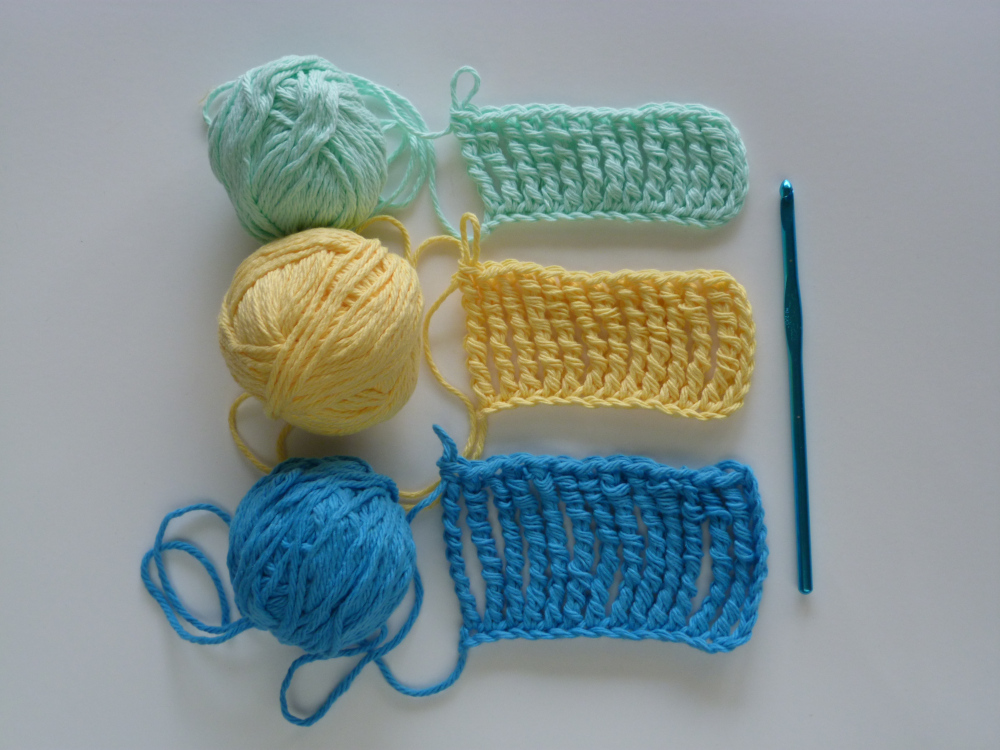
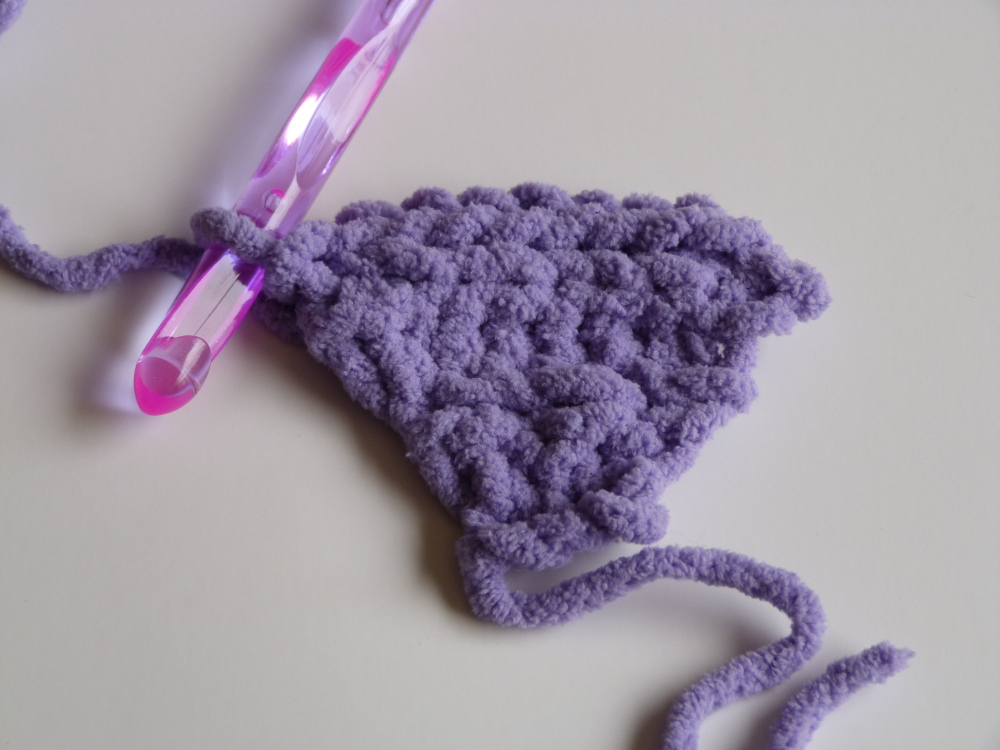
If you’re a beginner crocheter or seasoned crocheter who wants to review the fundamentals, this post is for you. This post rounds up a lot of beginner level tutorials to take you from absolute beginner to advanced beginner. Take your time and go through each tutorial. You don’t have to do them all in order, so feel free to skip around to the tutorials that interest you the most!
How to Crochet
If you have no idea how to crochet, this is the perfect place to learn how. No matter how old (or young) you are, learning to crochet is pretty easy. Best of all, it doesn’t take much time to get started.
How to Read Crochet Patterns
I bet every crocheter remembers the dreadful first time they read a crochet pattern and had no clue what they were reading. I know for sure that happened to me! Let’s get rid of all that frustration and decrypt crochet patterns once and for all. Here is a basic guide to start reading crochet patterns.
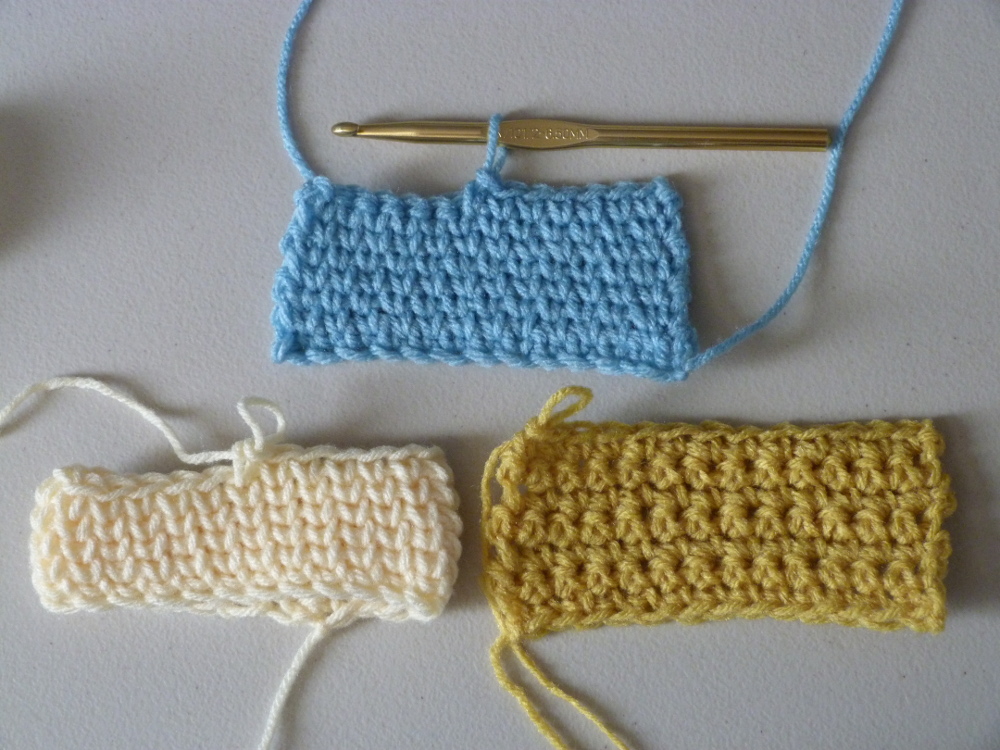
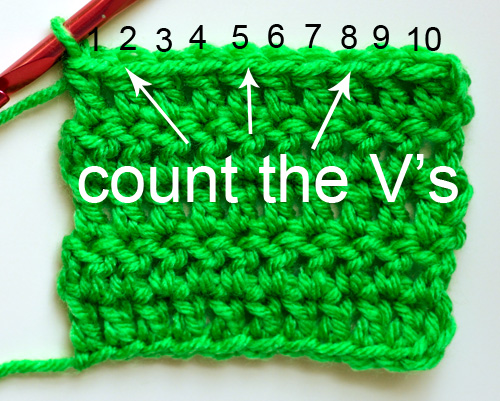
How to Count Crochet Stitches
If you’re a beginner crocheter, it may be difficult to count your crochet stitches. The ability to count your stitches is extremely important if you want your project to turn out as intended. Counting stitches is a skill often learned with experience. The more you crochet, the more familiar the stitches will become making them easier to recognize and count.
read more »