How to Crochet a Circle
Posted in Free Crochet Patterns, Tutorials and Help on February 7th, 2009 by Rachel Choi – 21 CommentsCrocheting a circle is very simple. The basic idea is to start with a small loop and continue to increase the number of crochet stitches each time you crochet around the loop. By increasing the number of crochet stitches in a easy to follow, symmetric pattern, you will create a flat circle.
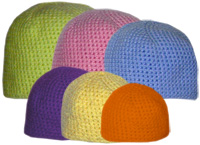
Crocheting in a circular fashion is great for creating household items such as pot holders, dish clothes, facial scrubs, and coasters. Crocheting a circle is also a primary way to start patterns for hats, beanies and dolls.
To learn how to crochet a circle, follow the simple pattern below. Any size yarn and crochet hook can be used, since circles come in all shapes and sizes.
| Crochet Pattern: Circle Round 1: ch 2, 6 sc in second ch from hook, place marker Round 2: 2 sc in each sc around Round 3: (2 sc in next sc, sc in next sc) around Round 4: (2 sc in next sc, sc in next 2 sc) around Round 5: (2 sc in next sc, sc in next 3 sc) around Round 6: (2 sc in next sc, sc in next 4 sc) around Round 7: (2 sc in next sc, sc in next 5 sc) around, sl st in next sc, finish off |
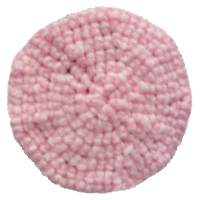 |
Need help understanding the abbreviations? Check out the crochet abbreviation chart.
To Crochet a larger circle, do not slip stitch and finish off in round 7, instead continue with this pattern until your circle is of desired length. You may also want to try using different crochet stitches, such as double crochet, to get a different look. Changing yarn colors can also give a very pretty pattern, such as stripes or checkers.
If you need further explanation for how to crochet a circle, leave a comment and I would be glad to help!

